I use my MacBook Pro as a desktop replacement and my MacBook Air as my mobile PC. When I say PC I mean in the Windows v. Mac sense of the word. At this moment I am writing on Windows 7 using my MacBook Air sitting in a restaurant. That’s nothing shocking, but what might surprise you is that I’ve been using Windows 7 on this computer for the last few weeks almost exclusively. I’ve only booted into Mac OS X to update the software, test some peripherals for articles and to use iMovie.
Does the MacBook Air make a good Windows 7 notebook? The short answer is, “Yes!”

MacBook Air Running Windows 7
Options for Running Windows
The biggest hurdle to running Windows 7 on a MacBook Air is installing it regardless of which system you use. Using Apple’s built-in solution – Boot Camp – is the cheapest way to do it, but least convenient if you want to run Windows applications beside OS X applications. With Boot Camp you are setting Windows up as a dual boot option. When you start up the MacBook you press the ALT/OPTION key and choose either Windows or OS X. To get access to your applications from both operating systems without having to reboot you will need something like Parallels or VMWare Fusion. A third free alternative is VirtualBox (see below). It is an open source virtual environment that can be used to run Windows on a Mac (other operating systems are also supported).

Virtual Box running Windows on a Mac
To learn how to use Virtual Box, check out their documentation. The above links will show you how to get Parallels or VMWare Fusion going. All three are good alternatives. I recommend starting with VirtualBox since it is free. If it is too limited, give one of the other commercial packages a trial before buying since they can cost $50 or more. Just be ready to be annoyed constantly with spam from either of the companies after you sign up for the free trial.
If you are like me and actually want to run Windows 7 almost exclusively, then Boot Camp is the best option. It will be faster than using Windows in a virtual environment, especially if you have less than 4GB of RAM. Although virtual environments are pretty good now, so don’t count them out too quickly.
When I first started trying to get my MacBook Air going with Windows 7 I did not have an external DVD drive. I began to search for a way to boot Windows 7’s installation using a USB flash drive instead of an optical disk. It’s doable but not easy, especially if you don’t have a Windows computer available to create the USB install drive. I have access to a Windows machine but I wanted to go through the process to see what it would be like if a person bought a MacBook Air and that was their only computer. It doesn’t have an optical drive so you can’t just install from a Windows 7 DVD. Microsoft has a tool for creating a USB boot install disk from a downloaded Windows DVD ISO file, but it won’t work on OS X.
I read some guides that explain how to create a USB install disc that you can then boot with using some third-party software (like one from CNet) but could not get this solution to work. After some investigation many others are having the same problem. The problem is that for some reasons burning the Windows 7 ISO to a USB drive under Mac OS X just doesn’t seem to work. If you know of a way to do it reliably, comment with a link below. I finally just realized that getting a cheap external USB DVD is the best solution. It was worth about $30 to make this simple.
Apple has a very helpful Boot Camp Installation Guide in PDF format that you can download and follow. The steps are straightforward.
Before you get started, back everything up in case something goes wrong. You will be repartitioning the drive your operating system runs from so you will want to be careful and keep copies of all important files. The basic steps are to run the Boot Camp Assistant with the Windows 7 install DVD in your new USB DVD drive hooked up to the MacBook Air. This works with any MacBook. Boot Camp will ask you some questions to set things up. The computer will reboot and you can install Windows 7 as you normally would. You will need a full copy of Windows 7 (not an OEM copy or upgrade copy), a USB DVD drive, your Mac OS X Install disc or a copy of the software that you can choose to download using the Boot Camp Assistant.
One of the questions you will have to answer in the Boot Camp Assistant is how big to make your Windows partition. You can slide the divider using your mouse/trackpad.

Boot Camp offers to partition your hard drive so you can install Windows
You have a few options:
- Pick a minimal number if you plan to run OS X most of the time and only want Windows for one or two programs. We recommend 30GB unless you have the 64GB SSD, then go with 20GB.
- Pick about 2/3 of the drive if you plan to run Windows most of the time. My MacBook Air has a 128GB SSD and I saved 30GB for OS X and used the rest for Windows since I run Windows most of the time on it.
- Don’t worry about it and when you install Windows 7 just reformat the entire drive and only run Windows 7. We don’t recommend this. If you want to try it, read Paul Thurrott’s experience of doing so.
Running Windows
Once you get Windows installed load up the Mac OS X install disc or the USB drive where you saved the download from the Boot Camp Assistant. Run the installer that loads all the right drivers and then update Windows using Windows Update. Finally, update your Mac drivers and software using Apple Software Updater that will be installed when you load the stuff from Boot Camp or your OS X install disk. It will likely find updates even if you downloaded the software in Boot Camp.
Now you are ready to load all your software. Remember to go sparingly if you have a MacBook Air. I just install the essentials and that is it. Using the 2/3 to 1/3 ratio of Windows partition to Mac partition I have about 27GB of free space with all my essentials installed. I use Microsoft Office and only install Word, PowerPoint and Excel. I also have a 10GB theological library and 1GB of personal files that I might need at any time. 27GB of free space is pretty comfortable for running Windows 7.
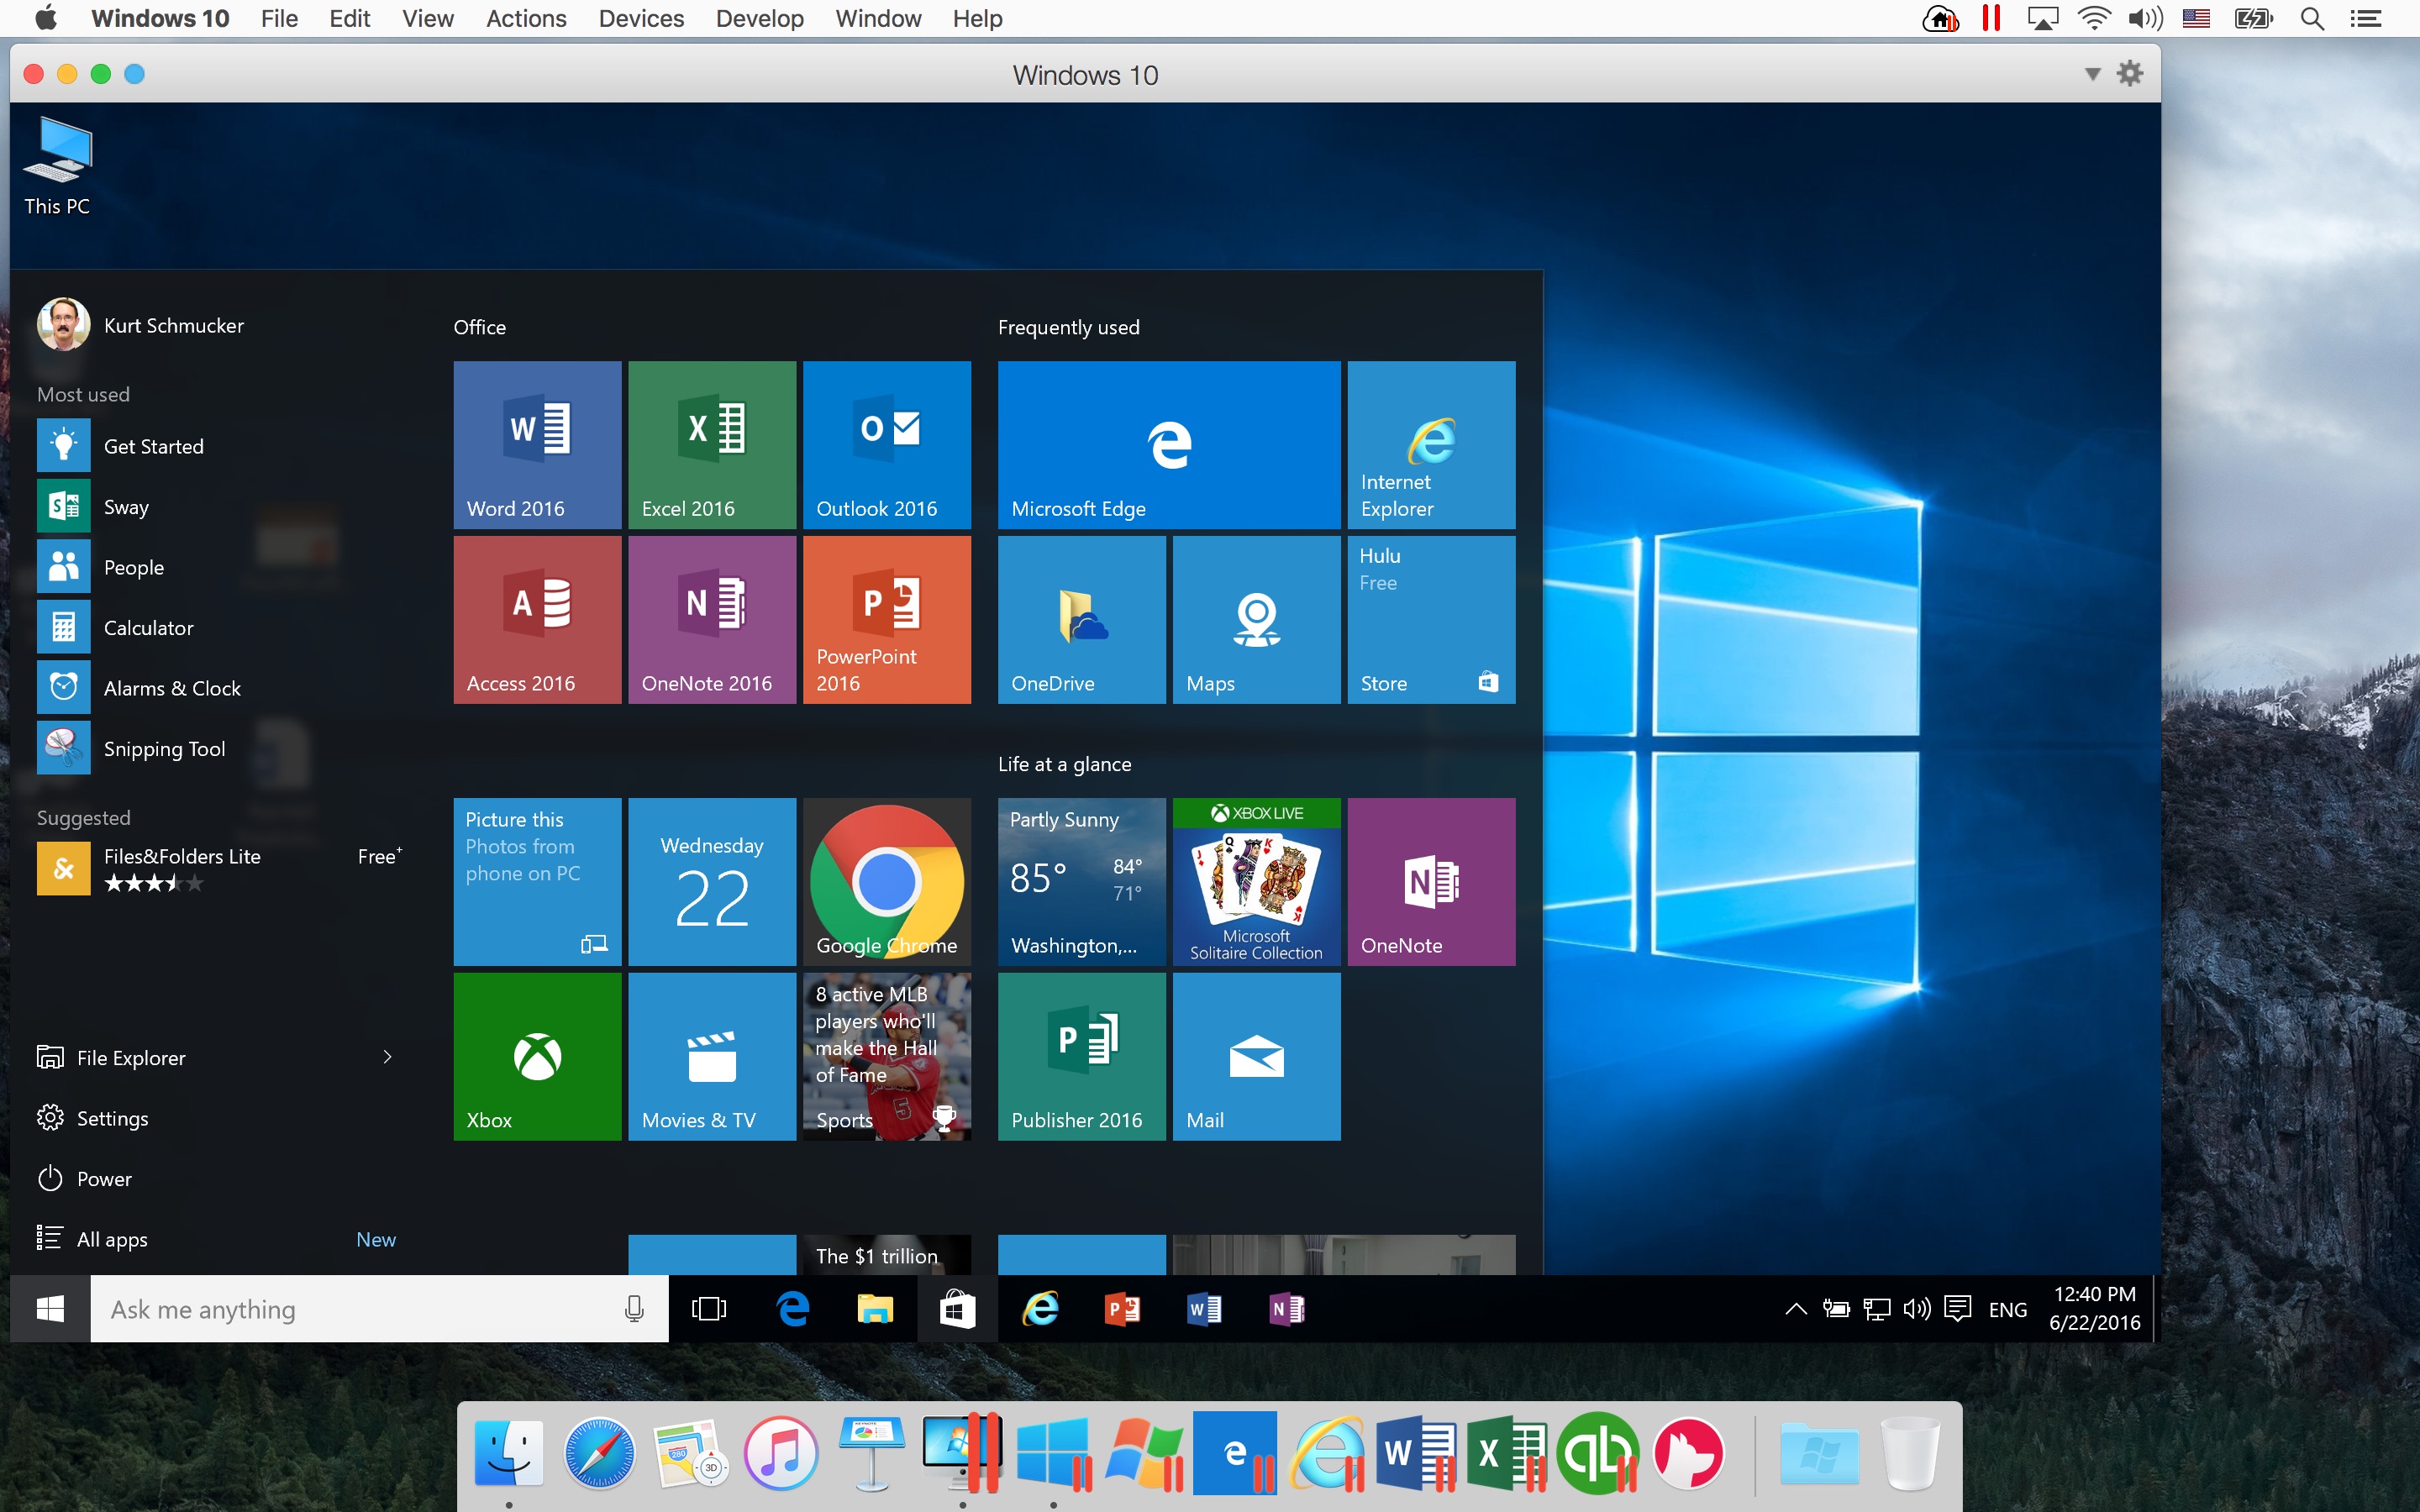
So how does Windows 7 run on the MacBook Air? Pretty well! Speed is as fast as OS X for almost everything I do. The cool thing about the MacBook Air is the “instant on” feature thanks to the SSD and sleep mode. It is not as fast to start up with Windows, but close. I open the lid and am running in about 5 seconds compared to 1-3 seconds in OS X – an inconsequential difference. Booting cold is only about 5-10 seconds longer, which is again inconsequential. Applications often load within seconds.
Surprisingly, battery life is actually a little better in Windows. I haven’t run a formal test yet, but will soon. I get around five hours of battery life running OS X but have easily gotten 6+ in Windows with screen brightness set at 60%, which is what I prefer on battery. Windows is a little more advanced at handling SSD drives thanks to all the netbooks running them for the last two years. Right now, after running Windows 7 doing some Internet surfing via Wi-Fi and mostly just typing with screen at 60% brightness, I’ve used a quarter of the battery in an hour and twenty minutes. If the rate of battery decrease continues steadily I will get 5:20 of battery at a workable brightness level. That is awfully good!
Everything else is the same – great keyboard and display! All the special function keys that have Windows counterparts work well (brightness, volume, eject). The command key behaves like a Windows key and you still have to use the FN key with the Delete key to get a real Windows style delete key. Without the FN key the Delete key behaves like a Windows style backspace key. That takes some getting used to.
Be sure to go into the Control Panel and run the Boot Camp applet to configure things the way you like. There are options for choosing the default OS, changing how the F-keys work, and changing how the trackpad works. You will definitely want to change the trackpad functionality.

The biggest complaint is the trackpad. It is still big and very sensitive. It has two finger swipe for scrolling up and down like it does in OS X. The two finger tap can be configured to be a right click so you can access context menus. But the thing is so big and sensitive that I find myself hitting it all the time while I’m typing. OS X handles this better. Apple’s Windows drivers are not as good. I often type a sentence and suddenly the cursor jumps up a few lines and I’m entering text in a previous line. Worse, sometimes it quickly selects a whole paragraph if I accindentally touch the trackpad while I’m hitting the shift key as I type capital letters. The result is that I end up typing right over the selected text replacing it with the next few words I type. I have to hit CTRL+Z all the time to correct this.

Right click the HID-complient mouse and disable it
There is no option to turn down the sensitivity of the trackpad or have it turn off as you type, like most Windows trackpads. Apple can fix this with a driver update and I hope they do. I would love to just turn it off and use an external mouse, but that is not possible without going into Device Manager in Windows. That is a workaround. Just disable the trackpad. Make sure you have an external mouse hooked up before doing this. I use a Bluetooth mouse and that is not reliable enough to do this for more than just a single session. It does improve typing if you do a lot that.

Make sure it says "on Apple Multitouch" in the location
To disable the trackpad right click the HID-complient mouse and choose properties. Make sure it says “on Apple Multitouch” in the Properties box under “Location:” as the above screen shot shows. There are two of them listed in the Device Manager under the Mice category. Click okay then right click again with your external mouse and this time choose disable. Leave the Computer Management box open to remind you to re-enable it if your Bluetooth mouse is as unstable like mine. If you have a USB mouse, then you can make this change permanently if you like.
Speaking of Bluetooth, the combo of Windows, the MacBook Air and Bluetooth seems to be a problem. My Bluetooth Logitech mouse is less stable on the Windows side than it is on the OS X side. I have to remove the device and add it again to make it work after a reboot.
Conclusion
My MacBook Air is a great Windows 7 computer. I love it! Apple has great hardware and Microsoft makes a great operating system. The Mac fanboys will cringe at this, but I wish that Apple sold Windows PCs out of the box. I’d be a buyer.
Windows fanboys will cringe too and immediately say, “There are plenty of equivalent laptops that you can buy for a lot less.” There are plenty of laptops with similar specs for a lot less, but few have the same speed, quality of build and form factor of the MacBook Air. It is so light and thin that it hardly feels like you are carrying a computer.
The upcoming Dell Adamo replacement looks like an option, but we will have to wait and see. Sony might have an option coming too based on recent leaks. One of the most exciting forthcoming options is the Lenovo ThinkPad X1. I want that one and haven’t even seen a review or video of it yet. Until we see all of these, the best option is probably the Samsung Series 9. If Apple refreshes the Air to include Sandy Bridge and Thunderbolt as we heard may happen, then I think all of the above will have to go back to the drawing board.
Related Posts
-
Today, Apple updated its most portable MacBook ever with a spec bump and a press…
-

If you've purchased one of Apple's 12-inch Retina MacBooks, take heed: your power cable could…
-
Parallels helps Mac users run virtual machines with other operating systems like Windows, Linux and…