Want to send or mail out a document to a list of different people? Instead of typing out every single one, or copying and pasting information for each individual person you would like to send the document to, you can simplify things by using Mail Merge.
Let’s take a look at creating a Mail Merge document using Microsoft Office Word 2010.
What is Mail Merge?
Mail Merge mass produces letters, mailing labels or other documents. To perform a mail merge you need two types of files: a Data file and a Form file. The Data file, or datasource, contains records. All the variable (changeable) information in the document combines to form a record.
The first step in the creation of the data source is to give each piece of variable information in the document a name. Each piece of variable information is called a field. All the fields combine to form a record.

The Form file contains the portion of the document that remains constant, plus field codes that link to the data source file.
For the purposes of this article, we will be using Mail Merge to send copies of a letter to multiple persons. Start a new blank Word document, click Start > All Programs > Microsoft Office > Microsoft Office Word. You can download a free trial of MS Office, which you can use for 60 days, here, if you don’t have Microsoft Office installed.

Click the Mailings tab. In the Start Mail Merge group click Start Mail Merge button and click Step by step Mail Merge Wizard….

Since we will be writing a letter, select that as the default. Click Next: Starting document.

We are starting a new document, so we will use the current one. Click Next: Select recipients.

This is a new document and we are creating a fresh list for the purposes of this article. You have the option, if your contacts are stored in Outlook, to use that. If you don’t have any contacts you can create new ones from scratch, which is what we will do. Select Type a new list and then click Create.

This will bring up the New Address List window. Microsoft Word will pre-populate the window with common fields for the recipients. To simplify things and avoid confusion, we will customize and create our own columns for the purposes of this article. At the bottom of the window, click Customize Columns….

Here you will see the list of pre-populated fields. Select each one and click Delete until all are removed.

Once you have cleared the fields, enter your own. For the purposes of this article, I will be using the following fields: Name, Addr1, Addr2, Addr3, and Title. Click Add and enter the field name and then click OK. Repeat this step for each field until all are entered.

Once you have all the fields entered, click OK.

Proceed to enter the information for each record. To enter a new record, click New Entry or you can press Tab to go to the next row. When you have completed this step, click OK.

You will be prompted to save your data source. The datasource is saved as a Microsoft Access database. You can give it a logical name such as Contacts or Addresses.

The Mail Merge Recipients window will appear. Here you are given an opportunity to review and edit the recipient information. You can also uncheck any recipients you don’t want to send the letter to. For instance, you might get a last minute response from a recipient telling you they won’t be able to attend. After reviewing and accepting the changes, click OK.


You will notice that groups previously grayed out in the Mailings tab, such as Write & Insert Fields, are now active. This means we are ready to type our letter and enter our Mail Merge fields.
Below is a sample letter I will be using for my mail merge letter.
—————————————————————————————————-
Andre Brown <——————Field1—–Name
Cross Keys P.O. <————– Field2 —–Addr1
Manchester <——————–Field3—–Addr2
Jamaica W.I. <—————— Field4—–Addr3
Dear Mr. Brown <—————Field5——Title
We will be keeping our annual Youth Group fund raising event next week at the Cross Keys Social Center. Our Youth Group would like to invite you to this special event and hope you will be able to invite your friends and family members as well. Please make every effort to be in attendance on June 20, 2011 at 8:00 PM in the main hall.
See you there.
Yours,
Sarah Smith
————————————————————————————-
Since the letter starts out with the address, we can begin inserting the Merge Fields. To do that, click on Insert Merge Field, located in the Write & Insert Fields group.

Repeat this step until all the appropriate Merge fields are inserted, see below:

The next step is to start writing the body of the letter.

Merging the Files

Once you have completed all the necessary steps, you need to merge the letter with the appropriate addresses. To do that, on the Mailings tab in the Finish group click Finish & Merge and then click Edit Individual Documents.

Select All then click OK. Microsoft Word will now work its magic.

All recipients addresses have been merged producing four unique letters to different persons and addresses. Your options include printing and saving these documents.
Related Posts
-

Even when you have all the power and versatility of a full Mac at your…
-
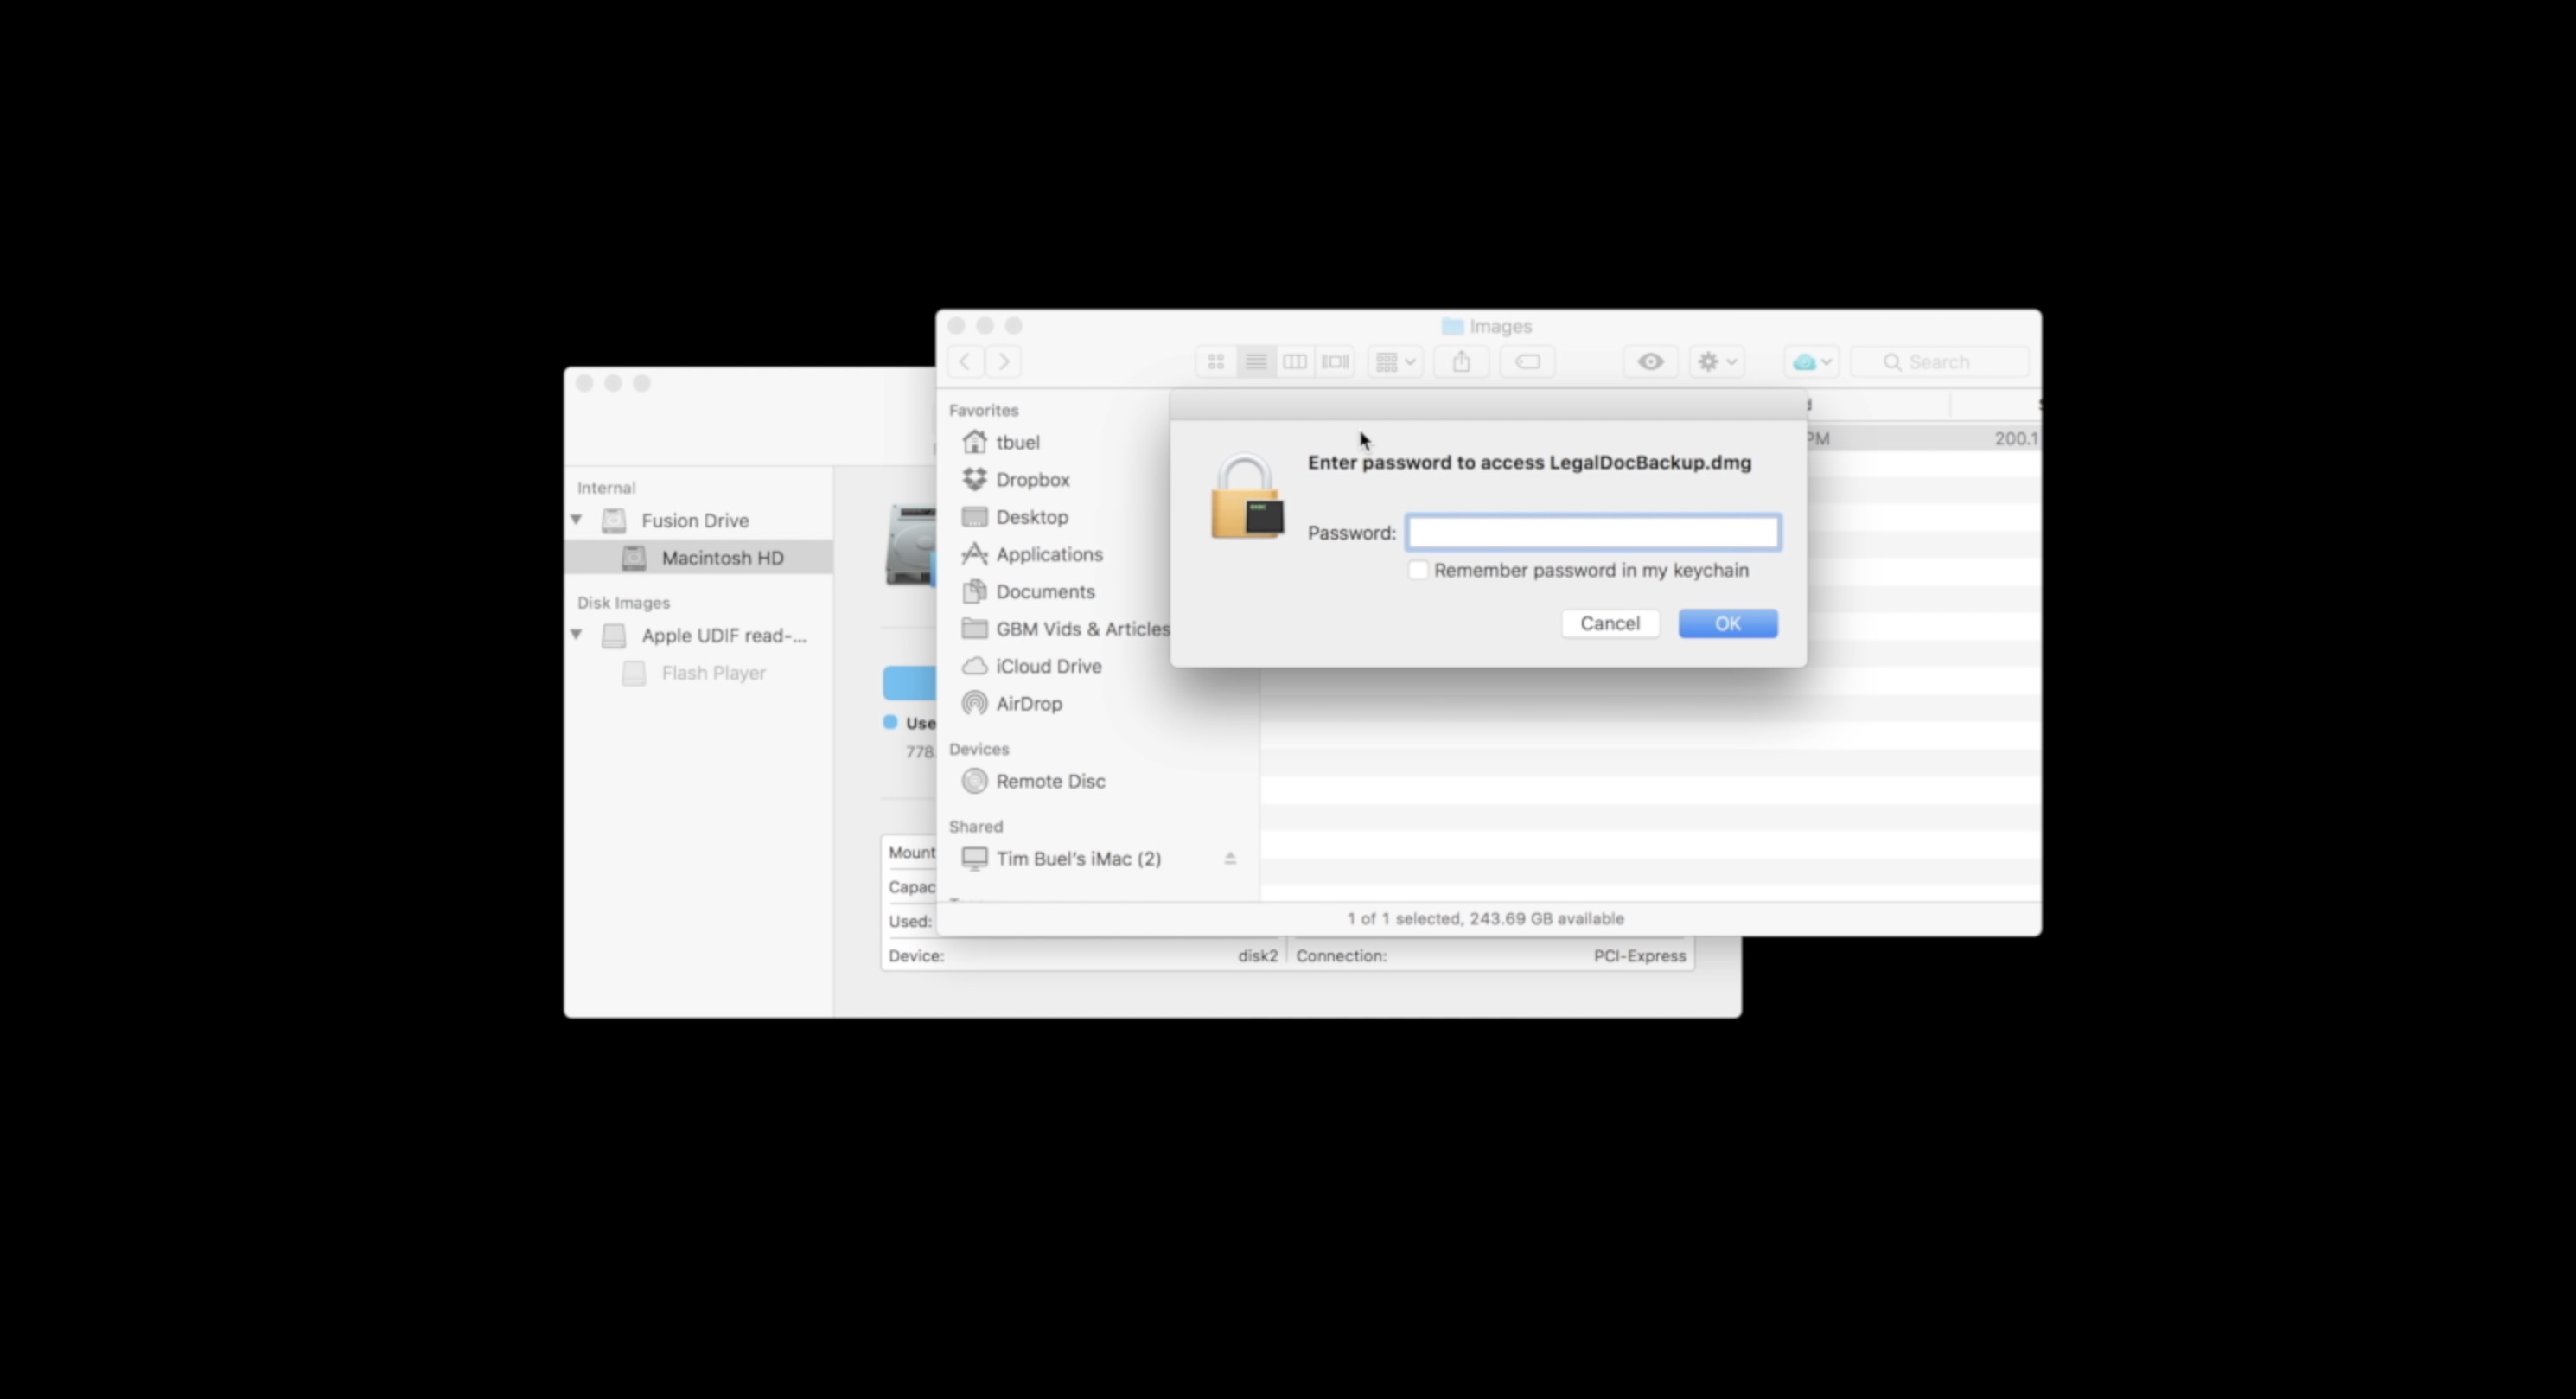
Here is a guide on how to create encrypted disk images in MacOS to backup or…
-

The Microsoft Surface Pro 4 balances perfectly the needs of most laptop users who need…