Do you ever use public Wi-Fi on your phone, tablet, or laptop? If you don’t encrypt your connection, it’s possible that your data could be intercepted. We’ll show you how you can use a Mac VPN to protect yourself, whether you’re at home or at the coffeeshop down the road.
When you access information over the Internet, it’s sent completely unencrypted by default. That means that anyone with access to the connection can snoop on what you’re doing. That sounds far-fetched, but it’s easy to do. If you’re sharing a network with someone, your data is traveling through the same Wi-Fi network; if it’s unencrypted, someone with the right software could easily intercept it and spy on what you’re doing. Just a few years ago, a Firefox extension called Firesheep hit the scene, which let anyone, regardless of computer skills, sniff out the traffic of their fellow users.
 Having a password on your wireless connection can help mitigate some of this, if you’re using WPA security, but most public networks don’t have a password, they just have a login page. If you’ve ever taken your MacBook to Starbucks, you’ve probably even seen other Apple users pop up in your network tab – that’s because your laptops can see and talk to each other.
There are two ways to prevent someone from snooping on your data: using SSL, or using a VPN. One of these works better than the others.
Find out more: The Best Mac Browser: Safari vs Chrome?
How to use SSL to protect your Mac’s data
SSL (actually, it’s now TLS/SSL, but it’s usually just called SSL) encrypts the traffic you send to a specific website. You can tell when you’re using it in a couple of ways. First, you engage it by typing https:// before your website – notice the ‘s’ that’s on the end – it’s critical. That’s what communicates to a website that you want to speak to it securely.
 When you are using it, you’ll see some sort of icon change on your browser. You’ve probably noticed a padlock or similar symbol in the past when you logged into your bank. On the Mac, chances are very good you’re using either Chrome or Safari as your web browser. You can see how they respond in the image above; Chrome on top uses a green padlock icon (instead of a website icon or a blank sheet of paper) to show that you’re using HTTPS. Apple’s Safari, meanwhile, uses a little grey padlock in the middle of the bar.
This isn’t perfect, though, because it’s something you have to remember to go through on every single site you visit. Additionally, some sites still don’t support it – it was never seen as critical for a site that didn’t traffic in your personal or financial information.
How to use a Mac VPN to protect your Mac’s data
That’s actually where VPN comes in. It stands for virtual private network, and that’s exactly what you create when you enable it. Here’s what happens when you run your Mac VPN app: your laptop goes and creates a tunnel through the Internet to some other computer or network. This tunnel is safe and secure from prying eyes (unless you don’t trust your VPN provider, which means there’s trouble beyond the scope of this article). When you go to do something on the Internet, whether it’s send email, check Facebook, or just browse the web, all the traffic goes through this tunnel.
To a website, it looks like you’re browsing the web from wherever your exit is. That might be across town, for a work VPN, or across the country or even the world, if you’re using a third-party VPN provider. This can actually get you an extra benefit in addition to protecting your data – if there is a particular website or web service that is geofenced (blocked off from people outside of a certain area), you can get around it by using a VPN exit node in the area you want.
It’s really that simple – install your VPN, connect to your VPN, and use the Internet as usual.
The Best Mac VPN
Finding the best Mac VPN service is a little complicated – there are great services, and then there are great clients. It’s hard to find them in a single package. Our preferred general VPN client is Private Internet Access, also known as PIA. We like them because of their extreme privacy promises – they don’t track or log what you do, and records are eventually deleted once you’ve ended your connection. Additionally, if you don’t feel comfortable giving them your name and credit card details, you can actually pay for this VPN with a gift card from one of several stores – that’s pretty cool.
Once you sign up, you’re given a login and a password – keep these safe, because they can be difficult to remember. If you’re running Windows, Android, or iOS, the PIA client works great. You can select which exit point you want to use (there are 9 sites in the U.S. alone, and another twenty around the world). On the Mac, however, the PIA client isn’t that great – sometimes, for example, it would show you as connected, but when you checked your IP address, it would show your true location.
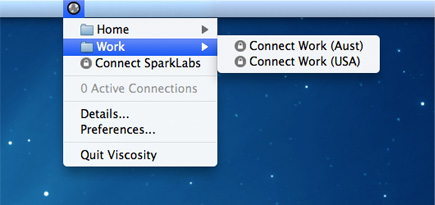 Enter Viscosity. It’s an OpenVPN client for both Windows and Mac, and it’s only nine dollars. PIA works really well with it – just make sure you have your login details at hand. It lives in your Mac’s menu bar with an icon showing a circle underneath a padlock. You can click on it and see a drop-down menu of potential connection points; all you have to do is click on one, it’ll connect you, and you’re good to go. From that point on, your data is safely encrypted.
Related Posts
-

With recent updates to the Mac's OS X El Capitan, and the new iOS 9.3,…
-
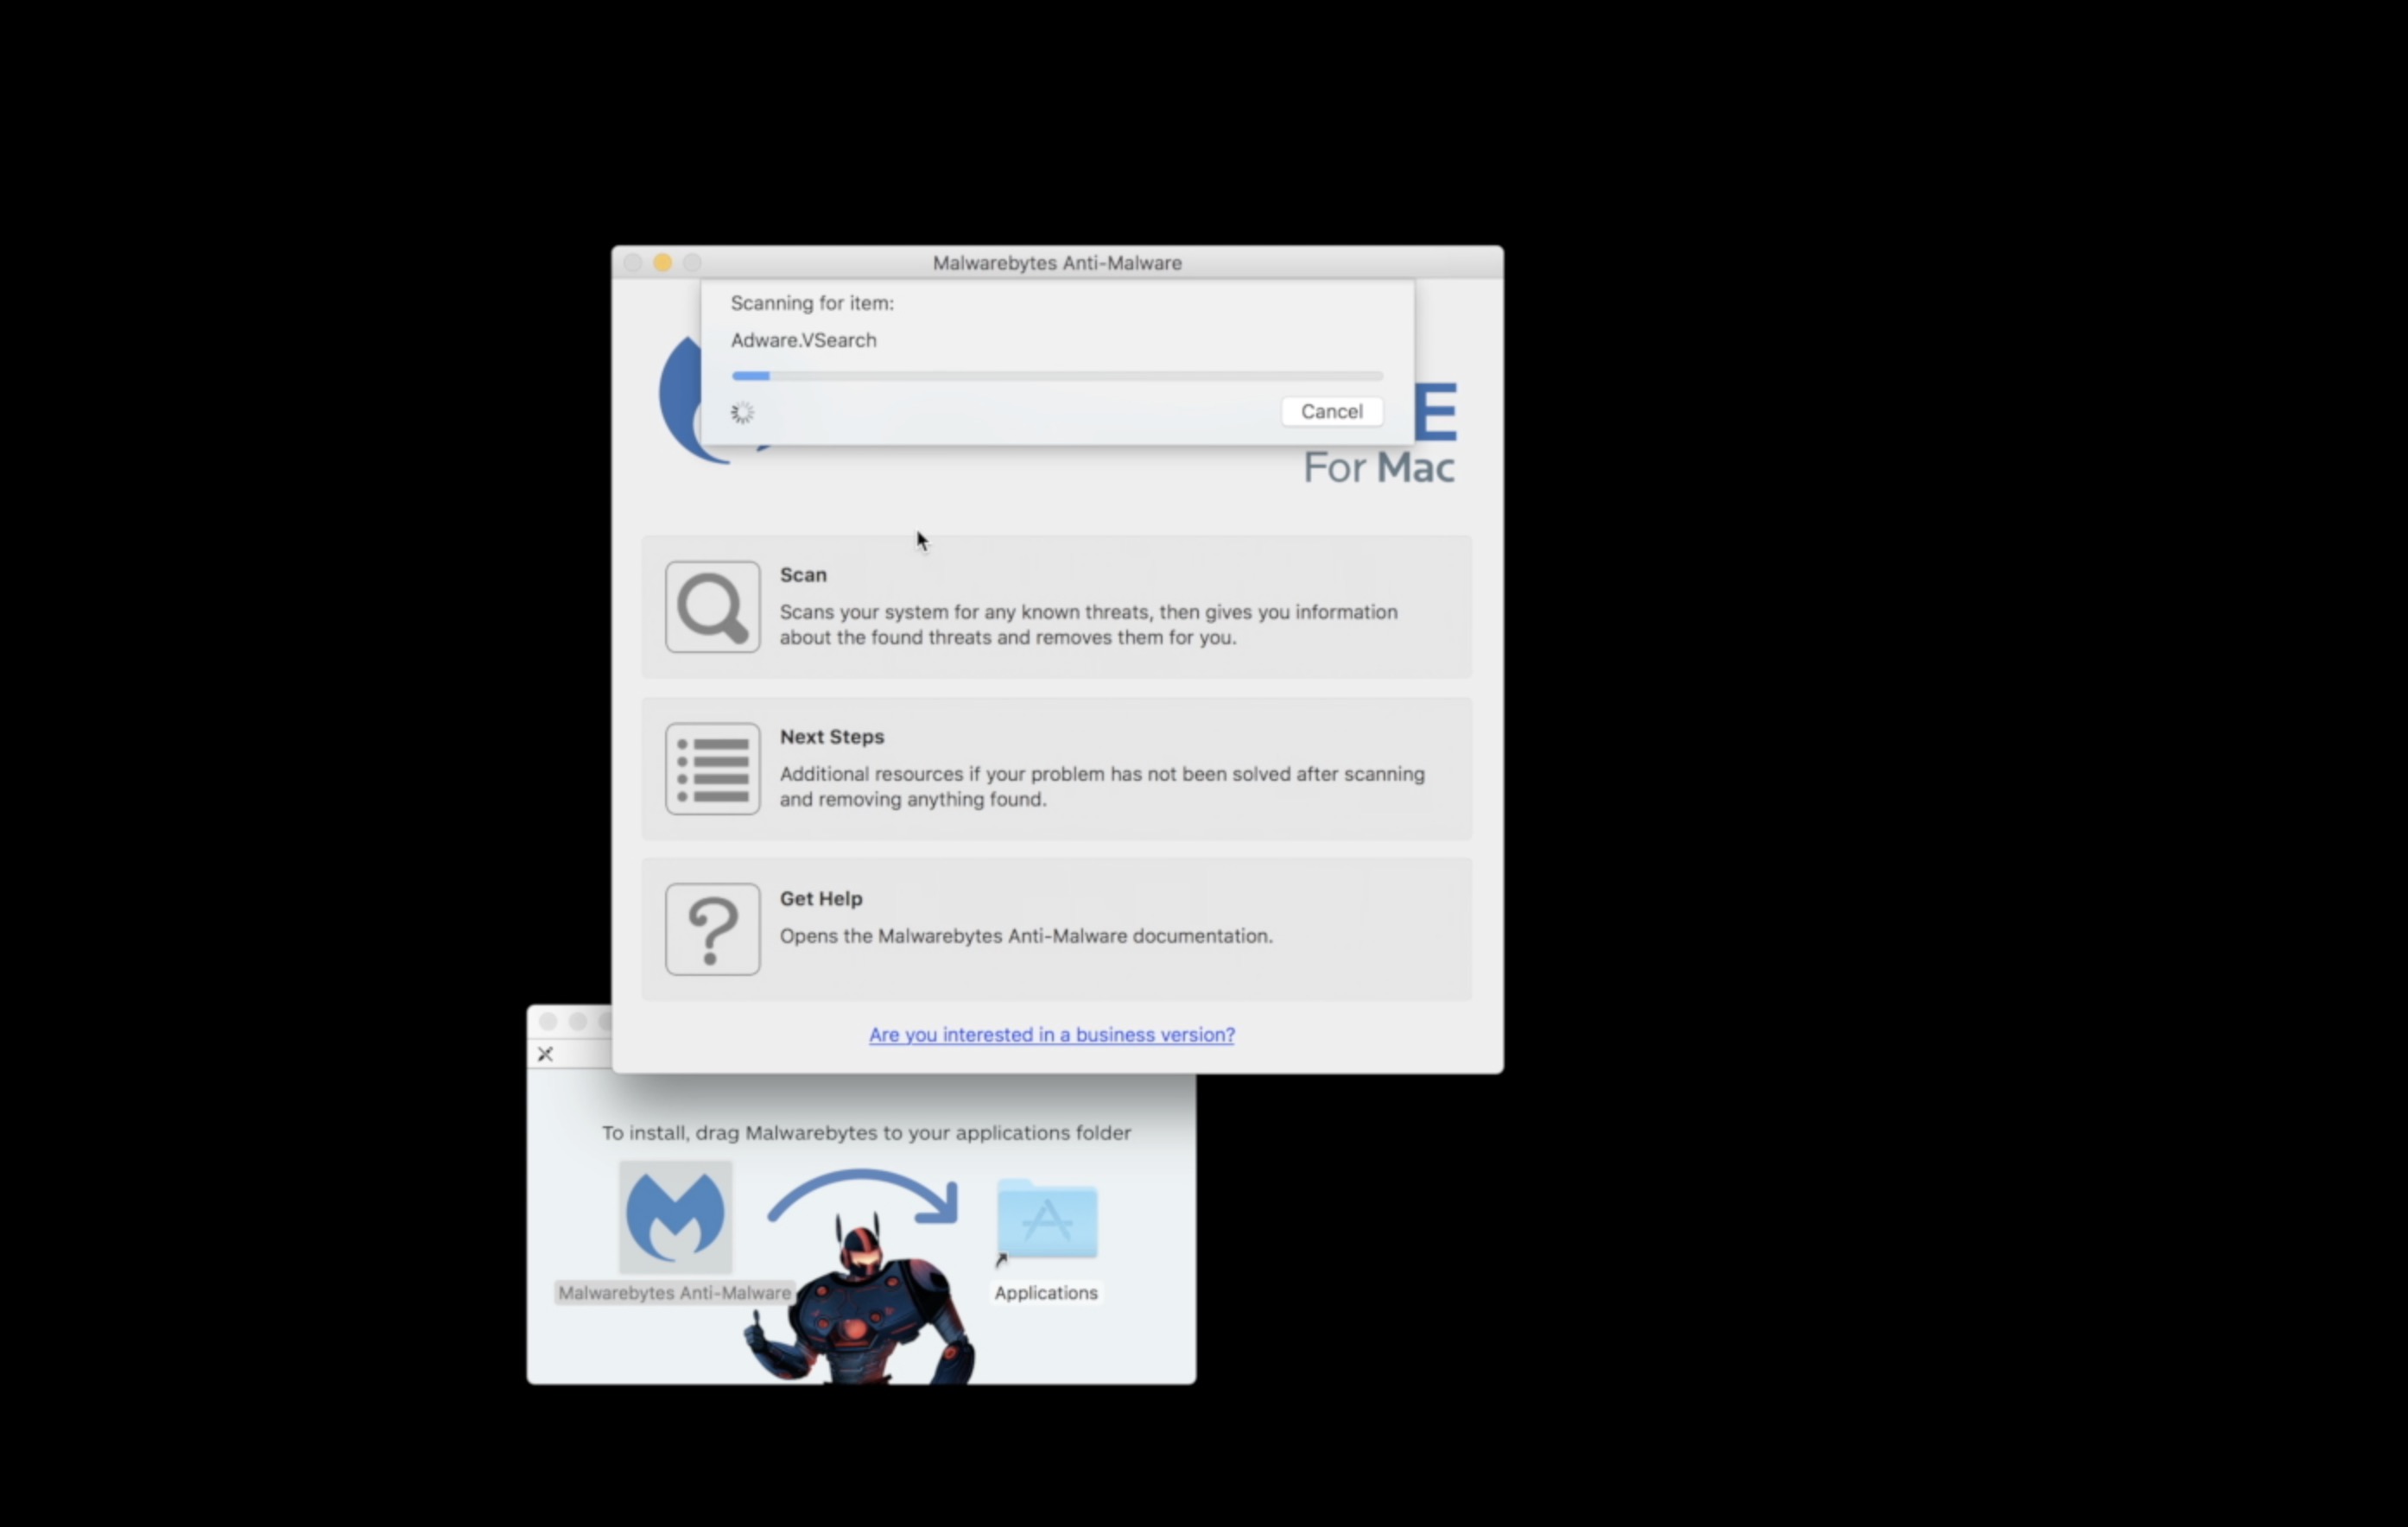
Here is a guide on how to detect Mac malware and safely remove it from…
-
Here is a guide on how to remote access a Mac from another computer to get…