We know. You want to ask what we are thinking, downgrading from Windows 7 to Windows XP, but despite our desire to move forward there are still users and organizations who rely on legacy applications and devices that won’t run on Windows 7, a problem that can get worse with Windows 7 64-bit mode.
You might say, that there is Windows XP Mode, which is an excellent solution for specific scenarios, I personally use XP Mode with my GPRS Modem since it does not work properly in Windows 7 64 bit. But then there are devices that just don’t work in Windows XP Mode at all, devices with sophisticated requirements, specifically multimedia programs and games that depend on the accelerated graphics in your system, something you won’t find available in Windows Virtual PC.
The best option, if you want the best of both worlds while transitioning to Windows 7, is to downgrade and think about setting up a dual boot scenario (which I will be looking at in a future article).
For today, we will look at how to downgrade to Windows XP from a Windows 7 installation. We recently looked at how to migrate from Windows XP to Windows 7 and recover personal files using Windows.old. This will play an integral role in ensuring that we are able to downgrade. I had recommended in that article you do not delete the Windows.old folder just in case you want to downgrade. If you didn’t, great! If you did, not to worry, I am still going to look at how you can still setup a dual boot with Windows 7 and Windows XP.
Step 1: Click Start > Computer > open the C: drive where Windows 7 is installed. If you see the Windows.old folder, then we are good to go. If not, then it does not make any sense going to further.
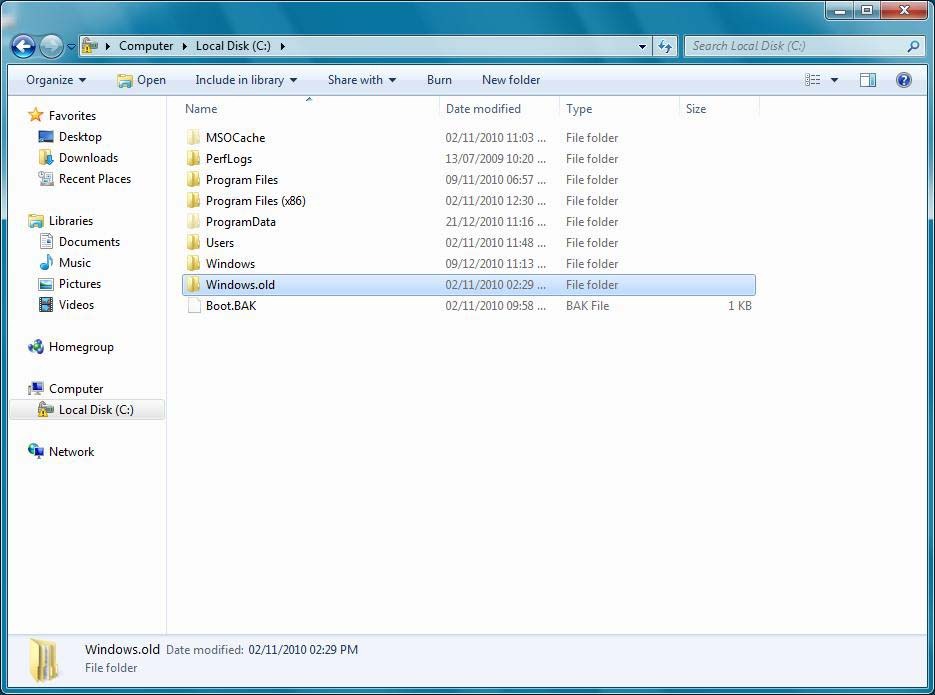

Step 2: check the size of Windows.old folder by right-clicking and then selecting properties. You need to make sure that Windows.old folder must be less than two times the amount of free hard drive space available on Windows 7 system drive (C drive). If the Windows.old folder size is two times larger, disable system restore utility and also use disk cleanup tool to get some free space. In our case, we have ample free disk space.
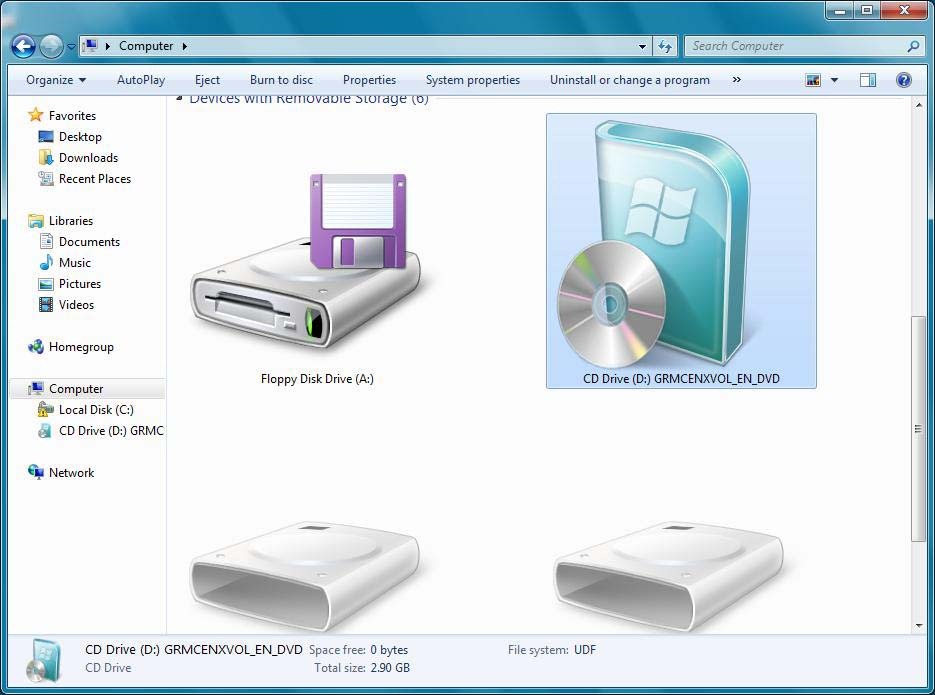
Step 3: Insert your Windows 7 installation disc into DVD-ROM and restart your system. Press any key when prompted to boot from DVD.
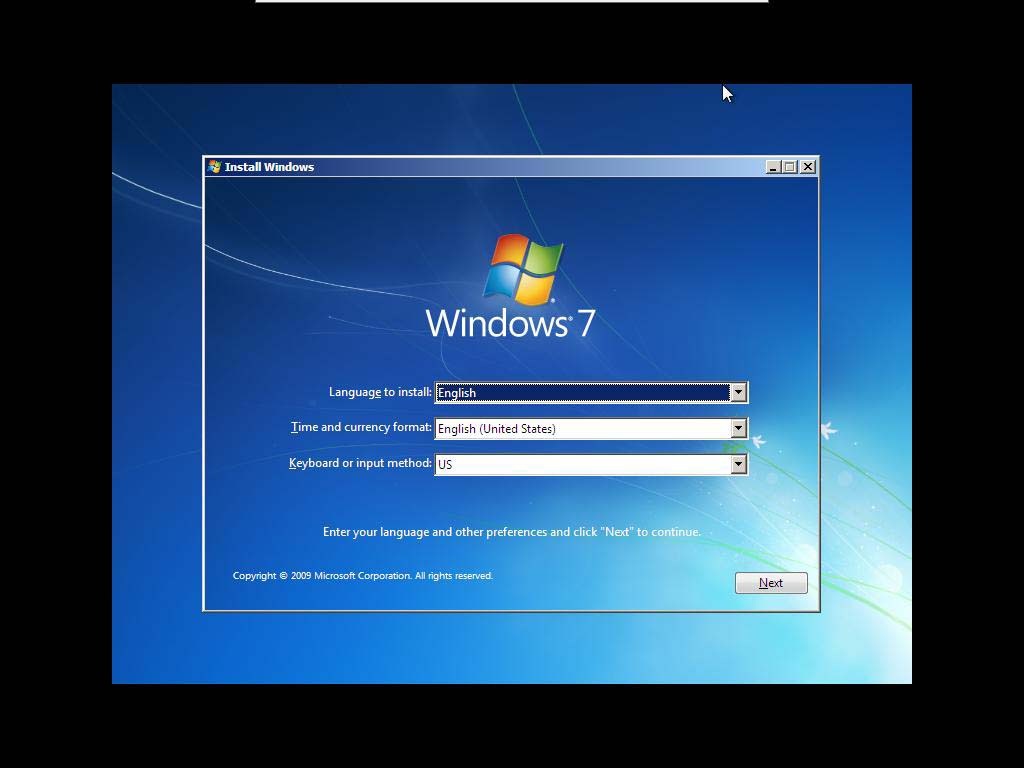
Step 4: Choose your language, time, keyboard type and then click on Next button to continue. In the Install Windows screen, click Repair your computer option to get System Recovery Options.
Step 5: Now select your Windows 7 OS and note your Windows 7 Drive letter before clicking on Next. If you are prompted to do a System Restore, click cancel.
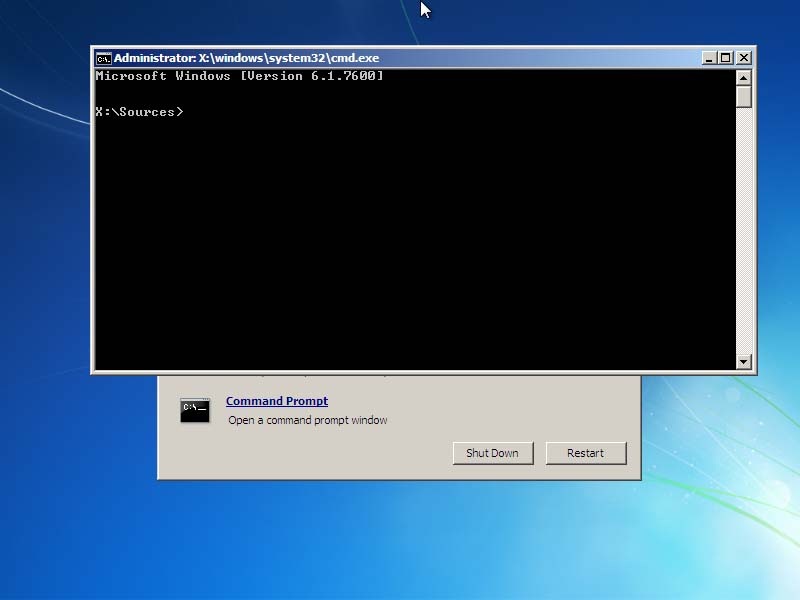
Step 6: In the next window, click Command Prompt to start downgrading from Windows 7 to XP.
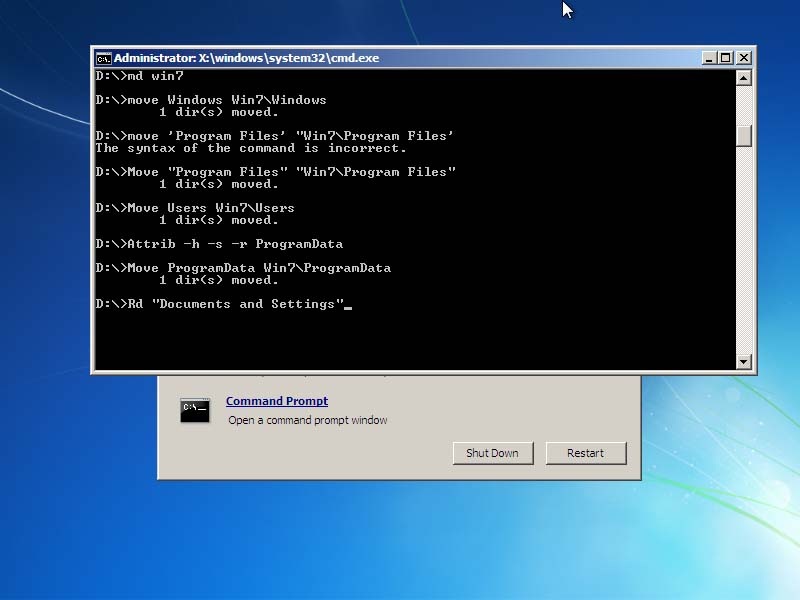
Step 7: At first you need to transfer all the data of your Windows 7 drive to a folder. So type the following commands one by one and then press enter after each command (here we’re assuming that “D” is your Windows 7 drive letter).
D:
Md Win7
Move Windows Win7Windows
Move “Program Files” “Win7Program Files”
Move Users Win7Users
Attrib –h –s –r ProgramData
Move ProgramData Win7ProgramData
Rd “Documents and Settings”
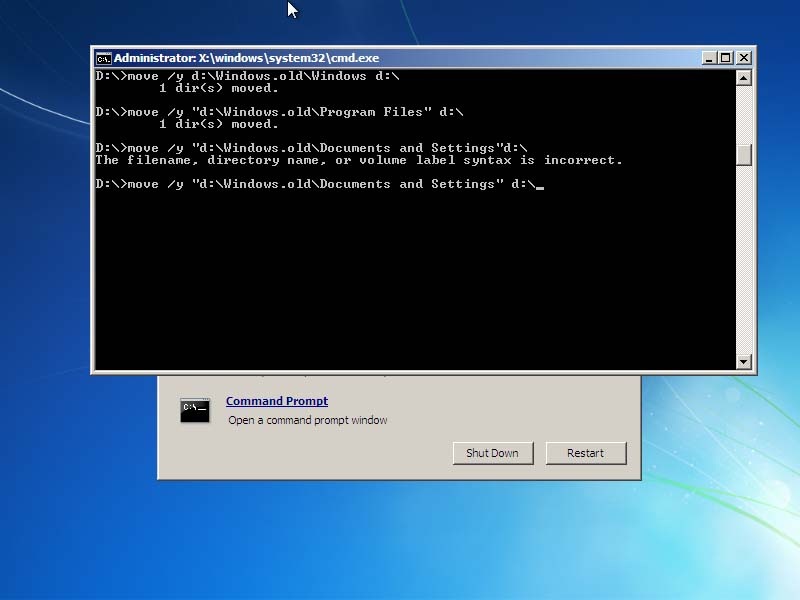
Step 8: Next, you need to copy all the contents of Windows.old folder to the drive. Again, follow all the commands given below one by one and then press enter after each command.
move /y d:Windows.oldWindows d:
move /y “d:Windows.oldProgram Files” d:
move /y “d:Windows.oldDocuments and Settings” d:

Step 9: Next, you need to restore the boot sector by typing the following command:
E:bootbootsect /nt52 d:
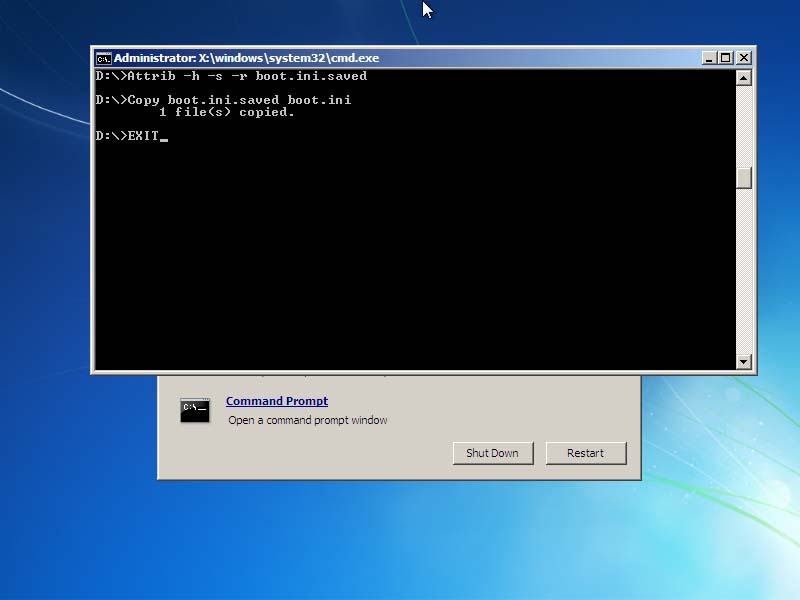
Step 10: At last restore the boot.ini file by entering the following commands:
Attrib –h –s –r boot.ini.saved
Copy boot.ini.saved boot.ini
Step 11: Now type Exit and restart your system to get back to Windows XP again.
Resources
Eligibility for downgrade rights. Please note if you bought a computer with Windows 7 Professional or Ultimate editions, you are eligible for downgrade rights to any of the following editions and versions of Windows: Windows Vista Ultimate or Business, Windows XP Professional. Please note, the downgrade rights are on a case by case depending on the OEM. So, even though you are eligible, the option might not be available and it might specific to the model computer you purchased from the manufacturer. If this is the case, then you will need to provide your own full version license.
Volume License customers have all rights to downgrade to any edition or version of Windows they wish, so if you are using a Company PC purchased with Windows 7, contact your Administrator about downgrade options available to you.
If you are running consumer editions such as Starter edition, Home Basic or Home Premium, you will have to provide your own full version license for the edition or version of Windows you would like to downgrade to.
Understanding Downgrade Rights
Downgrade Rights Details & FAQ
Downgrade Rights Chart
Related Posts
-

Microsoft’s Windows operating systems let users do a lot of things. Every day, machines loaded…
-

Even though Windows 10 has made upgrading Windows easier than ever, sometimes you still need…
-

On August 2, 2016 the Windows 10 Anniversary Update came out with some cool new features…