It’s been over a year since the release of Windows 7 and the market has spoken, Windows 7 is a hit! The migration is still in progress though, considering that Windows XP usage dropped below 60% for the first time there is still a considerable amount of users out there running the 9 year old operating system. Recent data has shown that Windows 7 is up 18% while Windows Vista is down 12%, alternative operating systems such as Linux and Mac OS X are also down 0.85% and 5% respectively. I am still journalizing my experiences with Windows 7 one year later and one of the things I want to continue doing is help with migration scenarios. Today we are taking a look at the Windows.old folder.
What is it? What does it do?
Windows.old is basically a backup copy of your old Windows installation (Windows XP or Vista) for example if you have upgraded from those operating systems to Windows 7. The intended purpose is to store your old files and settings just in case you either need to reinstall the previous version of Windows or need to recover important files and settings.
Windows.old comes in handy as an alternative to using Windows Easy Transfer if you have enough disk space to store it. It is still highly recommended you use Windows Easy Transfer though since it guarantees a smooth, reliable migration.
In this article I am going to show you how to use Windows.old, in a future article, I will show you how to use it to reinstall Windows. One of the changes to licensing in Windows 7 is that, you need to have a previously installed and activated version of Windows (XP or Vista) to qualify for the upgrade version. I have authored tutorials about this, but factors exist that might prevent users from utilizing system imaging.
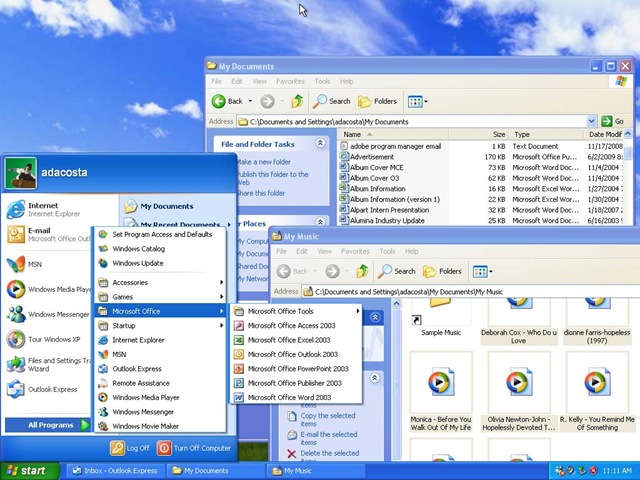
Windows XP
As you can see in the above screenshot, I have a well used Windows XP system with applications such as Microsoft Office installed.In this scenario, I have to do a Windows 7 Professional 64 bit Custom Clean install over Windows XP Professional 32 bit. As you can see in the screenshot below, I am informed that the installation will do a Custom Clean install.
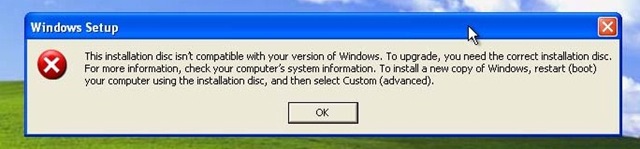
I had no other choice, since I cannot start the installation from within a 32 bit operating system and there is no upgrade option. The availability of 64 bit processors since late 2003 means that a lot of people want to utilize their hardware to the fullest. Although these systems were initially preloaded with a 32 bit version of Windows, users were guaranteed that they can do an upgrade to a 64 bit version of Windows in the future.
Technically you can’t, Microsoft even recommends people who have a 32 bit operating system such as Vista installed, upgrade to a 32 bit version of Windows 7 and vice versa. Not a lot of users think this way; factors include, access to more memory, better performance, security and availability, even enthusiasm are factors for going 64 bit. In the case of moving to 64 bit, say you forgot to use the available tools for backing your personal files and settings, this is where Windows.old might be ready to save the day. Of course, you will have to reinstall all your programs and drivers.
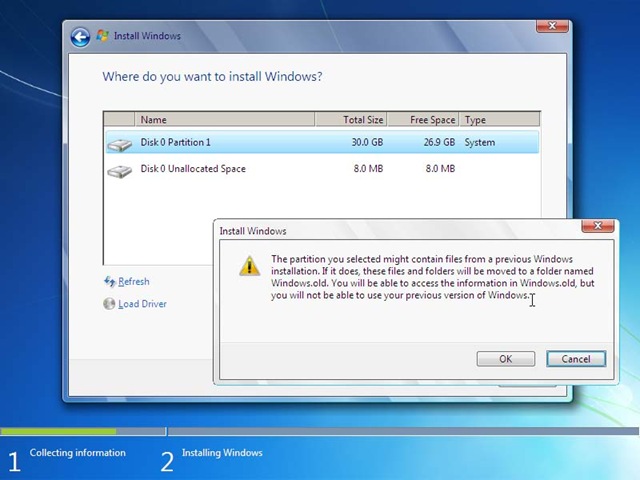
During the installation Windows 7 detects that there is already an existing installation on the drive and will move any important files and settings to Windows.old. Once the installation is complete you can find the Windows.old folder by clicking Start > Computer > (open the drive on which Windows 7 is installed, usually C:), at the root of the drive, you should see it there. If not, click Organize on the Command Bar, go to the View Tab and select the radio box for ‘Show all hidden files, drives and folders’. Then click Apply and OK.

Windows.old
Inside the Windows.old folder, you will see three folders: Documents and Settings, Program Files and Windows. We are going to look at using Documents and Settings to restore our personal files such as Documents and Emails. One of the changes Microsoft made is to remove programs previously bundled with Windows such as email, video editing, instant messaging. You can download the successors to these programs for free at https://explore.live.com, it’s now called Windows Live Essentials 2011.

Windows 7 desktop
So, you don’t see any of your Documents and Music files you had in your folders in Windows XP, after doing the custom clean install. Before you panic lets first look if the Windows.old folder was created.
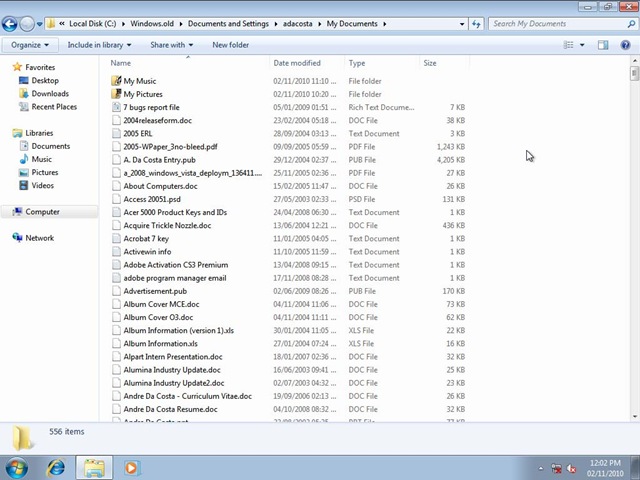
If it’s there, open the Documents and Settings folder, look in your old account folder, in my case it’s adacosta, there you will see all of your files.
Recovering your personal files
After discovering your personal files, all you need to do is copy and paste them to their respective folders in Windows 7 such as Documents, Music, Picture, Videos, etc.

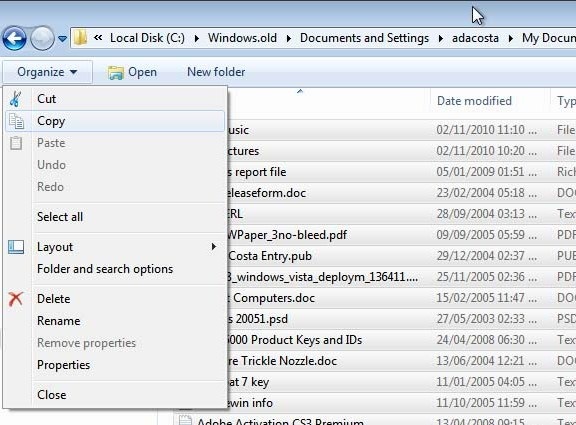
Click Organize on the command bar, click Select All, click Organize again, then click Copy. (Quick tip, press CRTL + A on your keyboard, then CTRL + C).

Then click Start > Documents > Organize > the click Paste or use the keyboard command CTRL + V).
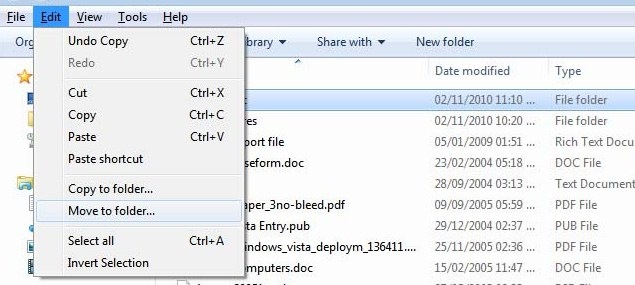
That’s it, of course, the My Music folder will be placed here, if you want to have it situated in the Music folder instead, select, press Alt on your keyboard, click Edit drop down menu, click Move to Folder > select Music > then click Move. The same can be done for your My Pictures and My Videos folder if you have any files stored there.
Recovering your Email Messages
Now, this is one of the big concerns when moving from Windows XP to Windows 7. Where is my email program, where are my emails? As I noted earlier, there is no built in email program in Windows 7, you have to download one, you are not limited to the free Windows Live Mail program, if you prefer an alternative such as Microsoft Outlook or Mozilla Thunderbird, you can use those too. Just for this article, we are going to be using Windows Live Mail. Before importing our messages into Windows Live Mail, we first need to find where the messages are located, then copy and paste the folder in a location that is discoverable by Windows Live Mail. Click Start, open Computer, click Organize on the Command Bar > Folder and search options > View (tab) > in the Advanced settings: list, select ‘Show hidden files, folders, or drives‘ under Hidden files and folders. The click Apply and OK.
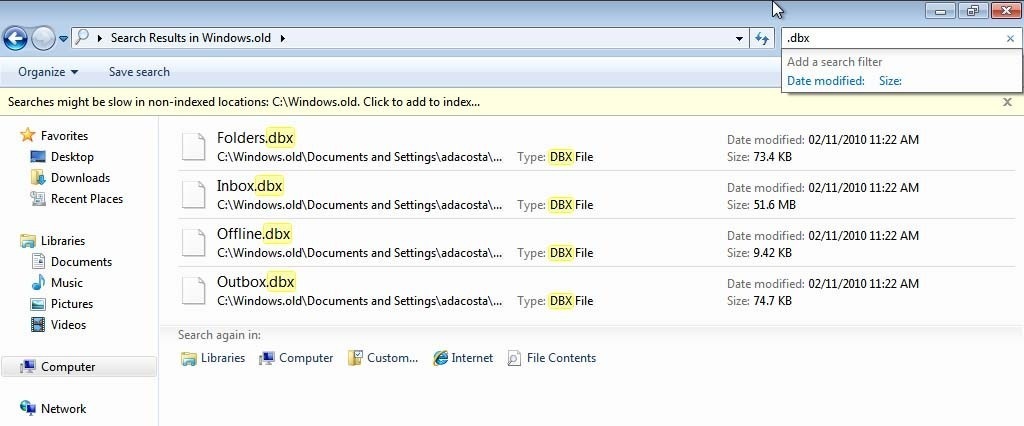
Click Start, open Computer > open the C: drive, open the Windows.old in the search box, type the following extension: .dbx
You will now see multiple files with the extension .dbx select all of these files, click Organize, then click Copy. Click Start, open the Documents folder, create a new folder, call it Backup Mail. Open it, click Organize then click Paste.
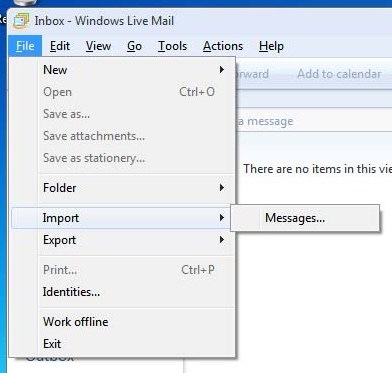
Once you have configured Windows Live Mail, press Alt on your keyboard (this is for Windows Live Mail wave 3), then select File > Import then click Messages.
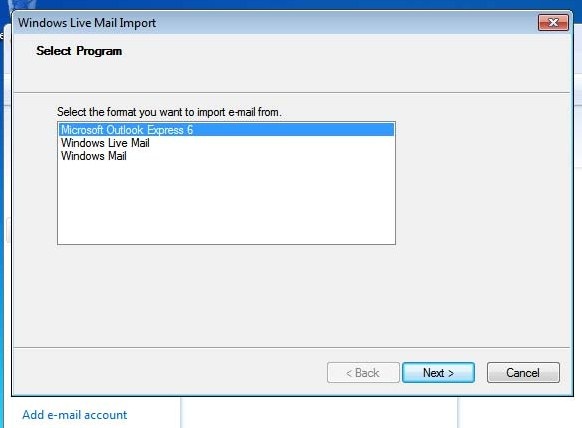
Select Microsoft Outlook Express 6, if you have upgraded from from Windows Vista and used Windows Mail that came built in as the mail client, select that. If you upgraded from Windows XP or Vista and used a previous version of Windows Live Mail such as version 2008 (build 12.0.1606), select that option, then click Next.
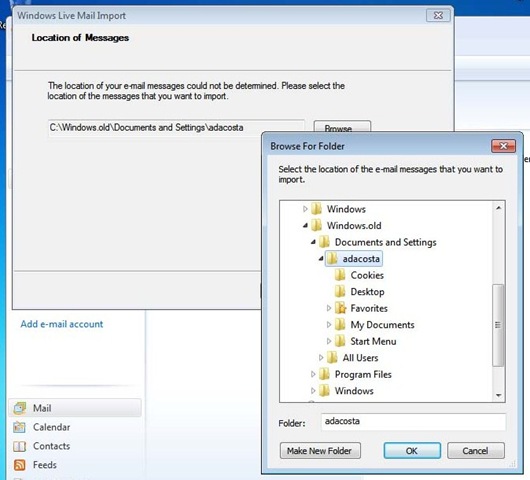
At the Location of Messages screen click Browse navigate down to Backup Mail folder we created earlier containing the .dbx files.
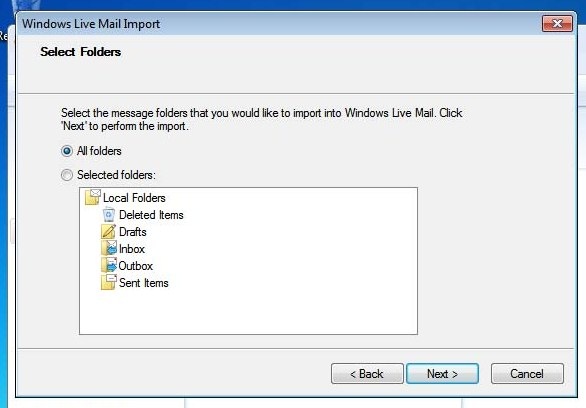
Click Next, you will now see the Select Folders screen, go with the default All Folders, then click Next.
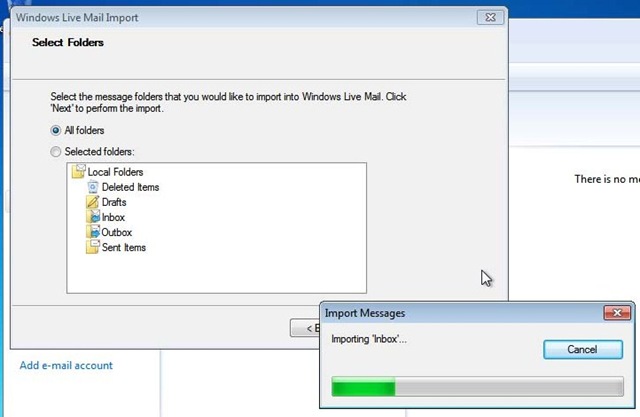
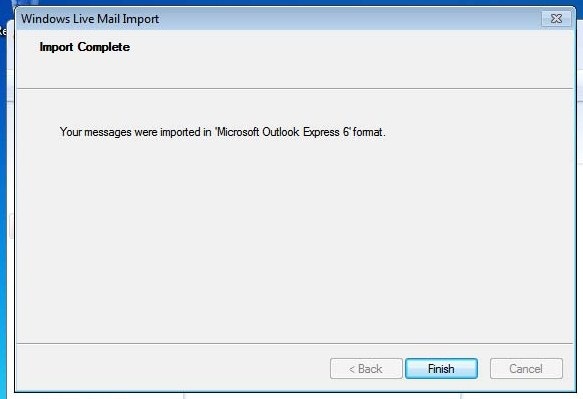
You will now see your messages import, click Finish to complete. If you don’t see your emails populated, make sure you expand the Storage folders tree in the Folder pane, expand the Imported Folders then expand Local folders then click Inbox. If you don’t see this folder, restart Windows Live Mail and try again.
Windows Live Mail 2011 users can start the import process by clicking File menu then click Import Messages follow the same instructions for importing. That’s it!
Should you delete the Windows.old folder? The Windows.old folder can take up a considerable amount of disk space, but I don’t recommend you immediately delete it, just in case you might need to copy over a missing file or folder. Also, if you need to reinstall Windows XP or Vista in the future and you don’t have access to your recovery media, Windows.old might be all you got left to do so.
In our next article, we will be looking at using Windows.old to do a downgrade installation otherwise known as uninstalling Windows 7.
Related Posts
-

Microsoft’s Windows operating systems let users do a lot of things. Every day, machines loaded…
-
While most people can access their email via the web these days, having a dedicated…
-

Even though Windows 10 has made upgrading Windows easier than ever, sometimes you still need…