Microsoft’s Windows operating systems let users do a lot of things. Every day, machines loaded with Windows 7, Windows 8, Windows Vista and Windows 10 allow users to create documents and spread sheets. A Windows PC can browse the web, or send an email with just a few button presses. Regardless of what you’re producing, capturing screenshots is absolutely crucial. They are the easiest way to get some information into some that you’ve made without having to recreate the information again.
Here’s how to take screenshots in Windows 7, Windows 8, Windows Vista and Windows 10.
Before we begin, it’s important that you know what version of Windows you’re using. In recent years Microsoft has introduced new ways of taking screenshots that are more user-friendly. Which options are available to you depends on which operating system your device is running.
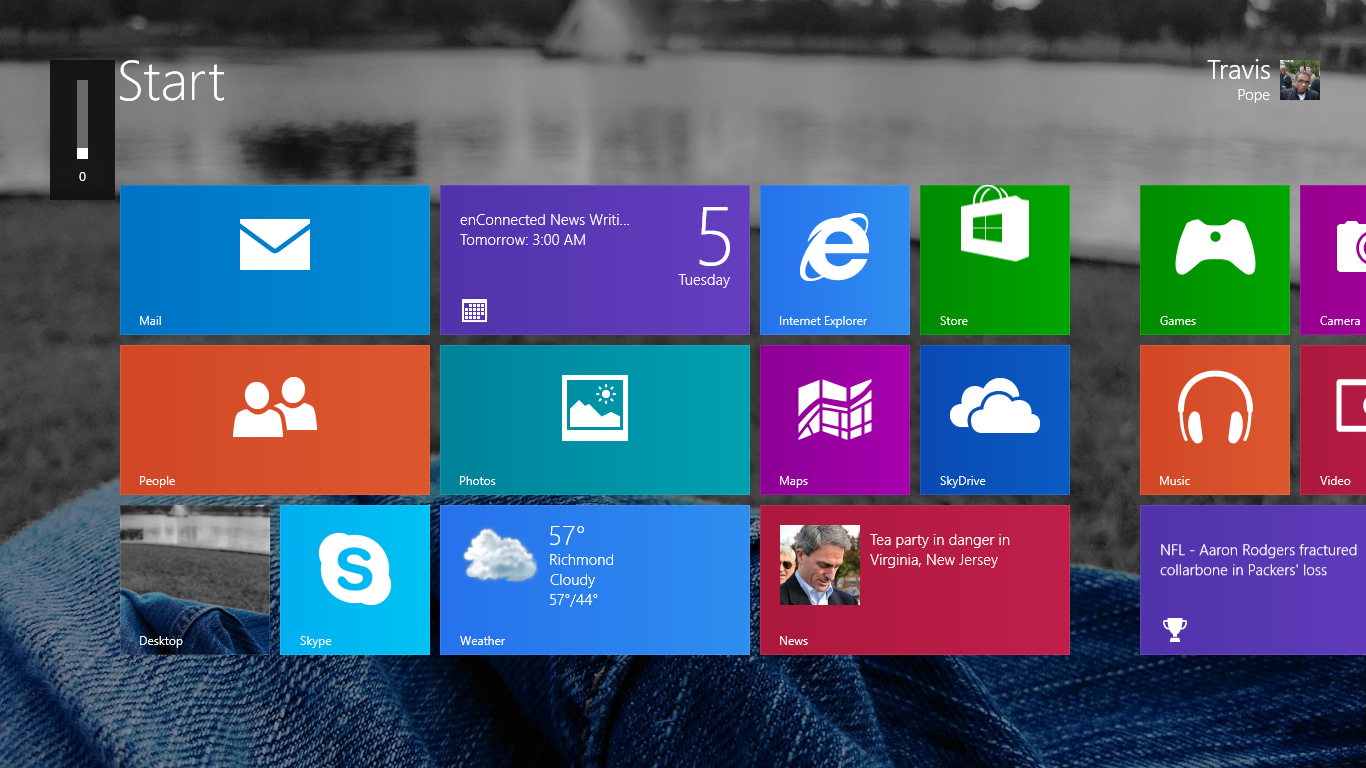
If you don’t know what version of Windows you’re using yet, that’s ok. If you press the Windows button on your keyboard and you see a colorful Start Screen you’re using a version of Windows 8. Microsoft’s latest operating system, Windows 10, has a search bar built into the Taskbar on the left side. If you press the Windows button and you see a small Start Menu that doesn’t take over your screen, you’re using Windows XP, Windows Vista or Windows 7.
To be sure of the version you’re using, go to the Computer icon on your desktop and right-click. Now click for Properties. That’ll tell you your version of Windows. There should also be a sticker somewhere on your device telling you the name of your operating system.
Print Screen Button – Windows 10, Windows 8, Windows Vista, Windows 7 Windows XP
The most universal way of capturing a screenshot in Windows involves something called the Print Screen key. If you’re using a notebook or desktop, chances are that you have a physical button on the far right corner labeled “PrtScr” or “Print Screen.”
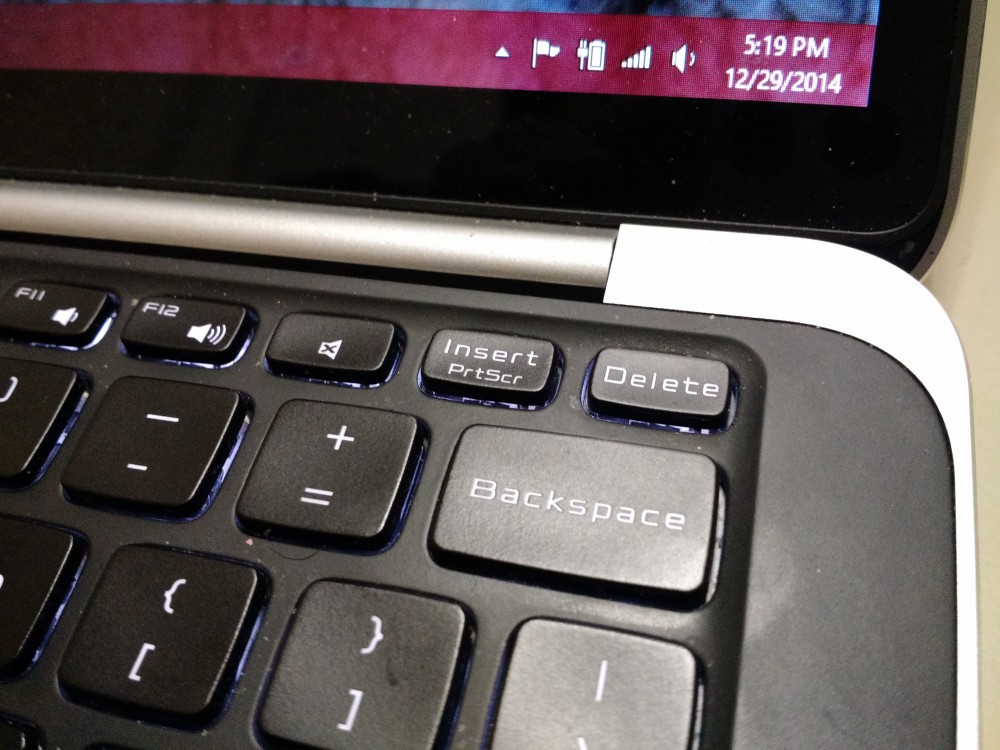
Depending on your keyboard layout, you can press the PrtScr button or PrtScr and Fn button to take a screenshot. To save you’ll just need to right-click where you’d like to store it and click Save.
Again, this is the most universal way of taking screenshots across different versions of Windows.
Snipping Tool – Windows Vista, Windows 7, Windows 8, Windows 10
Obviously, not having an on-screen way to do this wasn’t exactly user-friendly. With Windows Vista, Microsoft finally added a way to take screenshots without knowing complicated keyboard shortcuts at all. This add-on is called the Snipping Tool and it’s available to Windows Vista, Windows 7, Windows 8 and Windows 10 users.
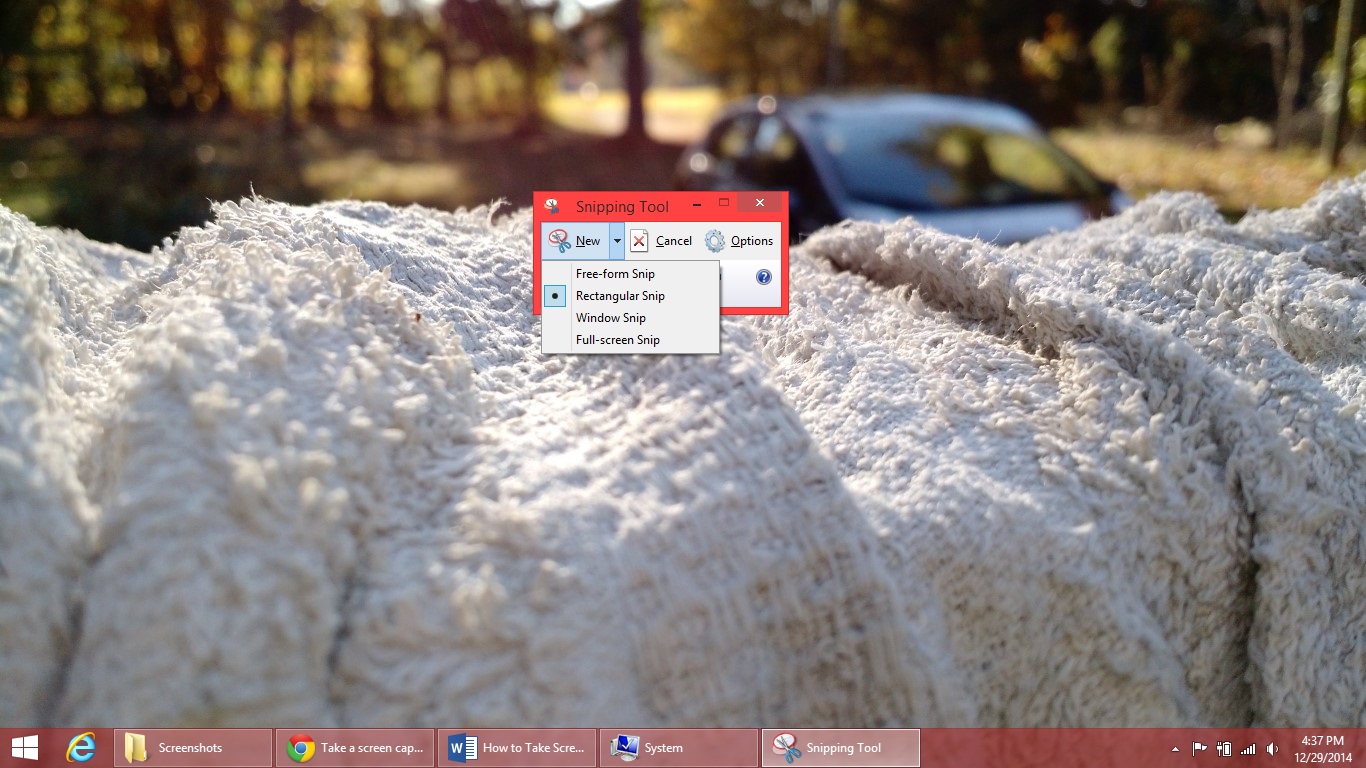
Open your Start Menu or Start Screen by pressing the Window key on your keyboard. In Windows 7 and Windows Vista open the list of Programs and search for “Snipping Tool.” In Windows 8 you’ll need to click or tap on the Search icon in the top right corner of the Start Screen and then type “Snipping Tool.” Windows 10 users can take advantage of the search box built into the Taskbar.
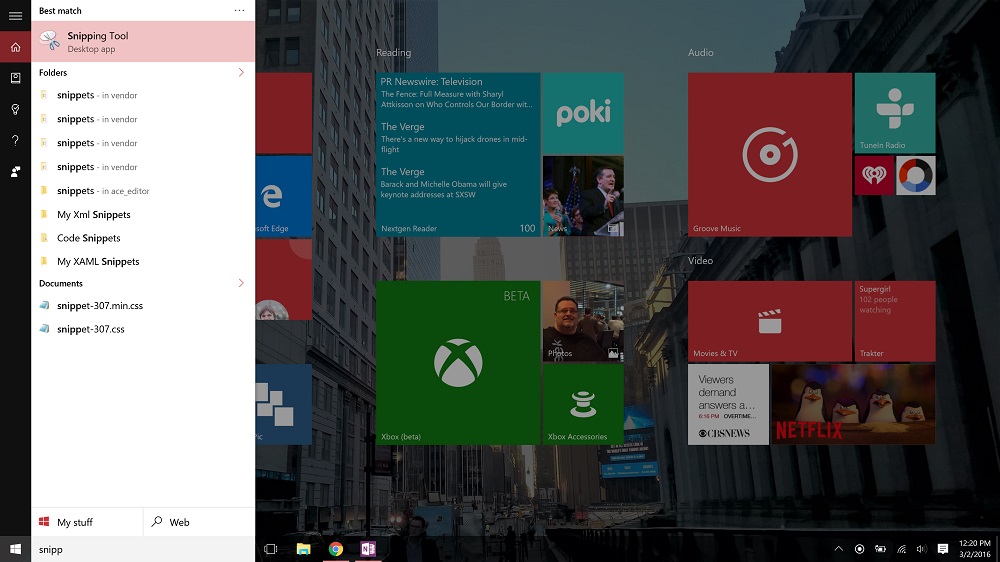
Click on New to decide what type of screenshot you want to capture. You can get an image of your entire screen, things that appear in just a window and in a selected rectangle. Don’t forget to click Save As once you’ve captured your screenshot.
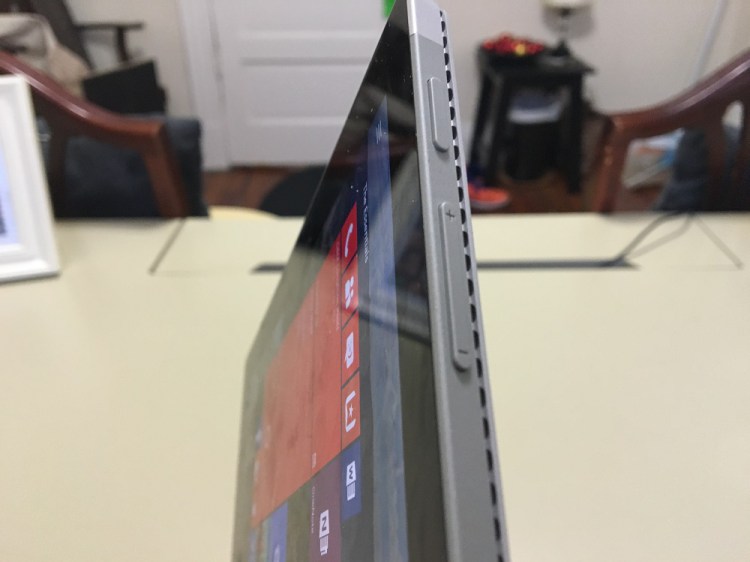
Window Button, Volume Down – Windows 8
Windows 8 introduced two new form factors to the Windows experience. Before, Windows devices were mostly notebooks or desktops. Slowly desktops faded away and we were left with just notebooks. The other two solutions work fine for taking screenshots in Windows on notebooks and desktops. Keyboards and shortcuts aren’t ideal for 2-in-1s and tablets. Users of these devices can’t depend on a keyboard.

To take a screenshot on your Windows 8 2-in-1 or tablet press the Windows button near your display and the physical volume button at the same time. Your screen will darken and save an image of what’s on your screen in a folder labeled Screenshots under Photos. Those with a keyboard can also press the Window key and the PrtScr button to take a screenshot.
Power & Volume Down – Windows 10
Windows 10, the free update for devices running Windows 8 and Windows 7,maintains all the ways of capturing screenshots that were present in Windows before. There are some new wrinkles in the experience though.
For starters, Windows 10 effectively kills off the dedicated Windows button. Tablets and 2-in-1s with the button built-in are fine, but newer machines don’t include it. That forced Microsoft to find a new shortcut for capturing screenshots on tablets in Windows 2-in-1s that don’t have keyboards available all the time. The new shortcut is to press the Power button and Volume Down button at the same time.
Additionally, the settings for Microsoft’s OneDrive cloud service allows users to automatically upload screenshots directly to a OneDrive storage account instead of storing them only a single PC. OneDrive is a built-in app in Windows 10; select it from the list of installed apps on your device to begin the setup process.
No matter which way you take a screenshot in Windows, you need to remember a few things. First, whatever, is on your screen will show up in that screenshot. As such, it’s a good idea to make sure that whatever you’re showcasing is something you want shared.
Remember to hide sensitive material like your email address, personal emails or messages you’re answering. Second, if you can, always use the Snipping Tool. Using the Snipping Tool gives you better control over what you’re capturing. It also allows you to save it in a format of your choice. That’s very important, because using the other Windows 8, Windows 10 and Windows Vista options defaults to PNG files. PNG files can take up a lot of storage and aren’t something that you can upload everywhere.
Have fun taking screenshots in Windows.
Related Posts
-

Even though Windows 10 has made upgrading Windows easier than ever, sometimes you still need…
-

On August 2, 2016 the Windows 10 Anniversary Update came out with some cool new features…
-
If you invested in a Microsoft Surface Pro 4, Surface Book or one of the…