The process of erasing a computer and reinstalling the operating system and software can take hours, but not with the Chromebook’s Powerwash feature. This simple solution erases a Chromebook or Chromebox computer and re-installs a fresh copy of ChromeOS. After the user signs into the Chromebook, all their apps and settings will restore themselves to the computer. This whole process takes less than an hour at the longest, usually less than 30 minutes, compared to 10-40 hours with a Windows or Mac setup.
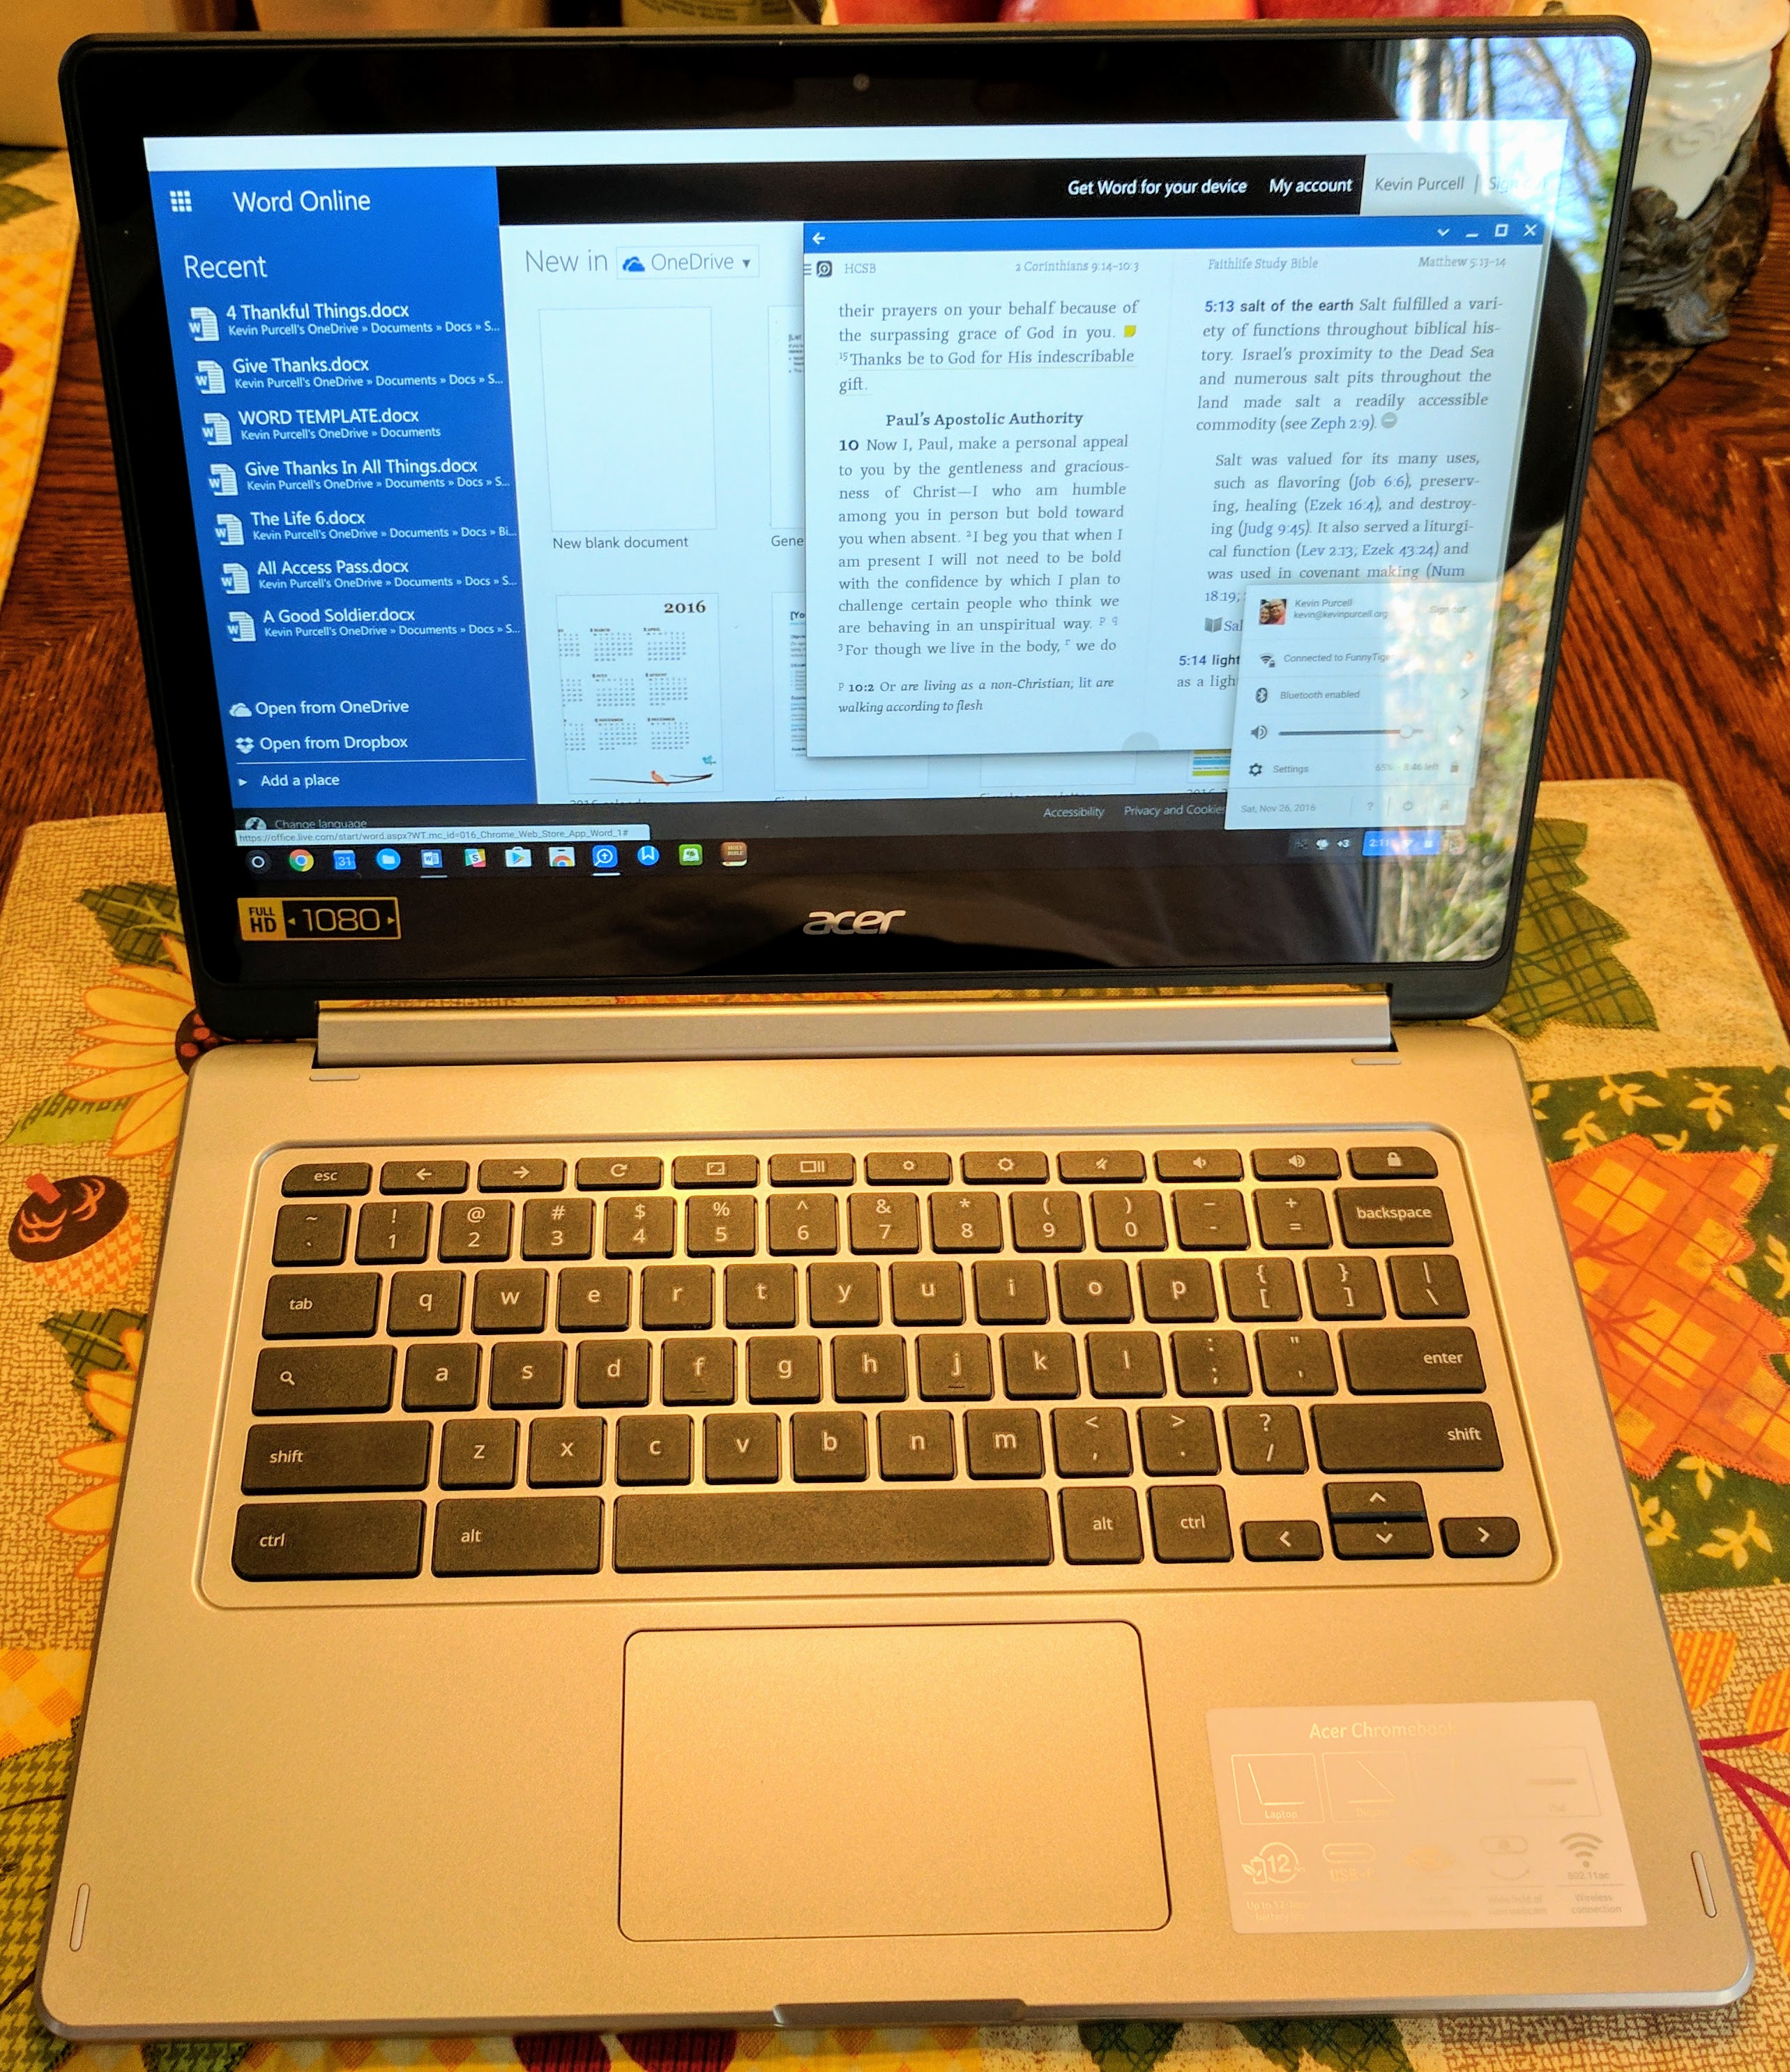
We’ll show users how to do a complete Powerwash on their Chromebook using the Acer Chromebook 15. It works identically on all ChromeOS machines running the same version of the OS. Regardless of the version running on your machine, it should work similarly.
When to Powerwash Your Chromebook
Why would a ChromeOS user need to Powerwash their computer? Any time you’re experiencing problems like app crashes or poor performance, you should consider using these steps. If you want to give the Chromebook to a new user, then Powerwash to erase it. The new user can then log into the system. Google offers a few more reasons help page:
- You see a message telling you to do so.
- The user profile or settings don’t seem to work properly.
- A restart of the Chromebook doesn’t fix all the problems.
- You’ve already turned off extensions that might cause problems.
Users should also try another step before using the Powerwash. Google calls this a hardware reset. It’s not a Powerwash, but it does more than restarting the computer. It refreshes the computer’s recognition of the hardware features installed on the computer. Find the steps for most of the computers available at the Google Powerwash help page.
Backup Your Data
The Powerwash will totally erase the storage on the computer. If you’ve got any important files, then you’ll want to back them up.
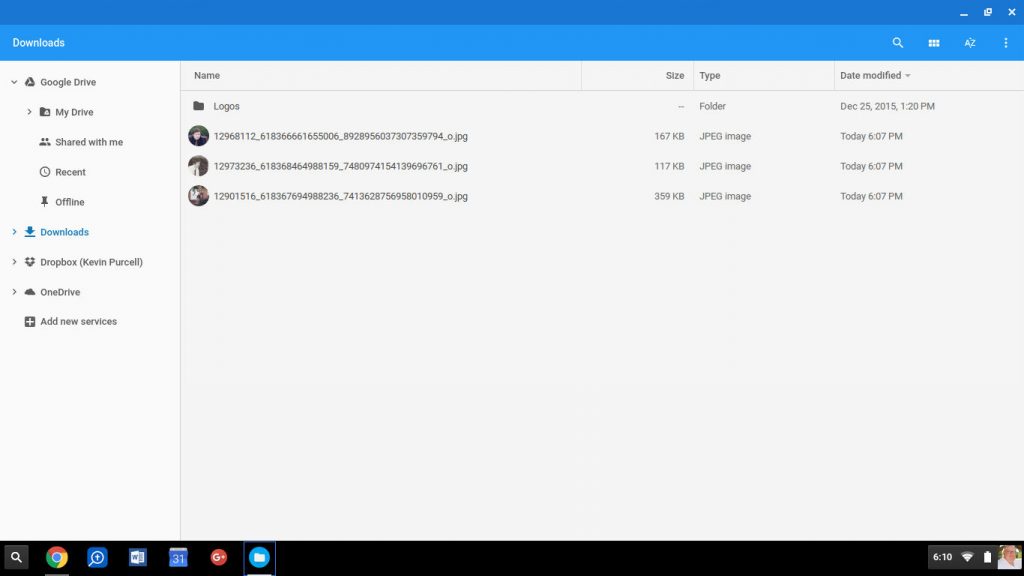
Most Chromebooks include an external storage connection like an SD card, micro-SD card or USB port. Pick which one you’d prefer to use and plug it into the computer. Open the Files app on the Chromebook and copy the files from the internal storage to the external storage.
Some users might prefer to backup their files by copying to an online storage option. In the lower left corner of the Files app you’ll see Add new service. Click it and sign into Dropbox or OneDrive. If you prefer to use Google Drive instead, it’s listed in the top left part of the Files app. Copy the files you wish to back up.
Powerwash the Chromebook
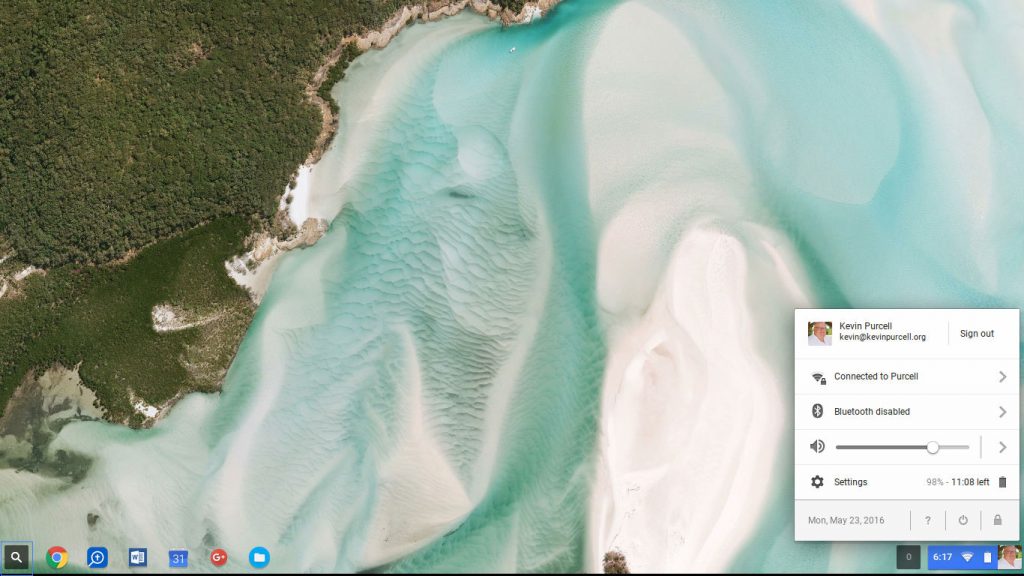
After the files get backed up, it’s time to Powerwash the system. In the lower right corner, there’s a small toolbar with the time, a Wi-Fi symbol, the battery symbol and the user account avatar. Click in that area to bring up a pop-up menu. Click on Settings.
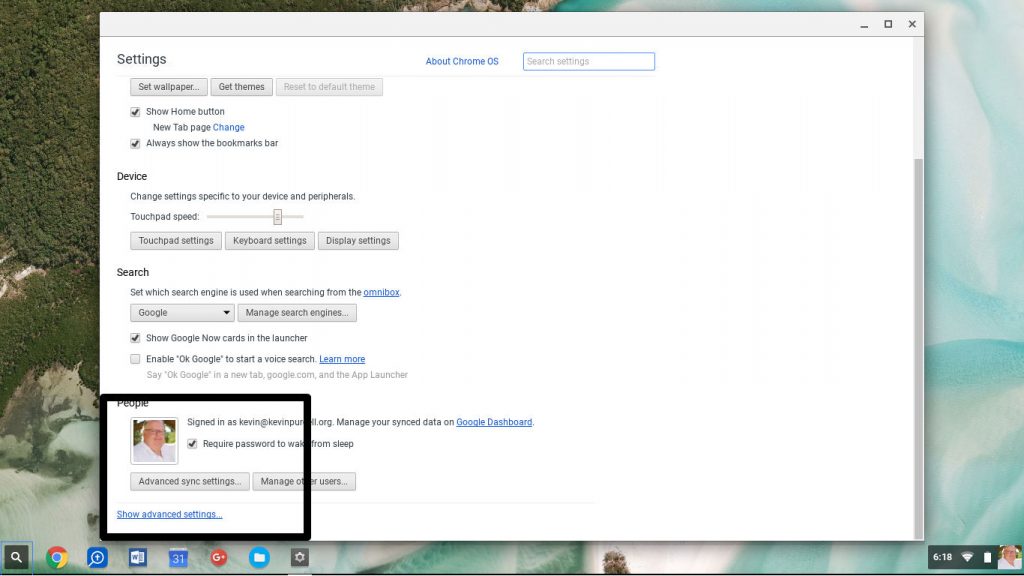 The Settings screen shows options for changing the look and behavior of ChromeOS. Scroll to the bottom if you can’t see the link in the left corner that reads Show advanced settings…. Click it and a new section shows up below that line.
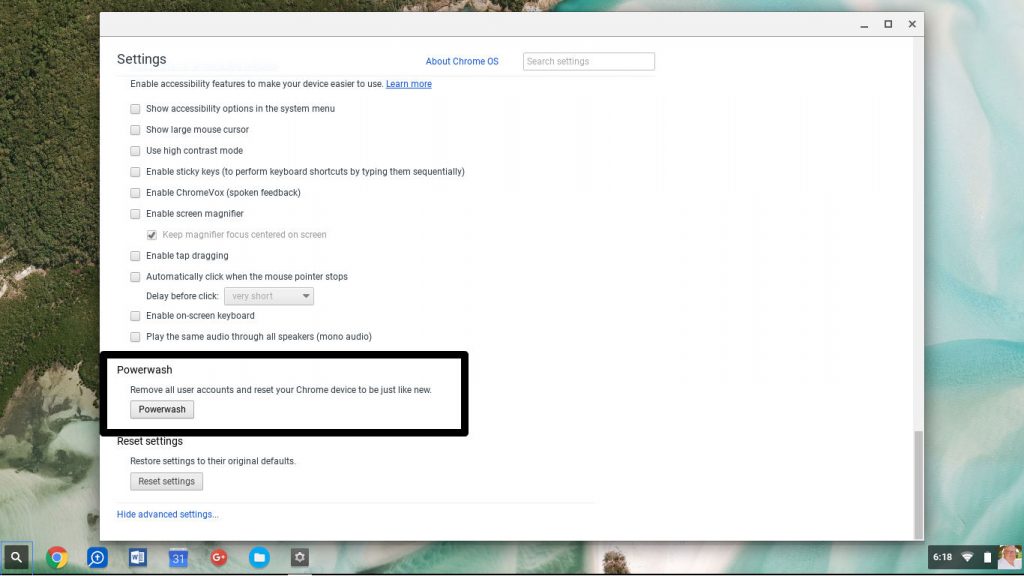
Scroll down till you see the section labelled Powerwash. Click the button. A dialog box like the one below appears. Click on Restart.
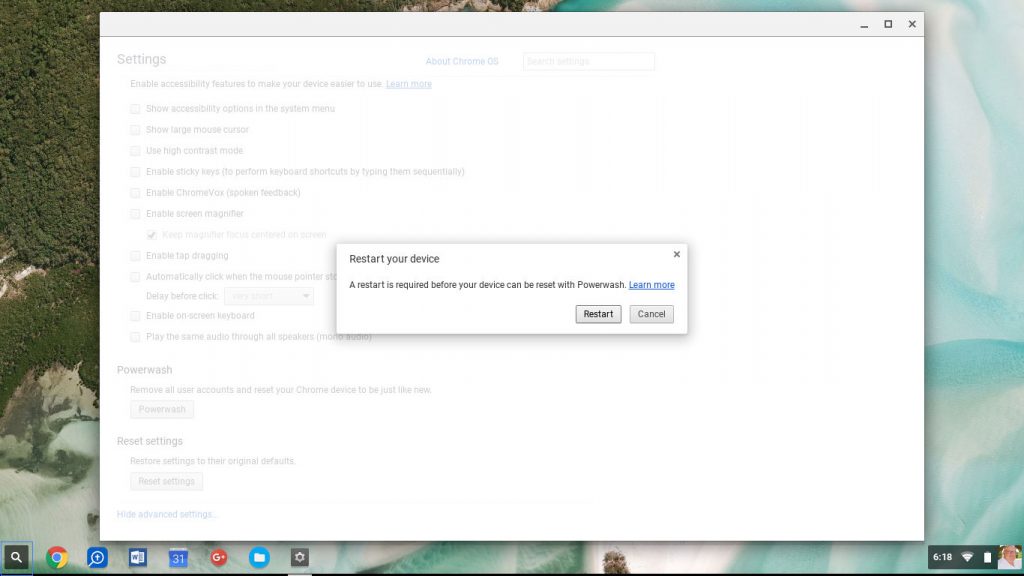
The Chromebook restarts and boots back up asking if you’re ready to reset the computer. Click on the Restart button. Another box asks the user to confirm their choice. The computer then restarts, erases the drive and re-installs the operating system.
Log In to Restore Settings and Apps
After a short time, the computer boots back up and asks the user to enter their user credentials for their Google account. Enter the email address and password. Then the computer finishes the boot process and re-installs all the user’s ChromeOS Web Apps. The whole process takes less than five minutes usually. It will take longer on slower computers or slower Internet connections.
If you connected the Files app to an online storage site like OneDrive or Dropbox, open it again and reconnect using the link in the lower left corner that reads Add new services. Choose from the list and enter login information.
Related Posts
-

At CES 2017 Samsung unveiled their long-awaited Samsung Chromebook Plus and Samsung Chromebook Pro. Both…
-
If you're looking for a cheap laptop, it's hard to miss the wave of inexpensive Chromebooks. But…
-
The Acer Chromebook R13 brings Android to ChromeOS in an attractive convertible computer form factor.…