One of the benefits of digital cameras is the ability to instantly see what you have captured, another key benefit is ease with which it makes sharing those memories. For years now, there have been a host of online services available to share photos. In this article, we take a look at three popular services for sharing photos online.
This shouldn’t be a surprising first choice since a lot of people are a members on the popular social networking service. Its most likely your relatives and friends are on it too. You can share photos through the Facebook upload client tool, lets take a look at how to do it:
First, log into Facebook.
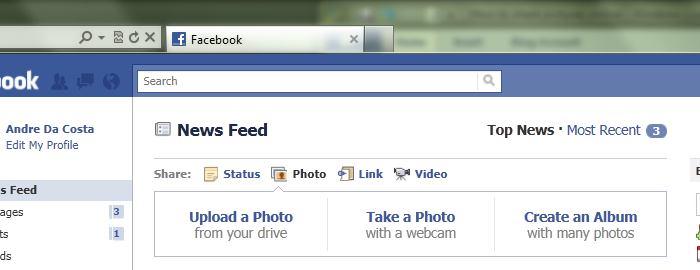
Click on Photos up at the top of the Facebook page.

Click Create album
First book will load a small java based applet, which is a small program for uploading the photos.
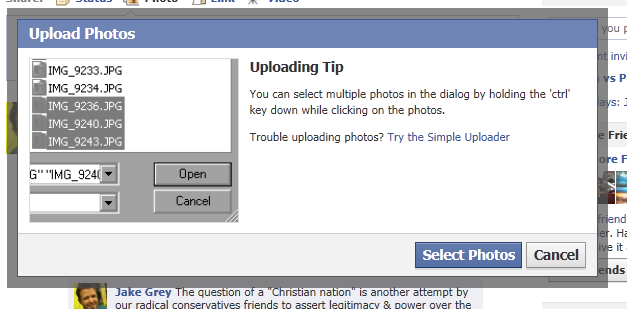
Click Select Photos
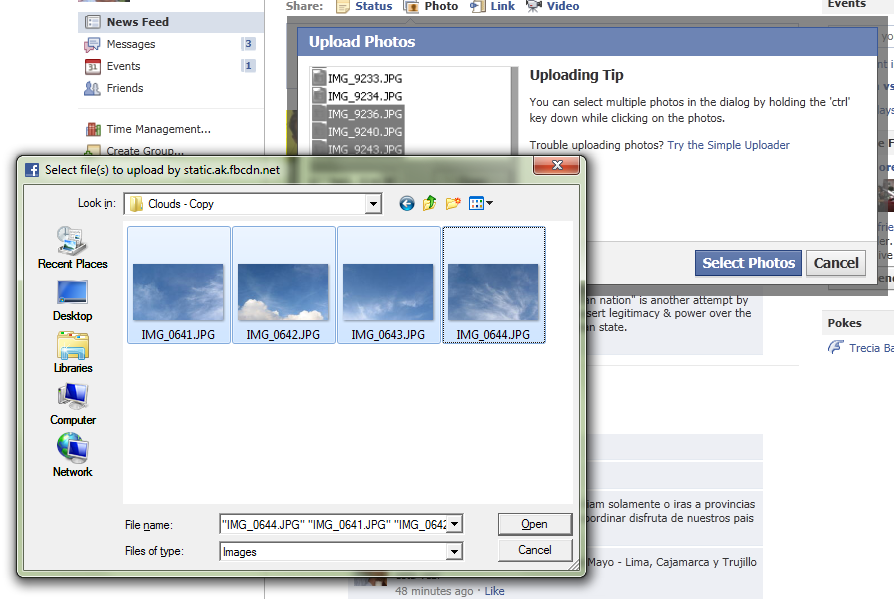
Browse to the location on your hard disk where your pictures are stored, select them and click Open. Tip: to select multiple photos, hold down the CTRL button on your keyboard and click each photo.

Your photos will now be uploaded.

You can enter some details about the photos while they upload such as: Name of the Album, Location photos were taken and desired quality, Facebook now accepts high resolution photos which look much nicer.
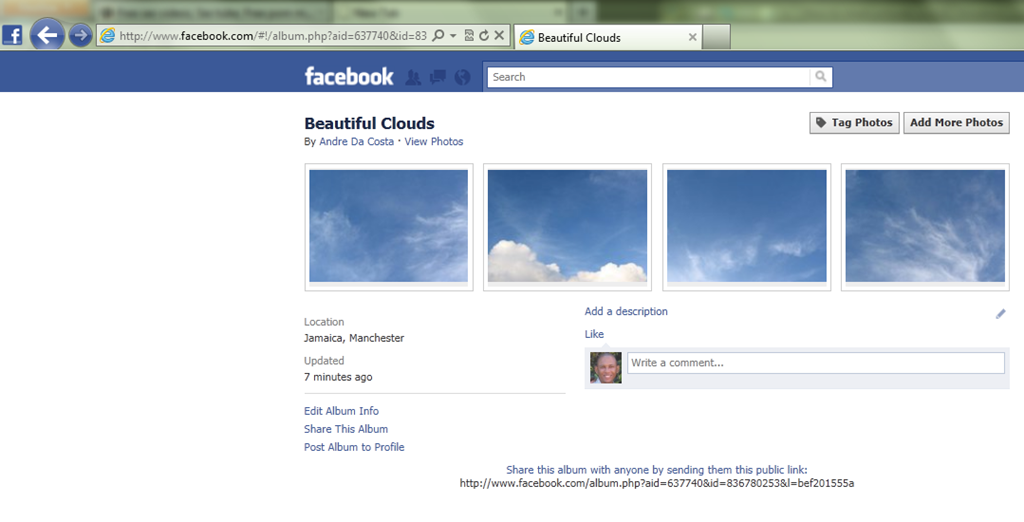
You can also set specific permissions for who is able to view the album. Once you have completed this step, just click Create Album
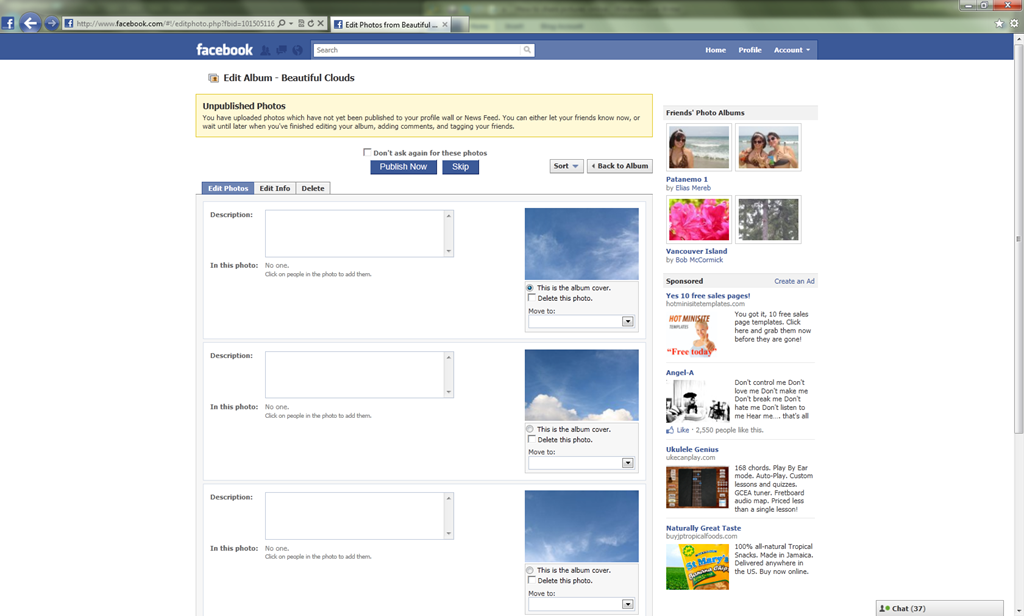
Facebook provides some additional options before you are able to publish your photos, you can provide a small description of each photo if you wish, or you can skip this step and click Publish Now.
Done!
Flickr
Flickr is another excellent free online service for sharing service, this Yahoo! owned company is specifically focused on sharing photos and provides some unique additions such as camera specifications, mapping, sending your photos to an online service for printing, sharing with a Flickr group and doing some basic editing such as rotating photos, control exposure and more using Flickr’s free Picnik web app.
Flickr has some limitations for free accounts:
- 300 MB monthly photo upload limit (15MB per photo)
- 2 video uploads each month (90 seconds max, 150MB per video)
- Photostream views limited to the 200 most recent images
- Post any of your photos in up to 10 group pools
- Only smaller (resized) images accessible (though the originals are saved in case you upgrade later)
If you need more from Flikr, then look into upgrading to a Flickr Pro account.
First, log into your Flickr account:
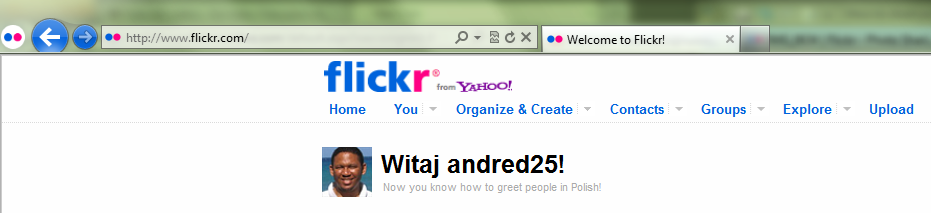
Click the Upload button
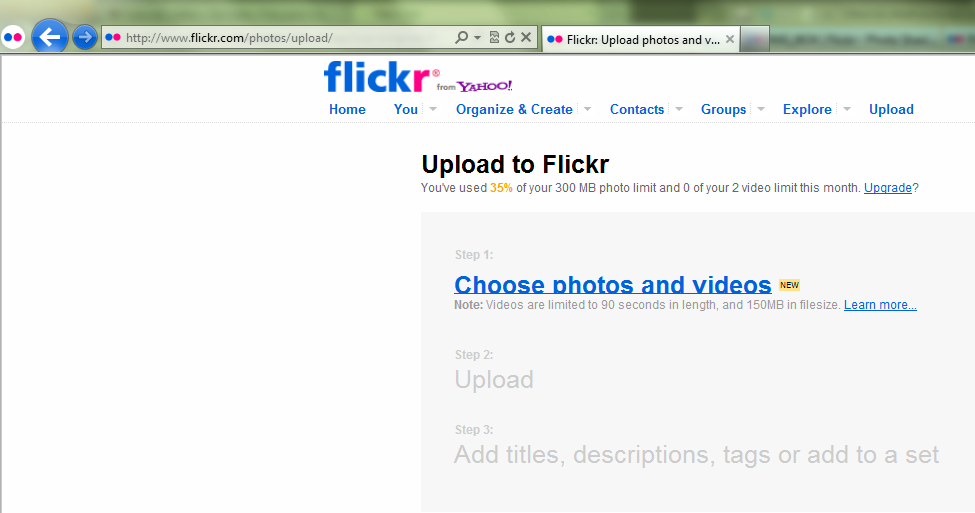
Click the highlighted link Choose photos and videos
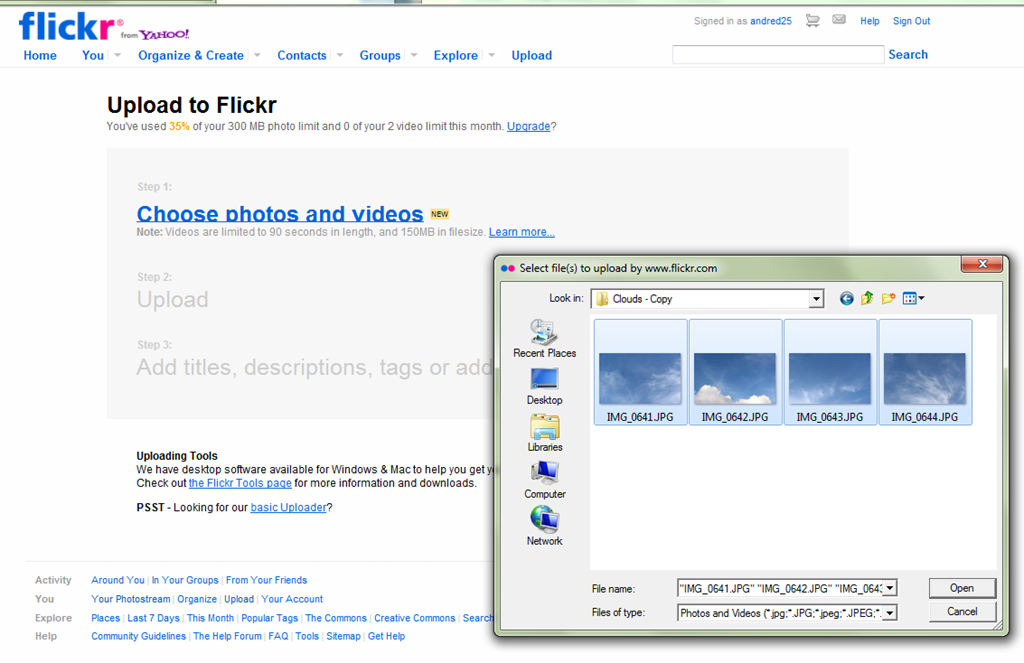
Select your photos, then click Open
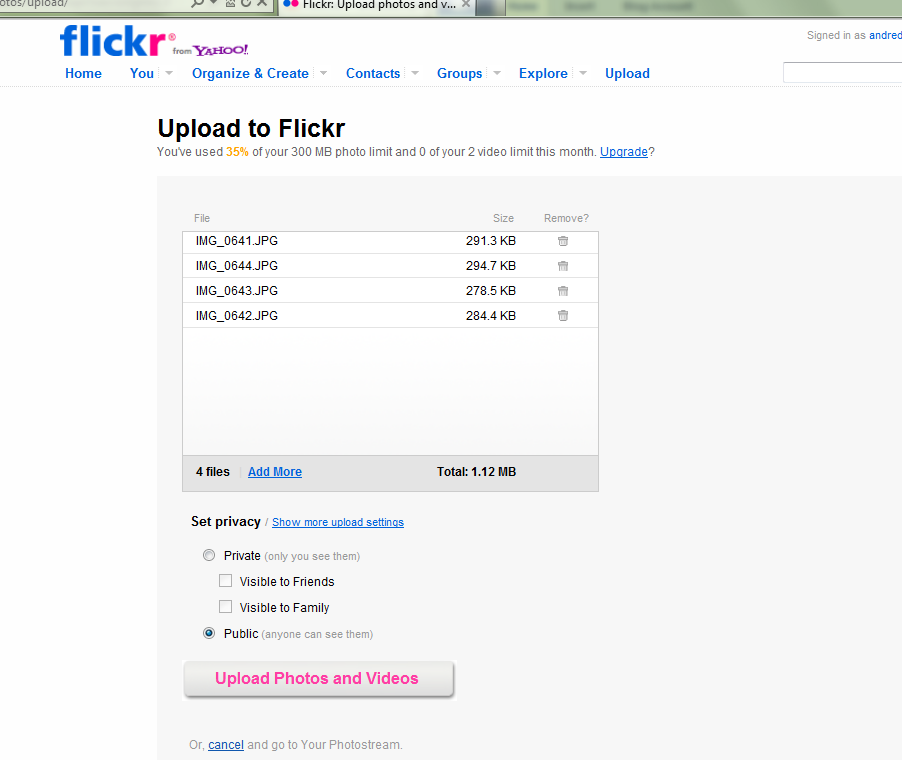
Confirm your selections, you can add more if you want. Next, adjust your privacy settings, you can choose to have your photos visible to only friends, family or public. Once you are satisfied with these options, click Upload Photos and Videos button.

Photos are now being uploaded.
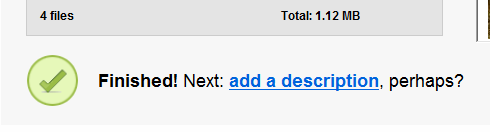
Once completed, you can proceed to add a description to your photos if you wish.
To add the photos you just upload to an album set, on the Describe this upload page, click the Create a set link

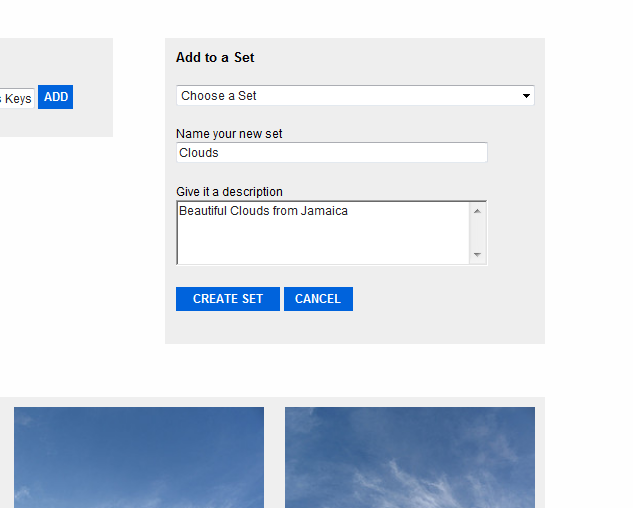
Type in a name and add a short description then click Create Set
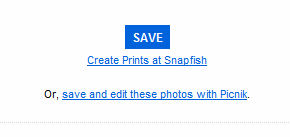
At the bottom of the Flickr page, click Save
If you want to share the album, just go to the photo set, click the Share this link
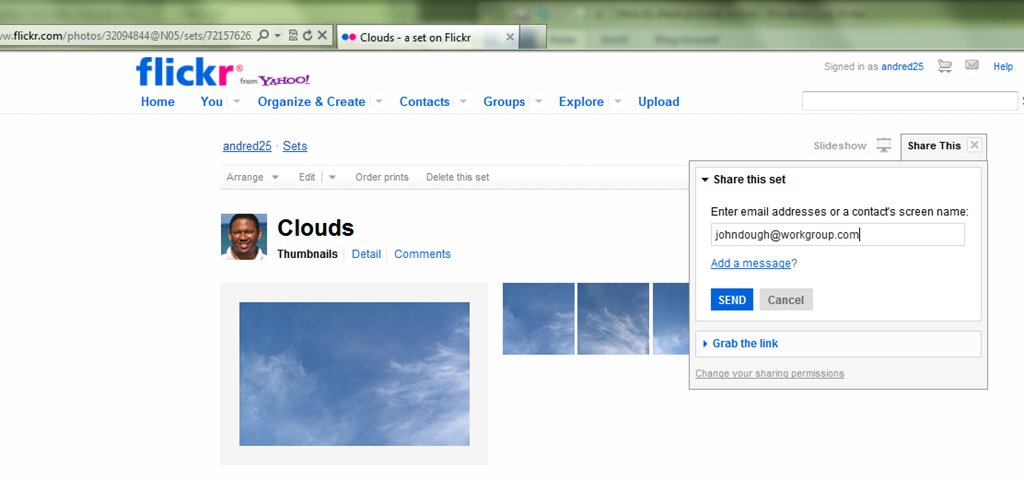
You have the option of sharing by email or a shorted link you can post on Twitter or Facebook.
Windows Live
Another great option for sharing photos online is Windows Live Photos. Part of Microsoft’s collection of online free services called Windows Live, Photos makes it easy to share photos not only with friends on Windows Live, but also friends on Messenger, Twitter and Facebook too.

Once you are logged into any Windows Live Service, click the Photos link at the top of the Windows Live page.
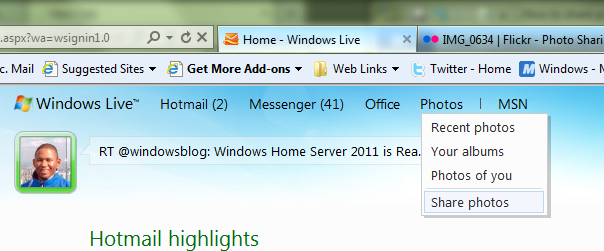
Click Share photos
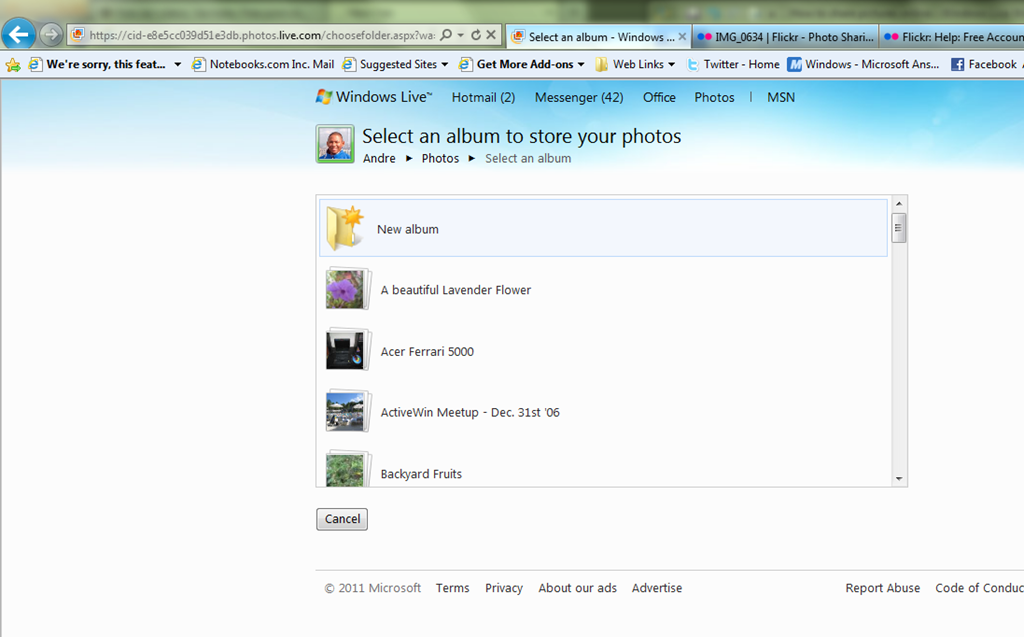
Click New album
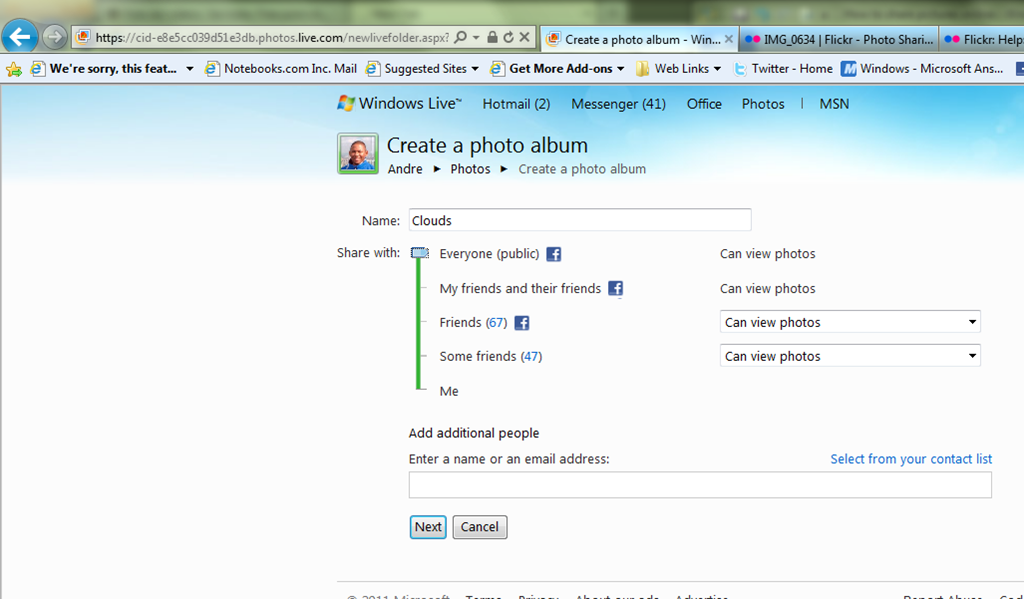
Give the album a name, specify permissions, options include, Everyone, Friends and their friends, just your Facebook Friends, some friends or just yourself. In addition to that, you can enter a few email addresses for persons who might now be in your social networks at the same time.
Once you have completed this action, click Next
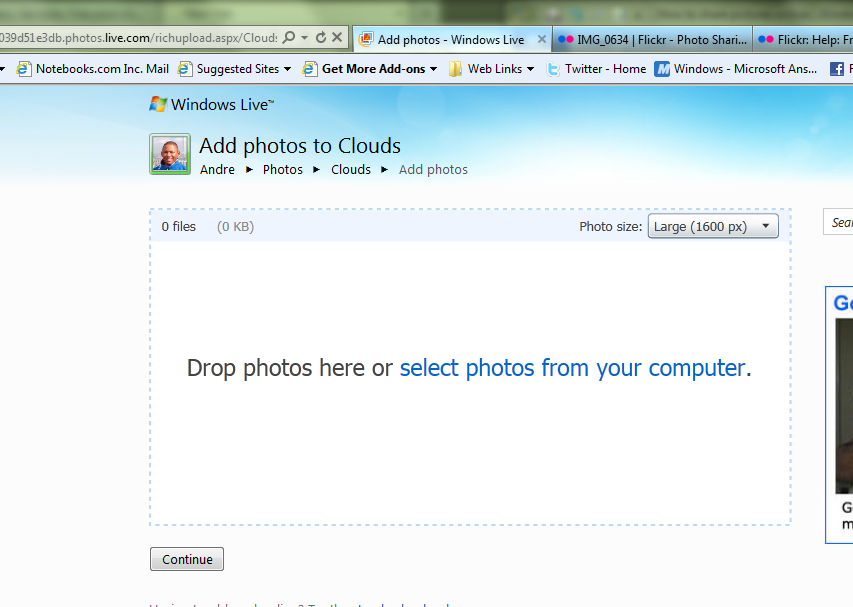
You have the option of simply selecting and dragging your photos into the specified area or browse to where they are located. Lets try the drag option.

Simple drag and drop option from the folder where the photos are located onto the upload photos box and your pictures will be instantly uploaded. After the photos have been uploaded, click Next

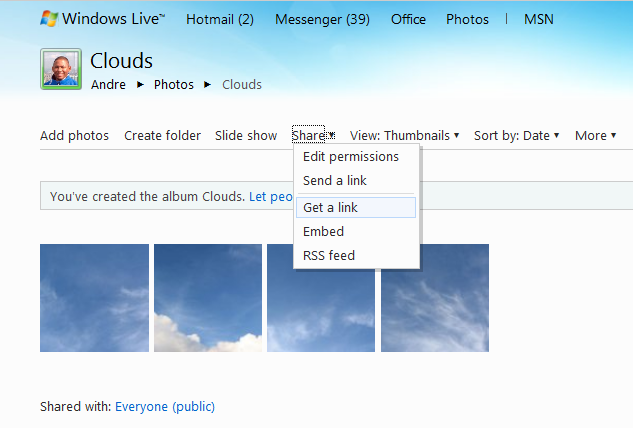
That’s it, if you want to let your friends know that you have just created a new album with new photos, click Let people know link or use the Share option and select one of the many ways you can share your photos.
There you have it, three very convenient ways to share your photos online and they are all free!
Related Posts
-
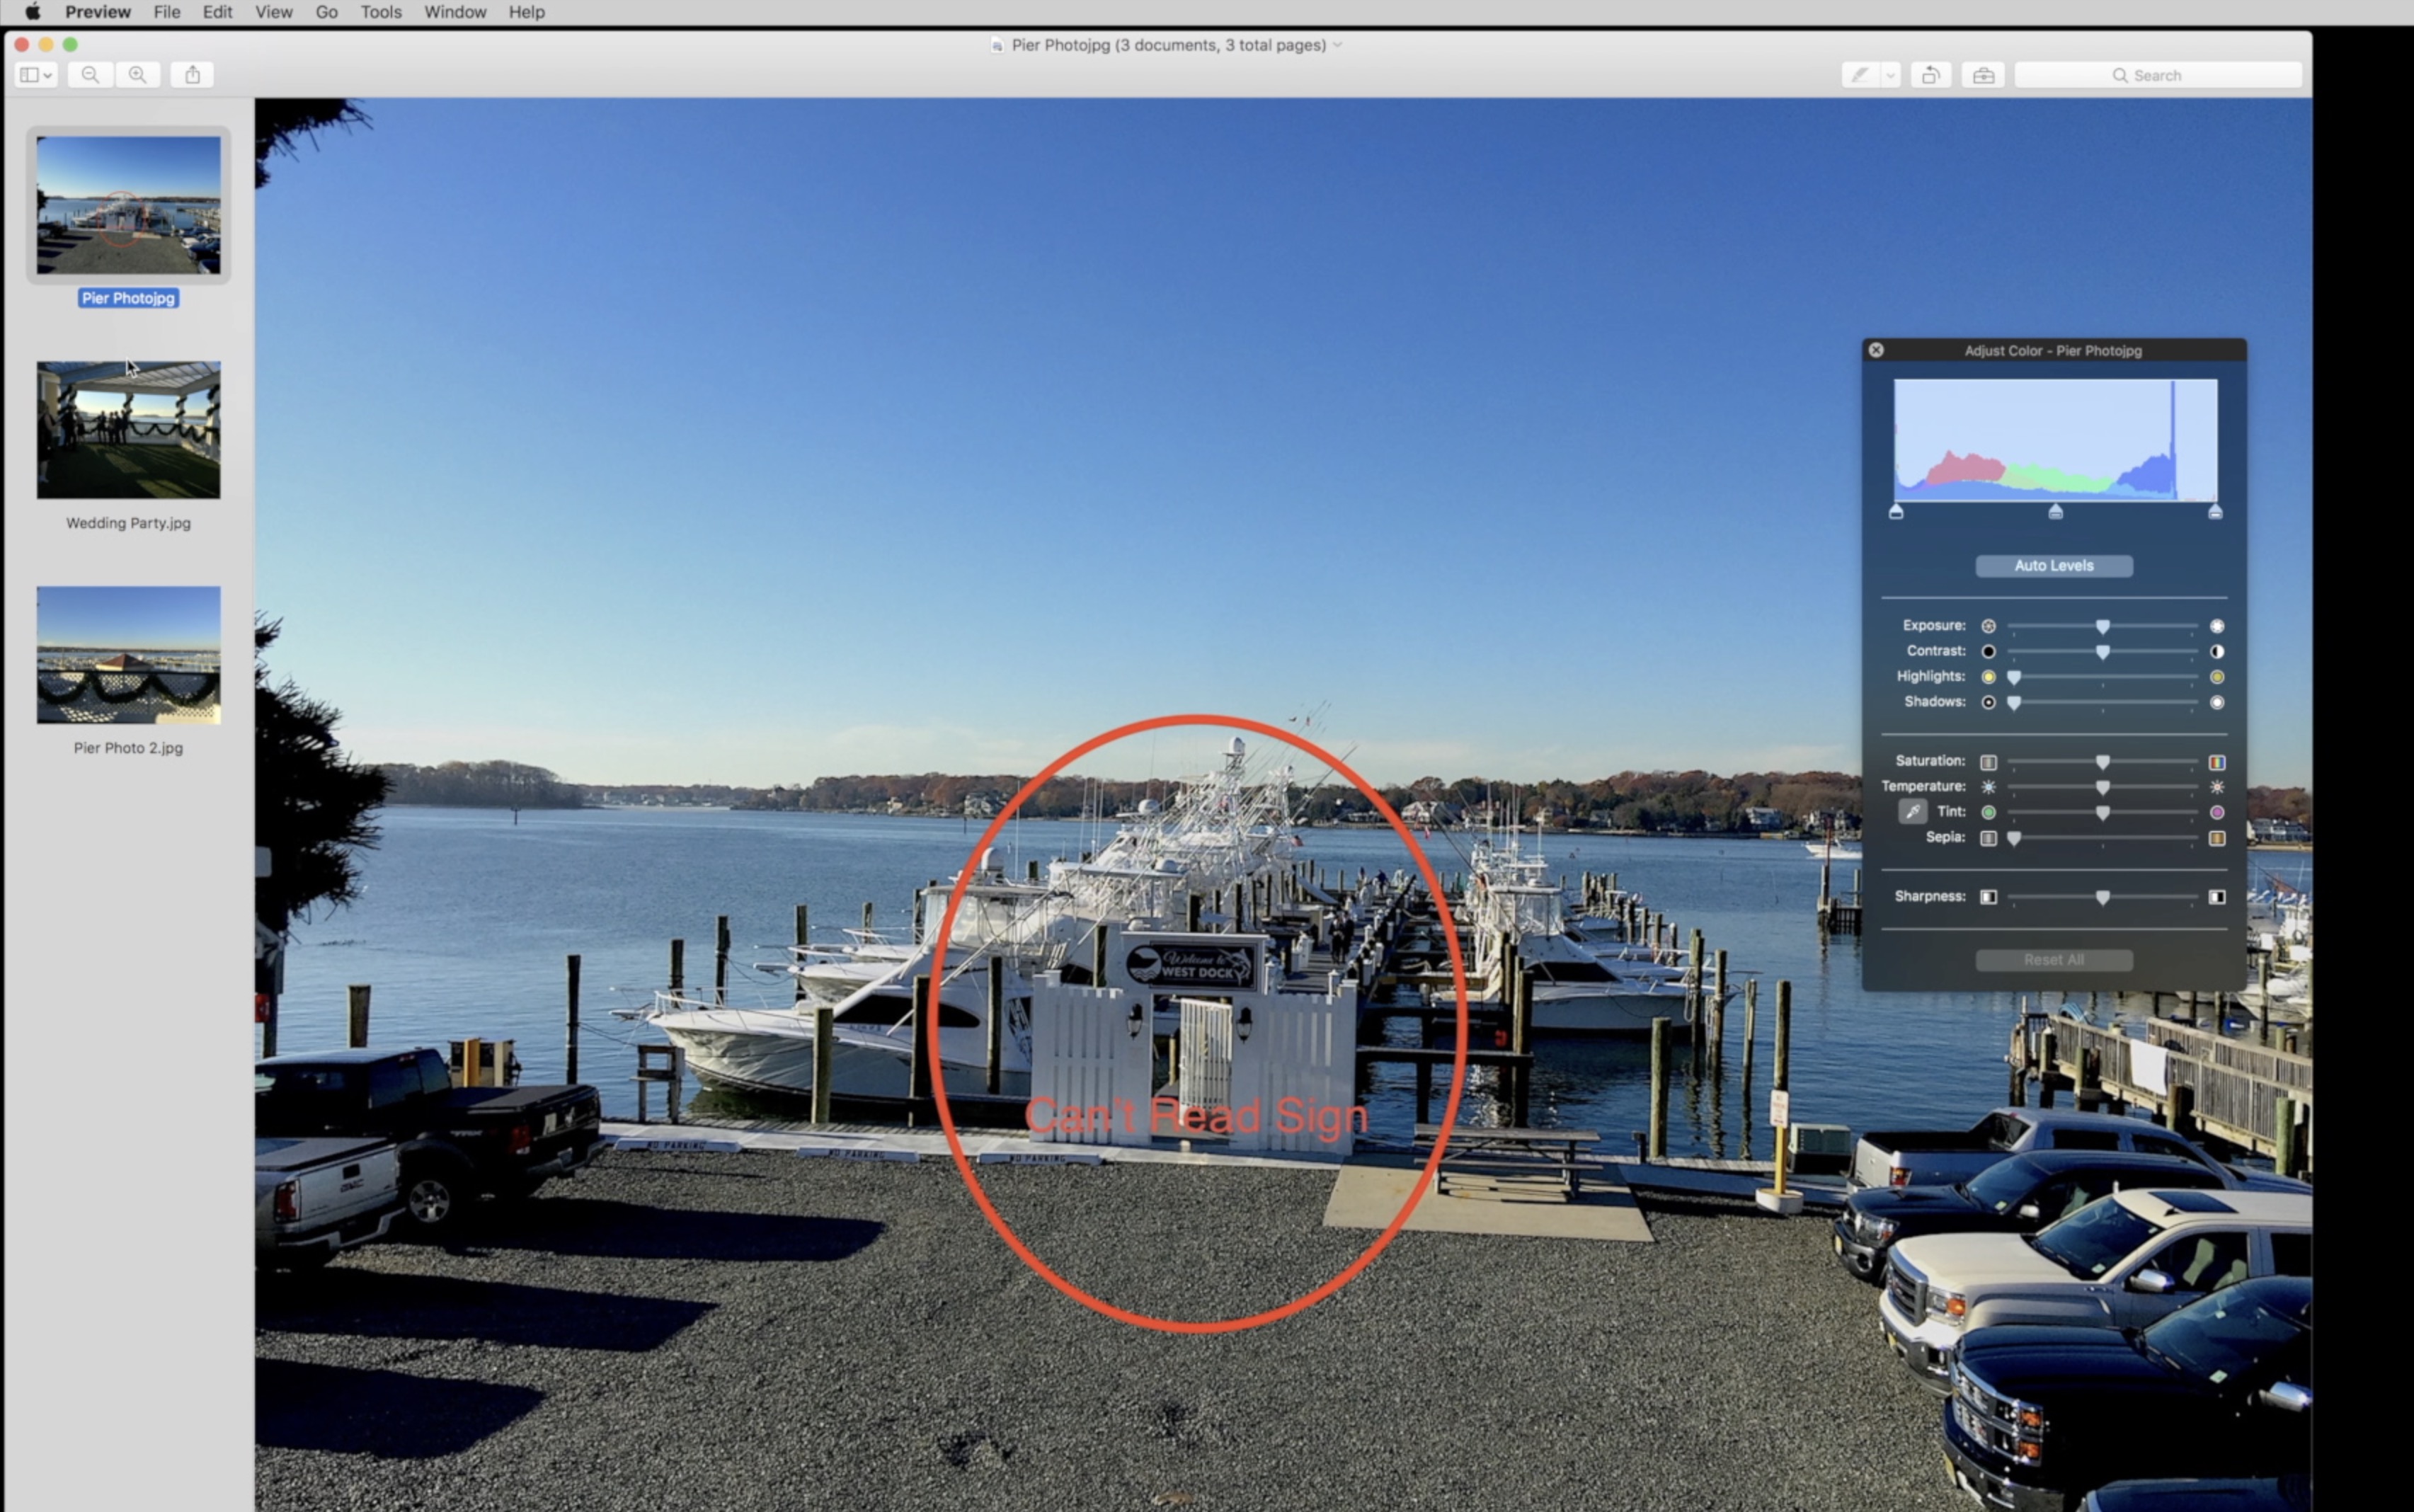
Here is a guide on how to edit photos fast on a Mac using the…
-
While consoles have made streaming easy with single button presses, streaming your PC games can…