 Eye Fi cards are SD cards that fit into your camera just like all other SD cards, but Eye Fi cards have a built in WiFi connection which allows them to upload your pictures and video to your computer or to social networking sites like FaceBook or YouTube. For the most part, the Eye Fi cards work without a lot of setup, but you can change settings on the card and on your camera to make things go smoother.
How to Get the Most Out of Your Eye Fi Card:

1. Power Settings: In order to make sure your photos and videos upload, you can adjust your camera’s power settings to make it stay powered on long enough for uploads to complete. Randhir Vieria, product marketing director for Eye-Fi, tells us that it takes about 3 seconds for the X2 series of cards to upload a 5MB photo and consumers take on average 20 to 25 pictures per session. With this in mind, you can tweak your camera’s power settings to stay on for around 5 minutes you will have the best of both worlds in terms of uploads and battery life. Eye Fi offers a collection of camera directions, or you can go to the settings and look for a power tab or battery options page.

2. Selective Online Sharing: Rather than share all the photos you take, set up selective sharing on your Eye Fi cards options. This allows you to choose which photos to upload by “protecting” them on your camera. You can always share others later from the Eye Fi Online Center.

3. Set up Notifications: In order to make sure your photos arrive online while you are busy taking pictures you can set up notifications so that you can get a text message or email when your upload starts and completes to Facebook or other social sites. This is handy for making sure that your photos are shared when you want them to be.
![]()
4. Endless Memory Mode: Another neat trick is to turn on Endless Memory mode. This mode allows your Eye Fi card to automatically delete pictures and video to free up space so that you never run our of space. Photos are only deleted after the Eye Fi card has made sure that they are safely stored on your computer so you don’t need to worry about deleting a photo you haven’t backed up yet.
![]()
5. Upload Modes: Choose to use Relayed transfer which will upload your photos even if you aren’t on the same network as your computer. You can also turn on “Connect to Public Hotspots”, which will allow your uploads to occur on open public WiFi access points even if you haven’t added them to your card. You can also connect to WiFi hotspot programs in this setting area.

Stay tuned for more Eye Fi card uses and our Full review of the Eye Fi X2 series.
Related Posts
-
The Windows 10 Start Menu looks a lot like the one that came with Windows…
-

The OS X Notes app got more powerful in OS X El Capitan and iOS…
-
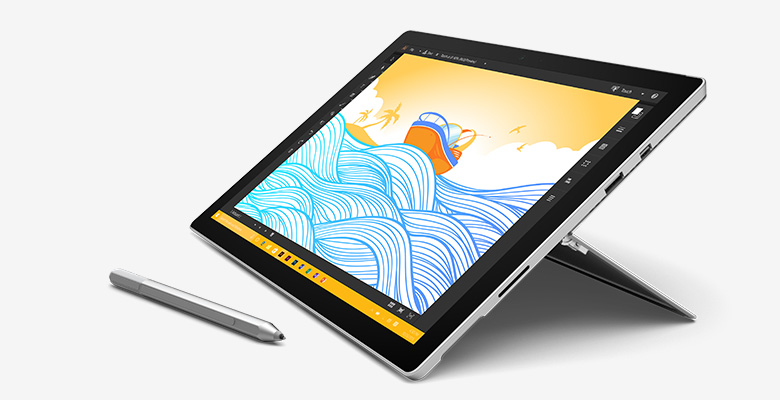
The Microsoft Surface Pro 4 balances perfectly the needs of most laptop users who need…