The Send To action in Windows is one of the fastest ways to take a file and and send it to a recipient or program. If you can’t get by with the default Send To actions in Windows 7 this guide will help you customize the Send To menu to fit your needs.
The Send to Menu has come a long way from Windows 95 where it’s basic functionality was sending files to a floppy drive!
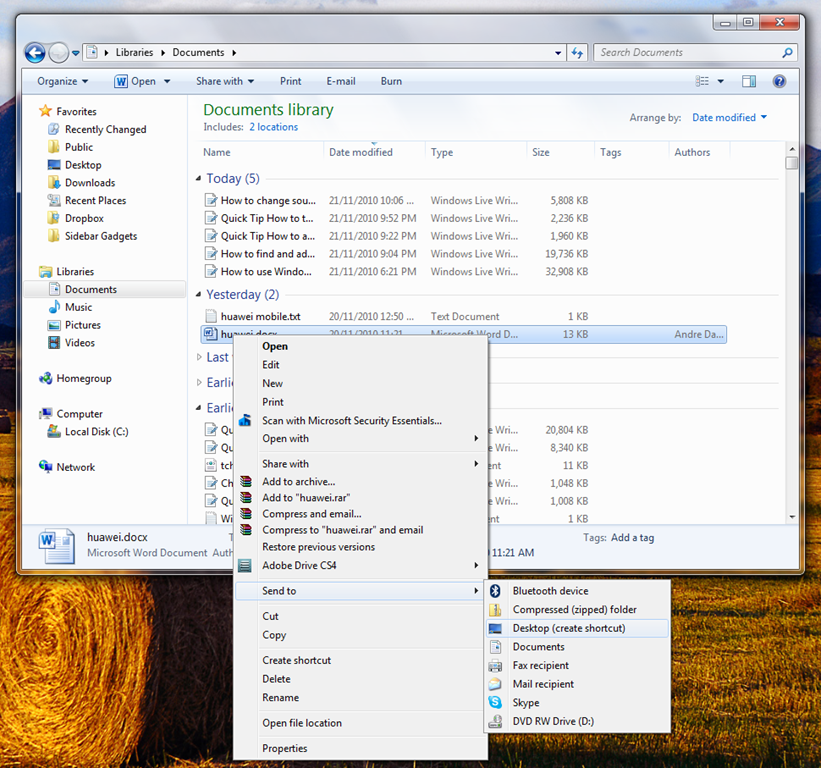
In addition to the default locations listed in the Sent To menu, you can add your own custom folders or drives.
First, to find the location where the SendTo folder is located, you will need to enable Show Hidden Files, Folders and Drives.
To do this, open an Explorer window, on the Command bar click Organize > Folder and Search Options > View tab under Hidden files and folders,

select Show hidden files, folders and drives then click Apply and OK
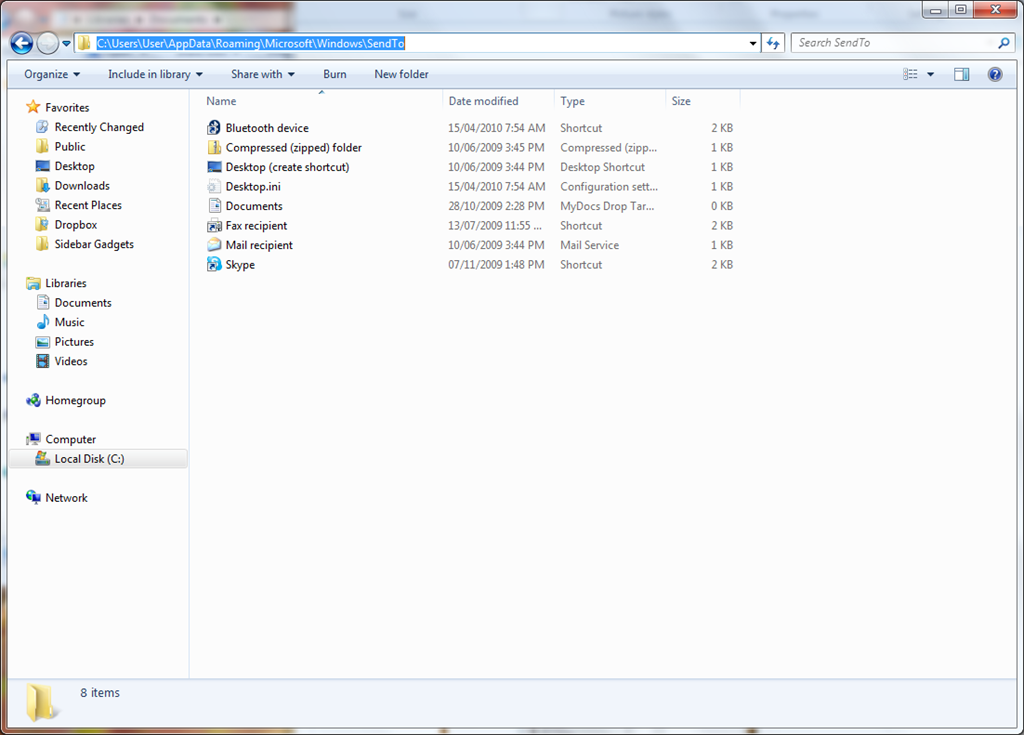
Next step is to navigate to the SendTo folder: C:UsersYourUserAccountNameAppDataRoamingMicrosoftWindowsSendTo
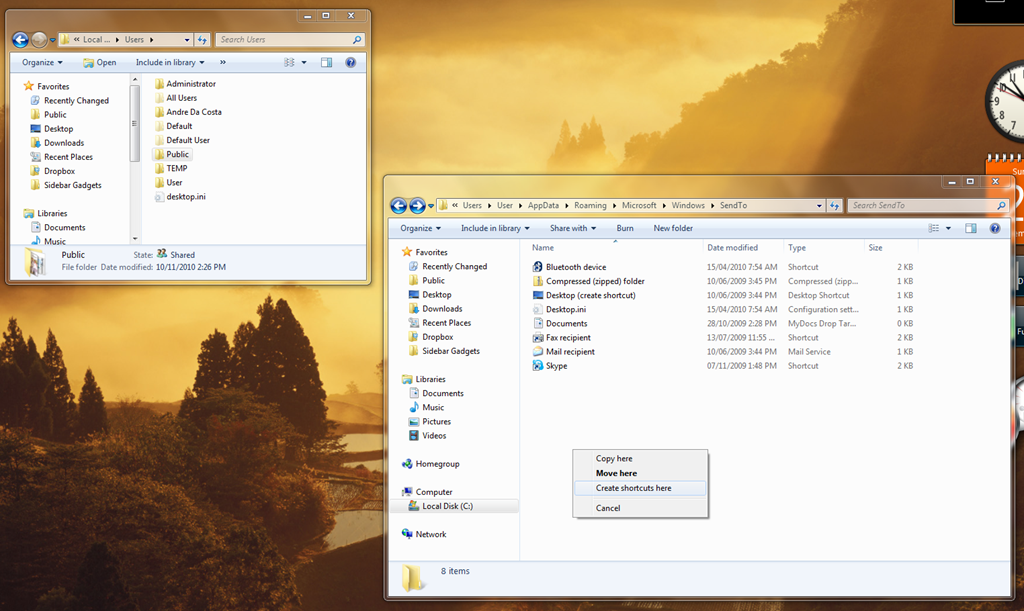
For this example, I am going to add a shortcut to my Public folder since I am often sending files there.
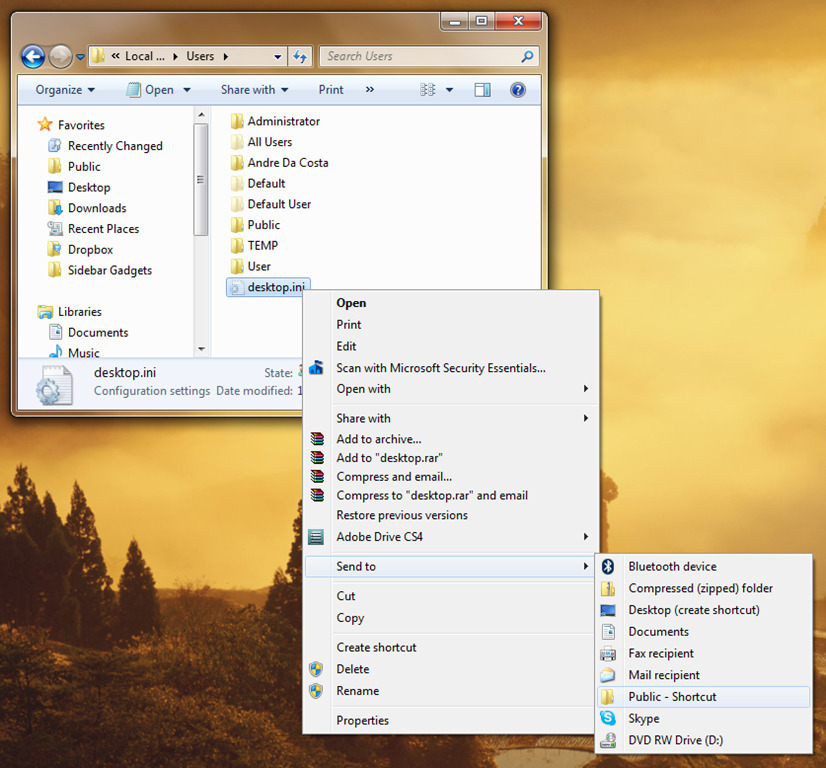
From now on, you will see a link to the location that you added to the Send to menu.
Related Posts
-
The Windows 10 Start Menu looks a lot like the one that came with Windows…
-

Microsoft’s Windows operating systems let users do a lot of things. Every day, machines loaded…
-

Even though Windows 10 has made upgrading Windows easier than ever, sometimes you still need…