In our previous Notebooks.com article, we took a look at the encryption capabilities built into specific editions of Windows 7, Ultimate and Enterprise. For those not running these particular editions, the article might not have been as useful, but more of an incentive to upgrade to those editions if you need those capabilities. If you are running Windows 7 Professional, Home Premium or Home Basic and need BitLocker like capabilities, I am going to look at another option that might be just as handy. There is a healthy industry built around encryption solutions for Windows, both free and commercial. In this how-to article, we’ll take a look at TrueCrypt a well known encryption solution that is free and well regarded.
About TrueCrypt
TrueCrypt is a software system for establishing and maintaining on-the-fly-encrypted volume (data storage device). On-the-fly-encryption means that data is automatically encrypted or decrypted right before it is loaded or saved, without any user intervention. No data stored on an encrypted volume can be read (decrypted) without using the correct password/keyfile(s) or correct encryption keys. Entire file system is encrypted (e.g., file names, folder names, contents of every file, free space, meta data, etc).
Sounds like just the tool we need to secure a PC.
Setup
Installation is quick and easy, just go to the TrueCrypt Download page and download the small 3.3 MB file. The installation itself is a seven step wizard which installed very quickly. TrueCrypt is a little more involved than BitLocker, but one of the immediate benefits I realized about it was how informative and helpful the software is during the setup process. Throughout the encryption wizard, each option is carefully explained and recommended to you. The process is longer than BitLocker, but the benefit of telling you what to do and recommending the best option should make novices and persons new to encryption feel comfortable.
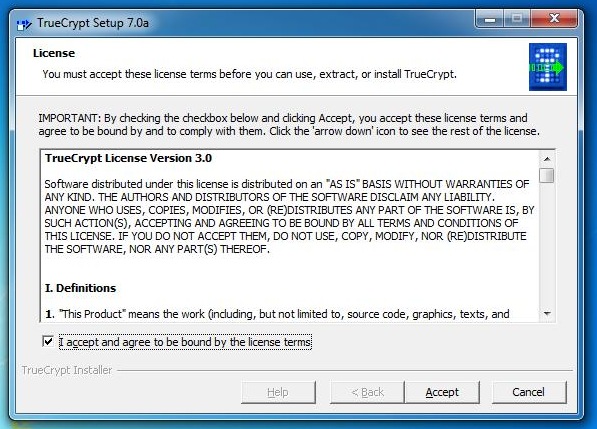
Accept End User License Agreement.

Select the default Install option
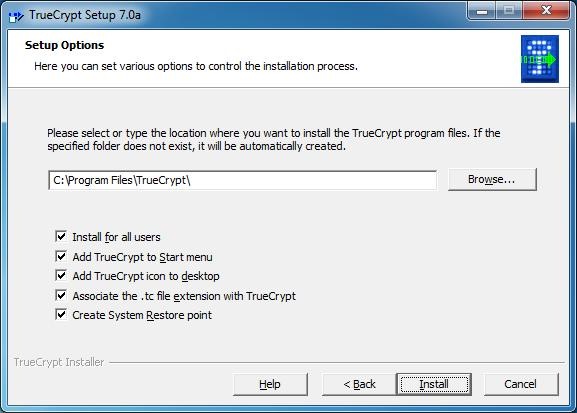
Accept the default and click Install

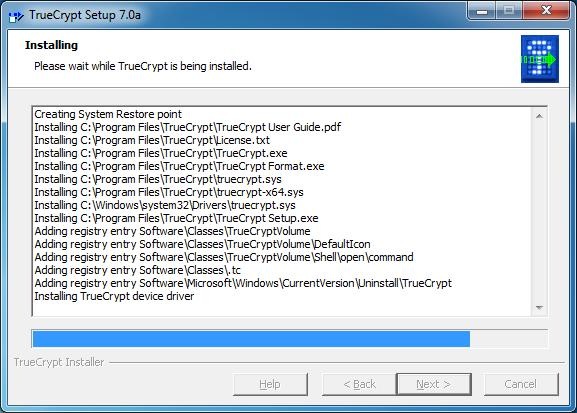
Installing TrueCrypt

Installation completed successfully
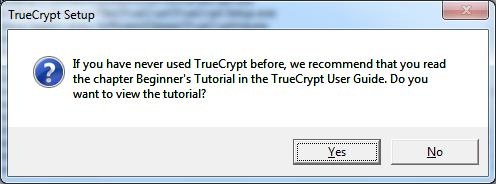
You can find the TrueCrypt tutorial here.
Next step is to launch TrueCrypt to encrypt the hard disk.

In TrueCrypt, click the System drop down menu and click Encrypt System Partition/drive. This will launch the encryption setup wizard.
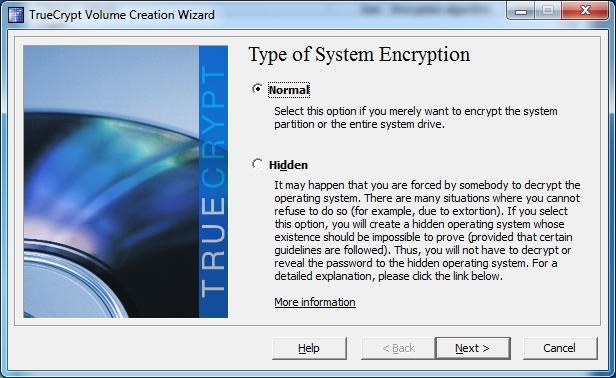
Select Normal
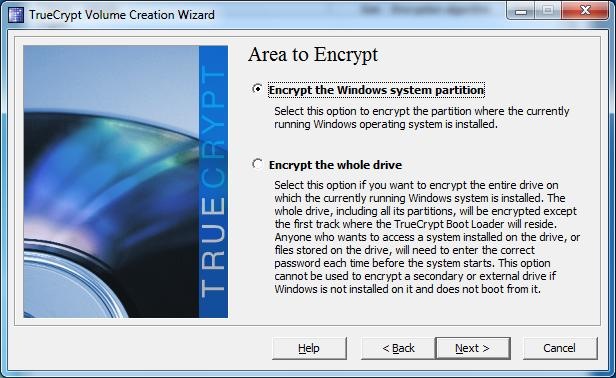
If you have just a single drive, select Encrypt the whole drive. If you have multiple drives or partitions setup with your computer, select the second option.
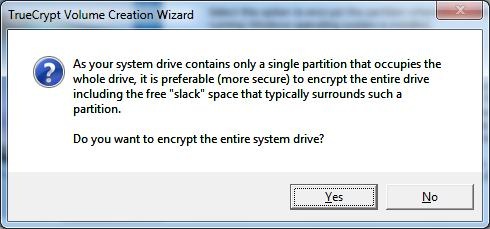
If it detects you have a single drive, TrueCrypt will make the recommendation of encrypting the whole drive.
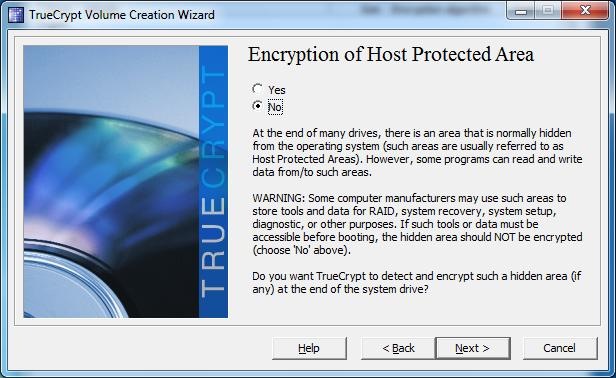
As noted by the wizard, some computers come with hidden partitions that might need to be accessed at boot time to help load the operating system or when you need to reinstall Windows or access system utilities that come with your computer such as diagnostics tools that are stored on hidden drives. If this is the case (which a lot of manufacturers do these days), click No.
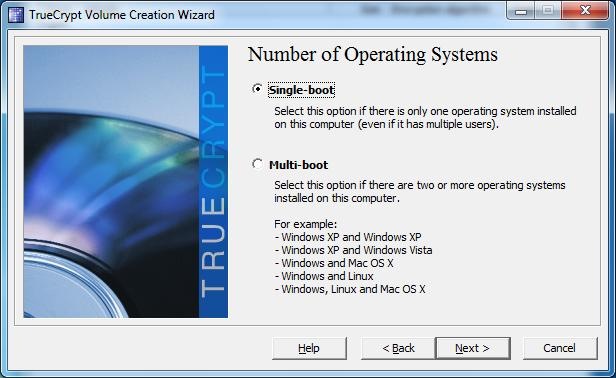
If you have more than one operating system installed, select the Multi-boot option. Since I only have a single installation, I selected Single-boot.
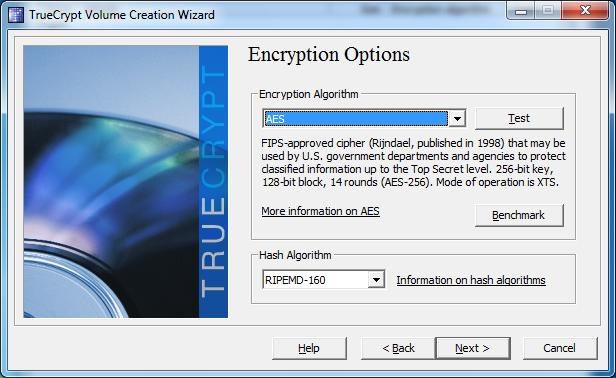
There are different types of encryption methods you can use, if you click in the Encryption Algorithm list box, you will see additional ones, I decided to go with the default option, AES.
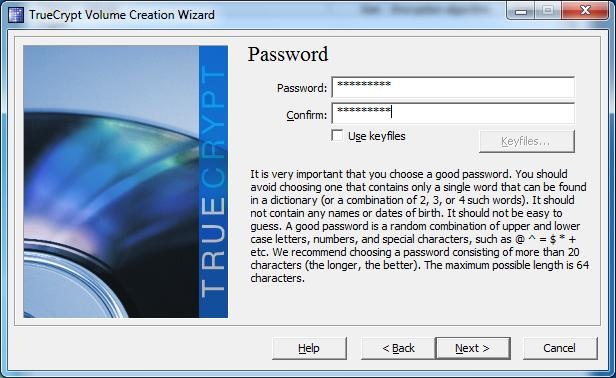
Create a password, make sure it is strong with a mixture of upper and lower case and does not use any complete word you can find in a dictionary.

TrueCrypt will detect if the password is not satisfactory. Of course, for someone with a bad memory, I am not going to create anything in the 20 character range, just follow the previous suggestions and add a few memorable symbols. Like I said in my BitLocker article, its one thing to have your data secure, but not being able to access it can be a disaster.
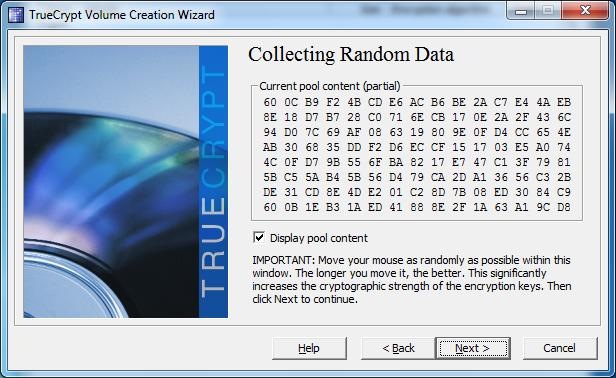
Here you can harden the encryption even more by randomly moving your mouse around the window which will help to make the encryption algorithm even more complex. Click next when completed.

Click Yes when prompted
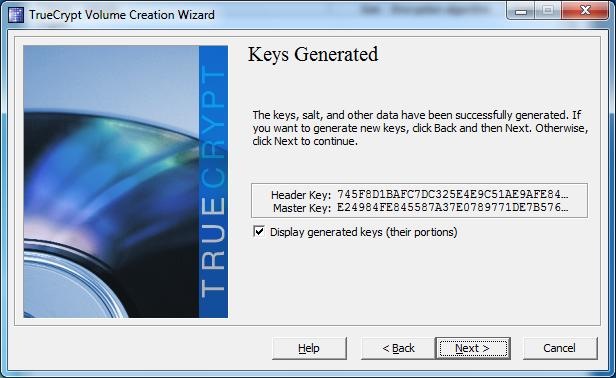
The algorithm for encrypting your drive has been created, click Next.
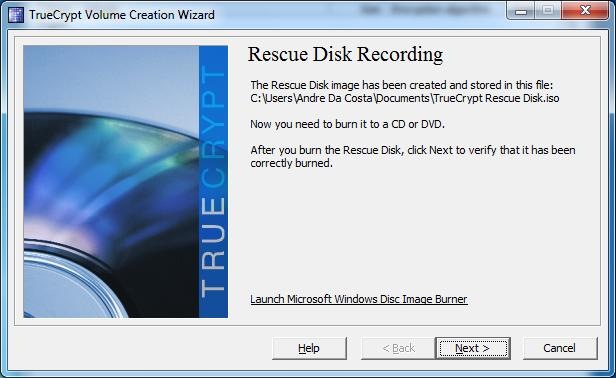
Just as a precaution, TrueCrypt requires that you create a backup disk, there is no way around this.
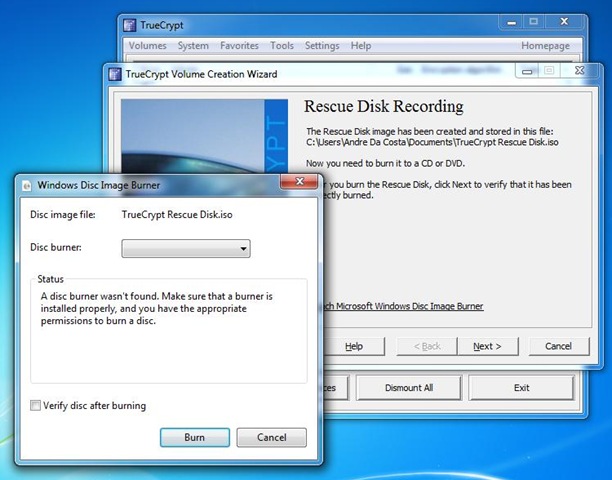
The TrueCrypt Wizard will generate an ISO file which you will use to burn to a CD to create the rescue disk.
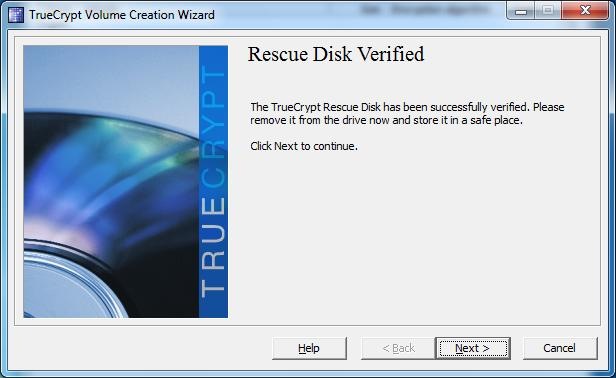
The rescue disk must also be verified before continuing.
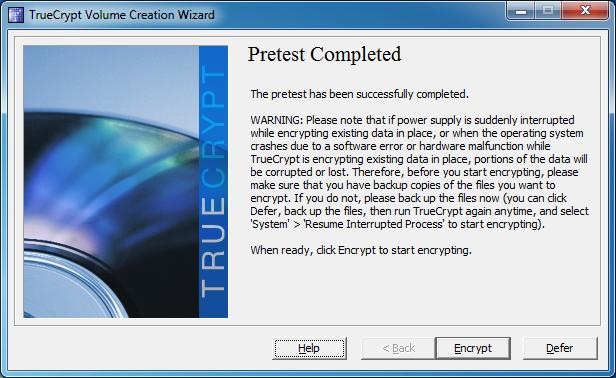
The next step involves doing a trial run to see if the drive can be successfully encrypted and decrypted.

Click the Test button to verify
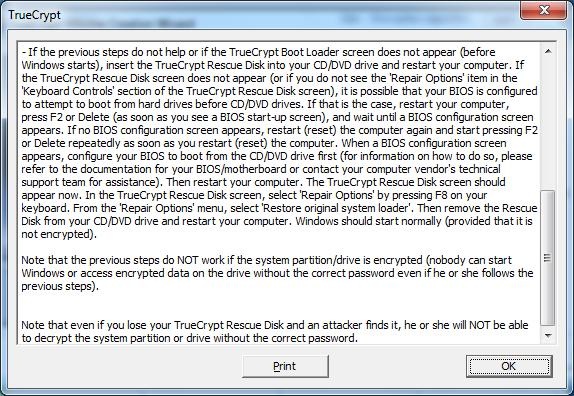
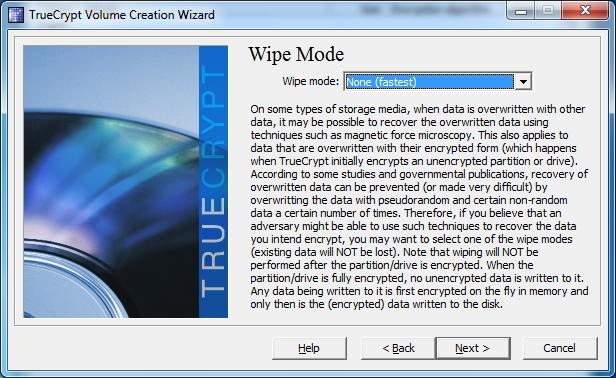
Some disclaimer information, copy and paste into notepad and save so you can review it later.
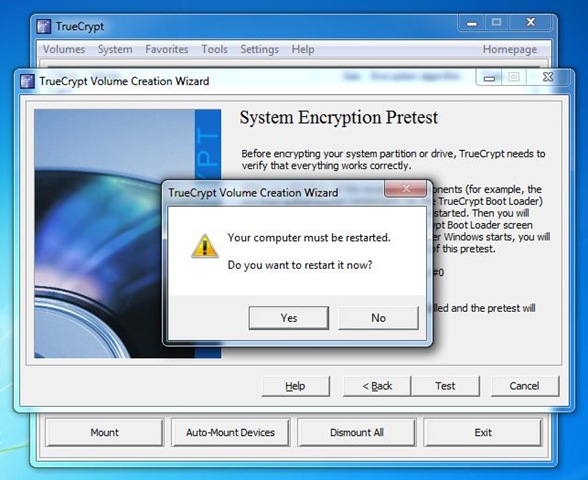
Click Yes to restart the system.
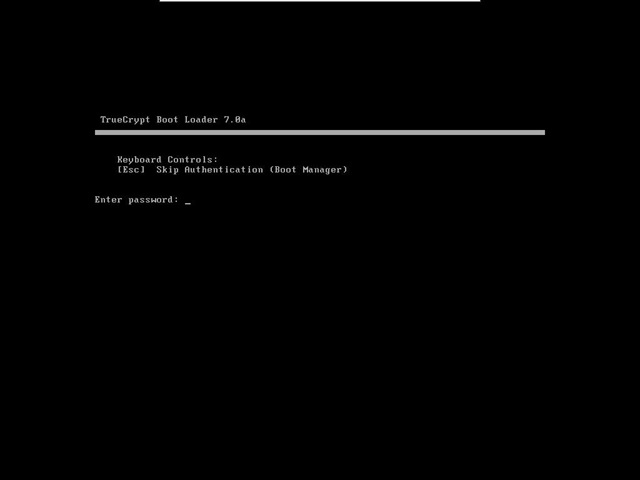
Quite similar to BitLocker isn’t it? Enter your password to decrypt and load Windows.
So the trial run was successful, now we are ready to start the actual encryption of the drive.
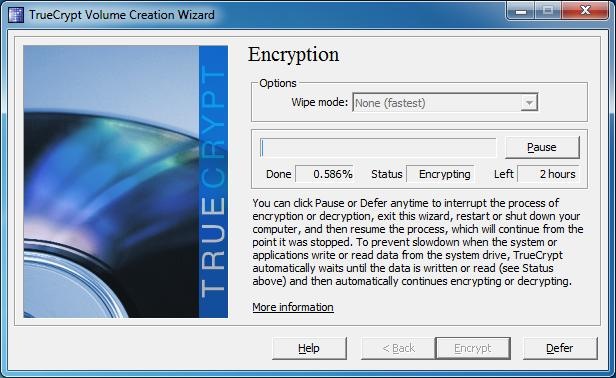
Depending on the size of the drive, the encryption time will vary, this 20 GB drive took about 30 to 40 mins to complete.

Encryption Successful! Click OK then Finish.
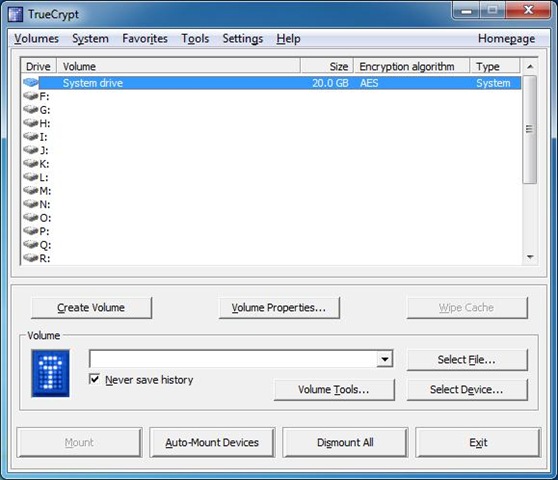
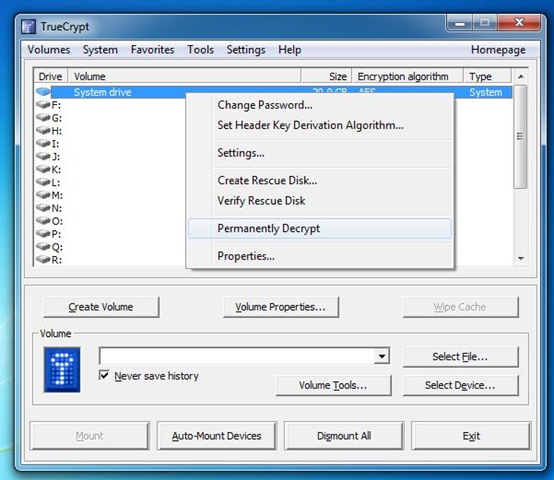
When you open TrueCrypt, you will see your drive listed as Encrypted along with the type of Encryption algorithm used. If you would like to permanently decrypt the volume, just right click it and click Permanently decrypt:
I notice there is no option to pause encryption like BitLocker, but its a minor trade off for a product that is free and very easy to use. It works with all editions of Windows 7, Vista and even Windows XP/2000. The process is more involved than BitLocker, but its actually more friendly and easier to setup. So, if you can’t bother with the hassle of upgrading to Windows 7 Ultimate or Professional for encryption capabilities at the drive or file/folder level, this should be just as useful and convenient. As always, before using such software I strongly recommend you backup your system first using the handy System Imaging tool built into all editions of Windows 7.
Related Posts
-

Microsoft’s Windows operating systems let users do a lot of things. Every day, machines loaded…
-
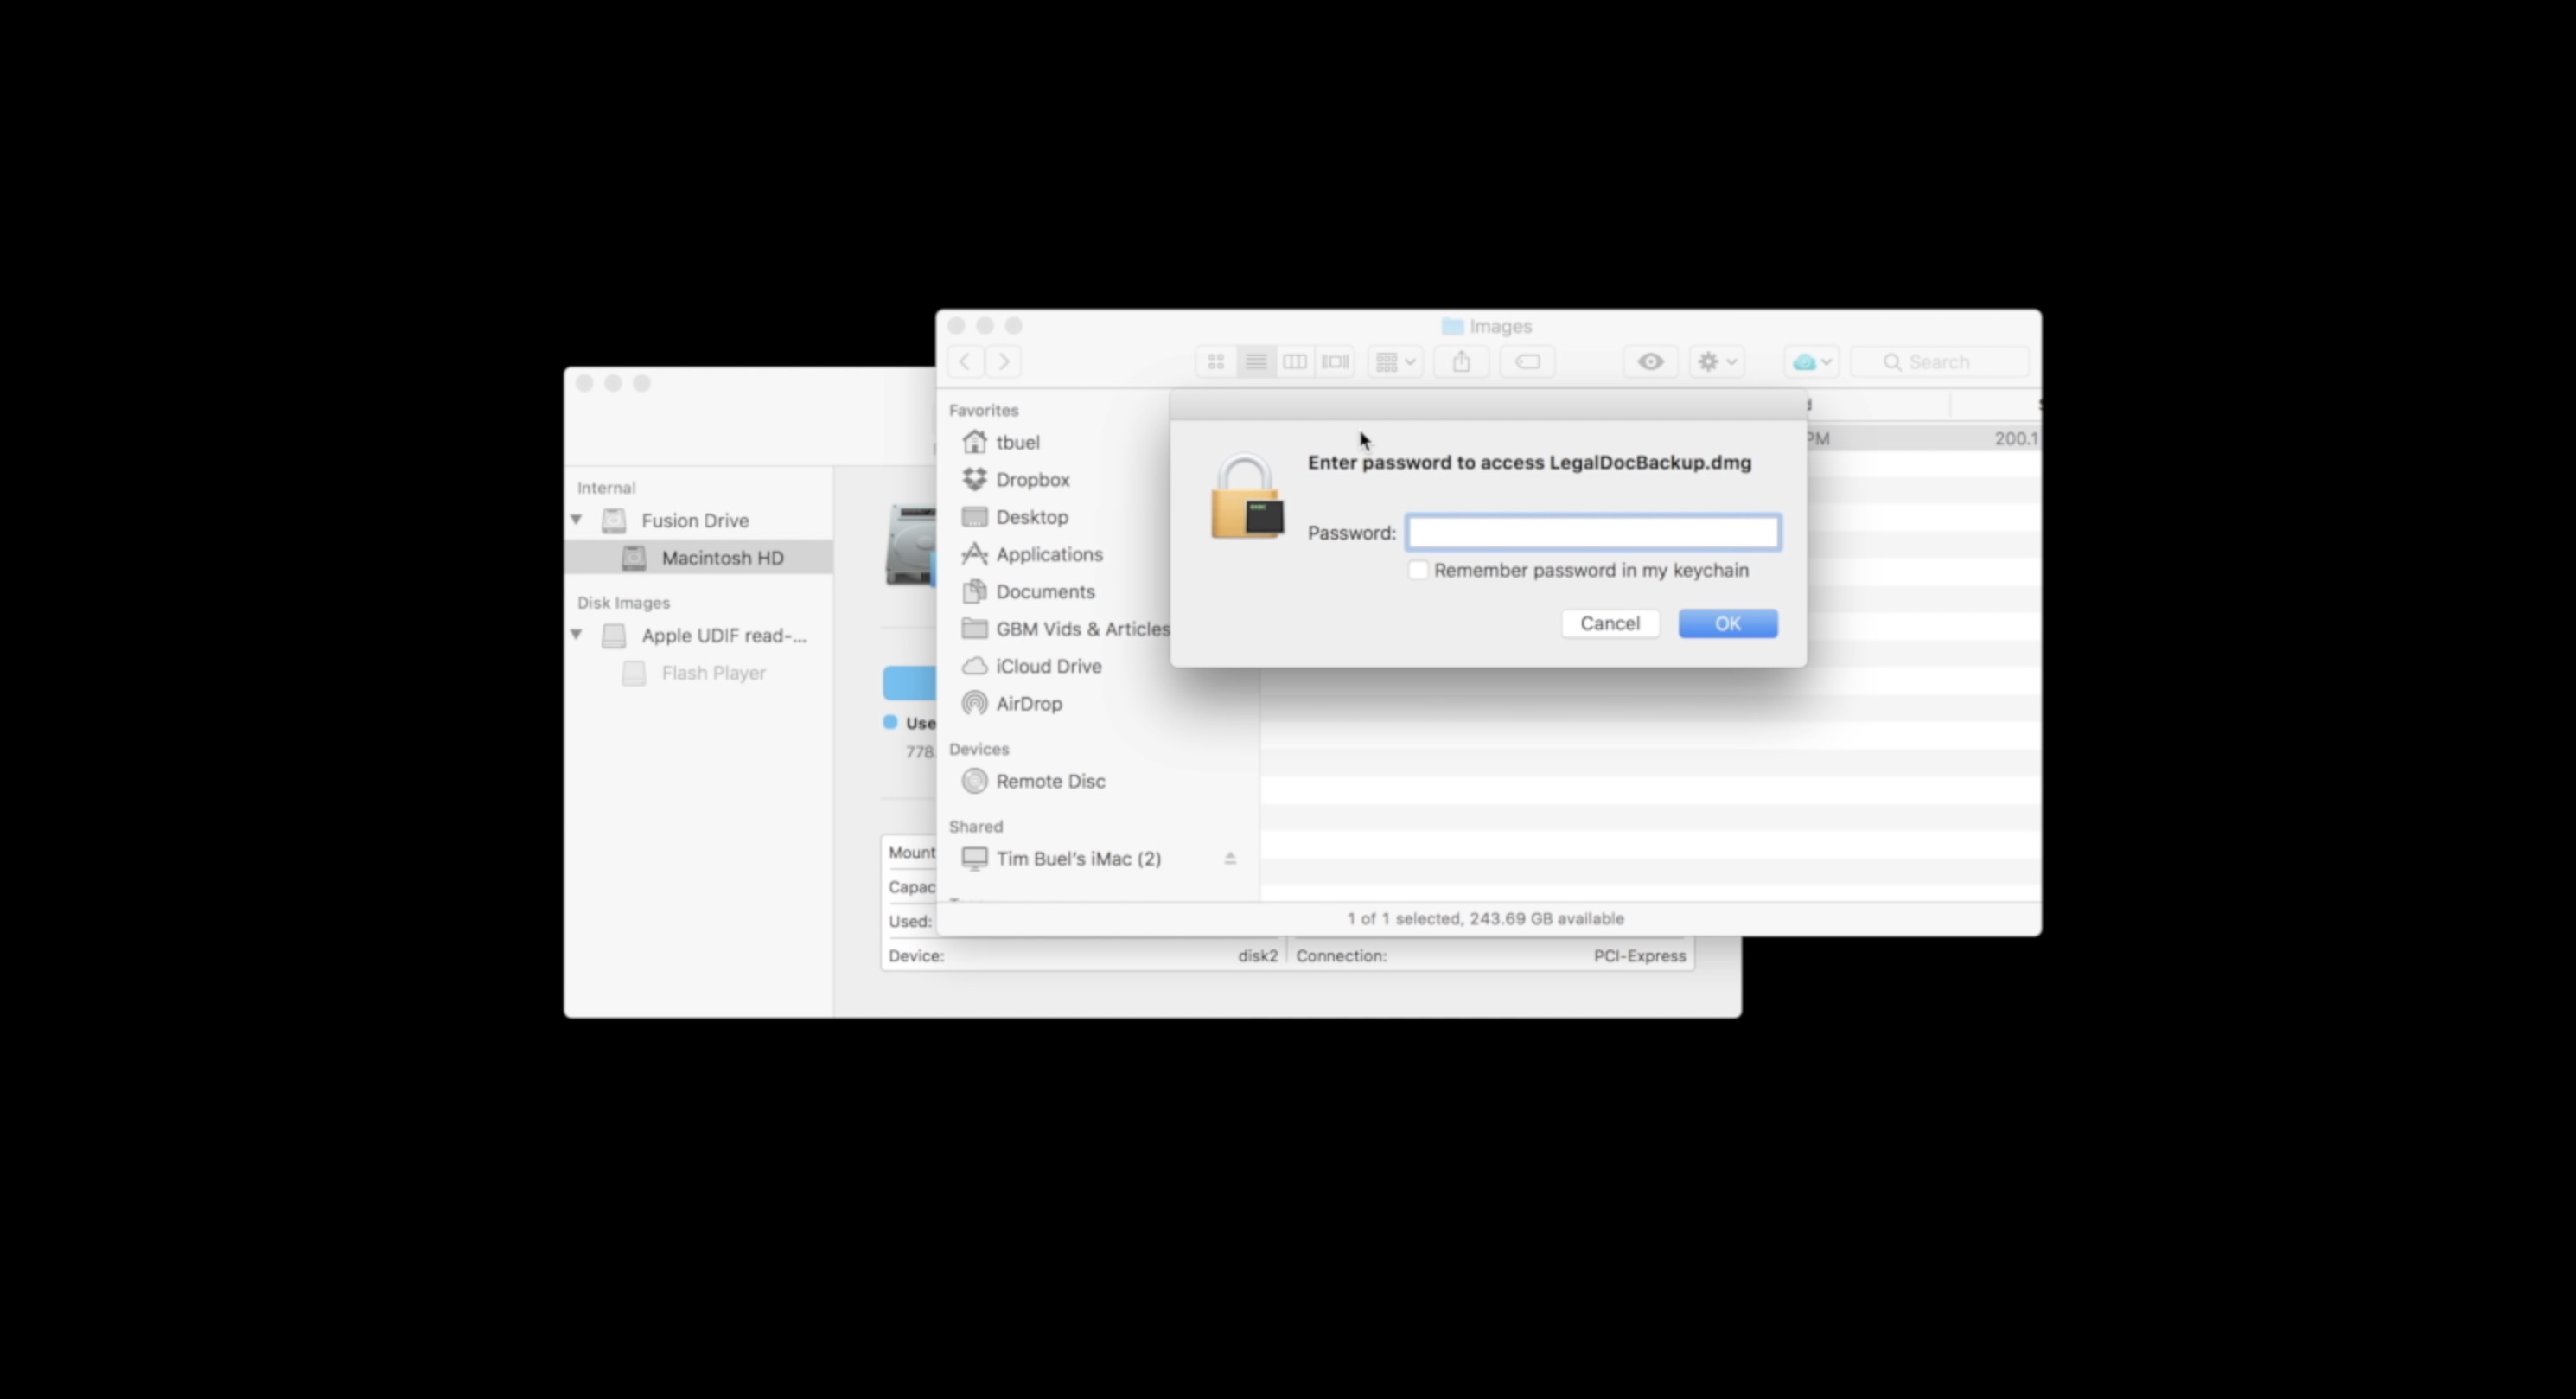
Here is a guide on how to create encrypted disk images in MacOS to backup or…
-

Even though Windows 10 has made upgrading Windows easier than ever, sometimes you still need…