One of the great things about Backups in Windows 7 is the VHD or Virtual Hard Disk feature. When you create a System Image of your Windows 7 installation, it actually creates a virtual replica of the installation that is on the C: drive. If you don’t want to do a full on restoration of data, Windows 7 makes it easy to selectively copy files from the VHD created when you backup.
Just the other day, I had to use this feature because my Microsoft Outlook Personal Folder became corrupted. Lucky enough, I had a backup installation. Let’s take a look at how to copy files from a .VHD Image.
First, connect the external hard disk where you have the .VHD file stored or the backup of your Windows 7 installation, then turn it on. I am using a USB External hard disk.
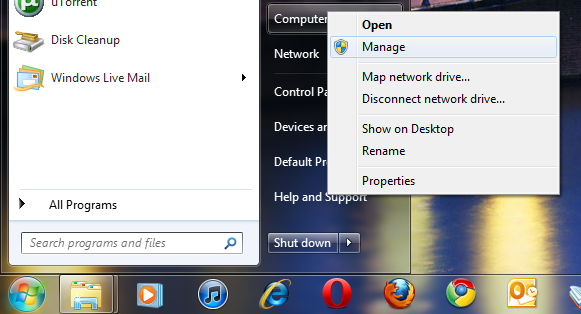
Click Start, right-click Computer and click Manage
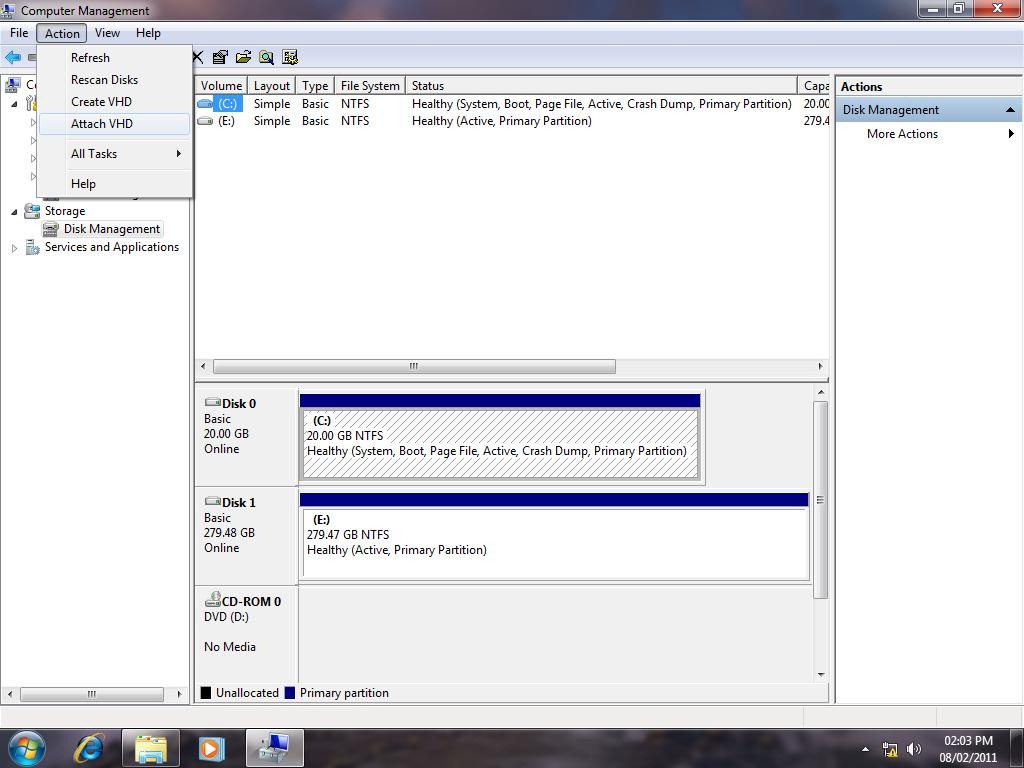
In Computer Management, expand Storage then click Disk Management
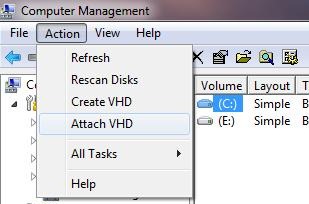
There you should see your external hard disk listed. Click the Action menu and click Attach VHD
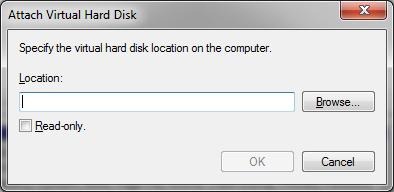
Uncheck Read-only and click Browse
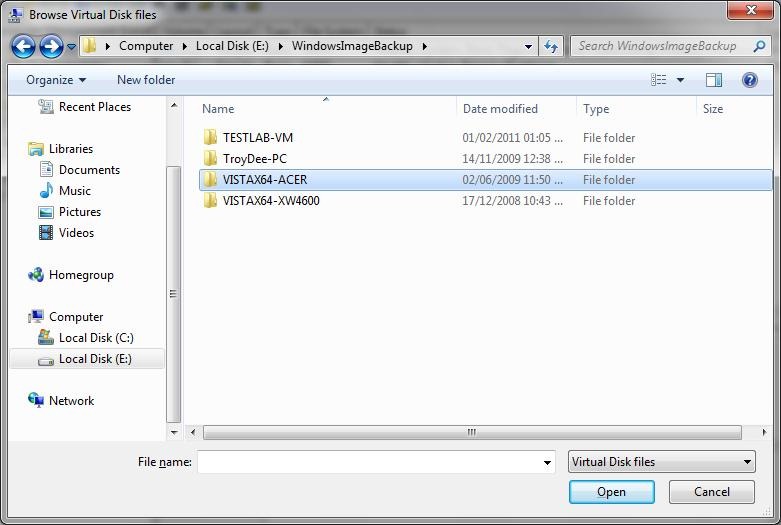
Browse the External Hard disk, open the WindowsImageBackup folder where Backup and Restore stores system images. Open the desired image you want to copy files from.

Open the folder with the name Backup you should also see the date in the name of the backup

Select the .vhd file with the alpha numeric name then click Open

Click OK

Windows 7 will now detect the VHD file as a hard disk volume.
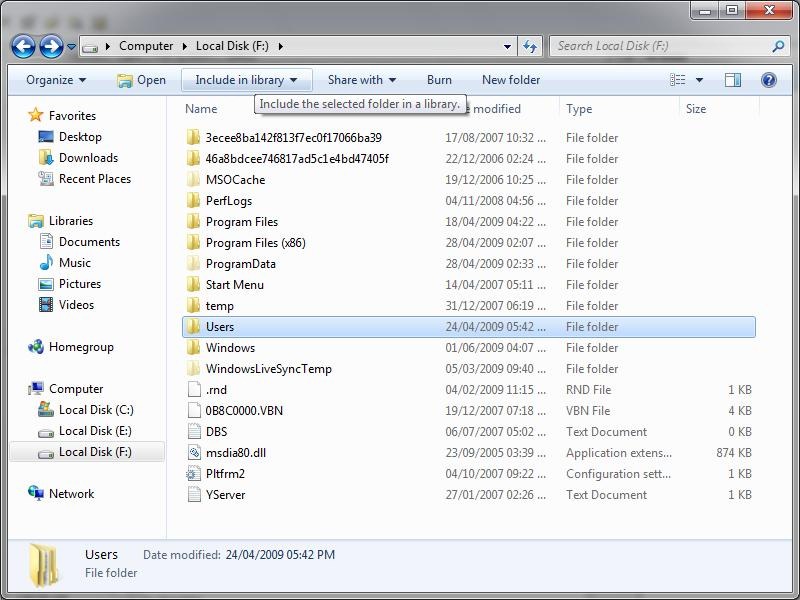
Once the VHD file is initialized, it will be assigned a volume name and you can browse it like any normal hard disk you have installed or connected to your computer. In the above screenshot, I am browsing the VHD file of a Windows Vista Ultimate computer, you can see the folders normally found at the root of the drive such as Users, Windows, Program files folders.
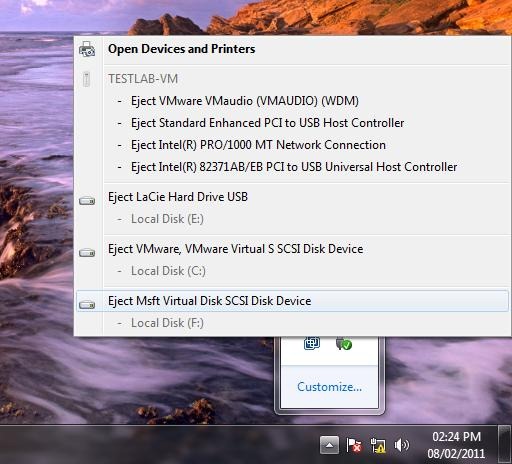
When you are finished using the VHD file, simply click the Eject button in the notification area and eject the listed external Virtual Disk file.
Related Posts
-
Although quickly fixed, a recent Adobe Creative Cloud bug has been deleting the files on…
-

Even when you have all the power and versatility of a full Mac at your…
-

MacBook users need to back up their hard drives full of pictures, documents, media files…