Taking screenshots (some call them screen grabs) are a popular past time. If you author technical documents for training knowing how to take screenshots is an important part of your work. Taking a screenshot effectively is also important. In this quick tutorial, I will show you how to use the tools built into Windows 7 and other products such as Microsoft Office to take a screenshot.
If you are authoring a manual about a program or how to use a feature you may want to organize your content and then take the screenshots later, but if not go ahead and start taking screen grabs right now.
Say you want to take a screenshot of your Windows desktop, the key you press on your keyboard is Print Screen or PrtSc SysRq depending on your keyboard type.
After you have captured the screenshot you need to save and store it somewhere. The best program to do this is already included in Windows, it’s called Microsoft Paint. Click Start, type: Paint, hit Enter key on your Keyboard.
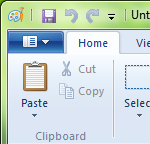
Once in Microsoft Paint, click the Paste button, located under the Home tab within the Clipboard group or press Ctrl + V on your keyboard.
Saving and Editing
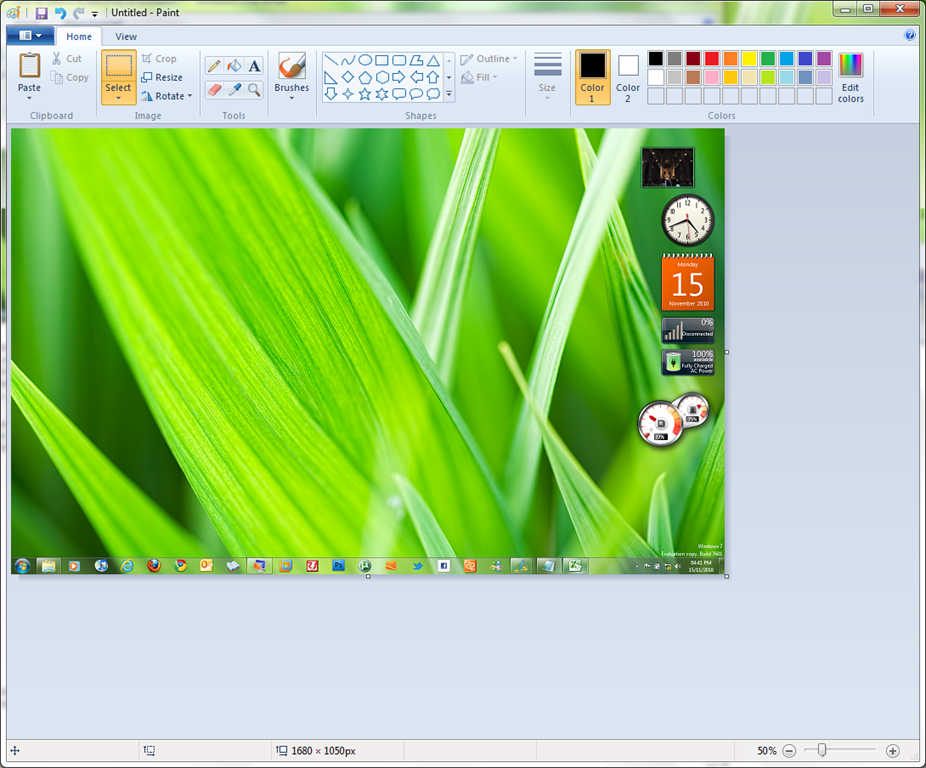
Once the screenshot is in Microsoft Paint, you can now save it by clicking Save on the Quick Access Toolbar or edit the screenshot. Saving the image offers a number of options depending on what you plan on using the screen grab for. Microsoft Paint offers a number image formats you can save your screenshot in.
As you can see in the above screenshot, the list of formats provides various results depending on the desired quality. Microsoft Paint by default uses .PNG, the quality is higher, but the file size is also larger. In some cases I prefer to use .JPEG personally, especially when I publish articles since I am on a slow connection. Other image formats include .BMP which stands for Bitmap, this also produces higher quality output but with much larger files. If bandwidth and size are a priority especially when emailing images, then .GIF is the best option. If you have another exotic format in mind you would like to save in, then you can click the Other formats link and select that from the File type list box.
Once the screenshot is saved, you can use and manipulate it like any other image, whether it’s emailing, sharing or incorporating into a document.
Taking a screenshot of a window
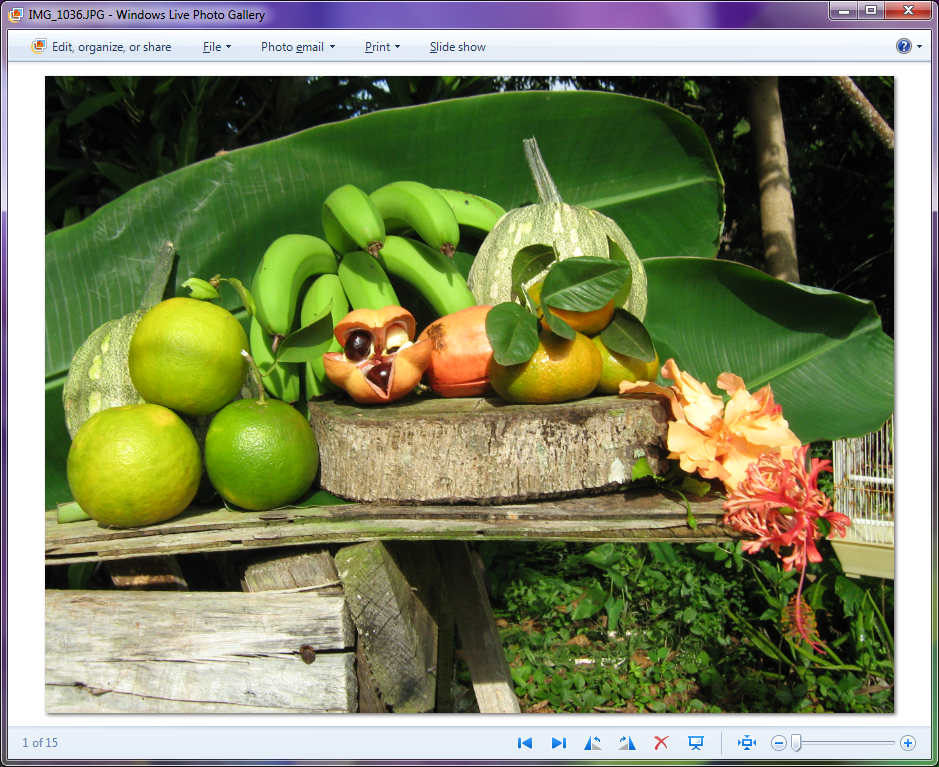
If you want to take just a screenshot of a window on your screen, you will need to apply an additional keyboard command in addition to Print Screen. This keyboard command is called the Alt key.
So taking a screenshot of the active window on screen would involve holding down the Alt key then press the Print Screen key. This command will tell the computer to just capture a screenshot of the window on screen. Even if you have multiple windows on screen and only want the active window.
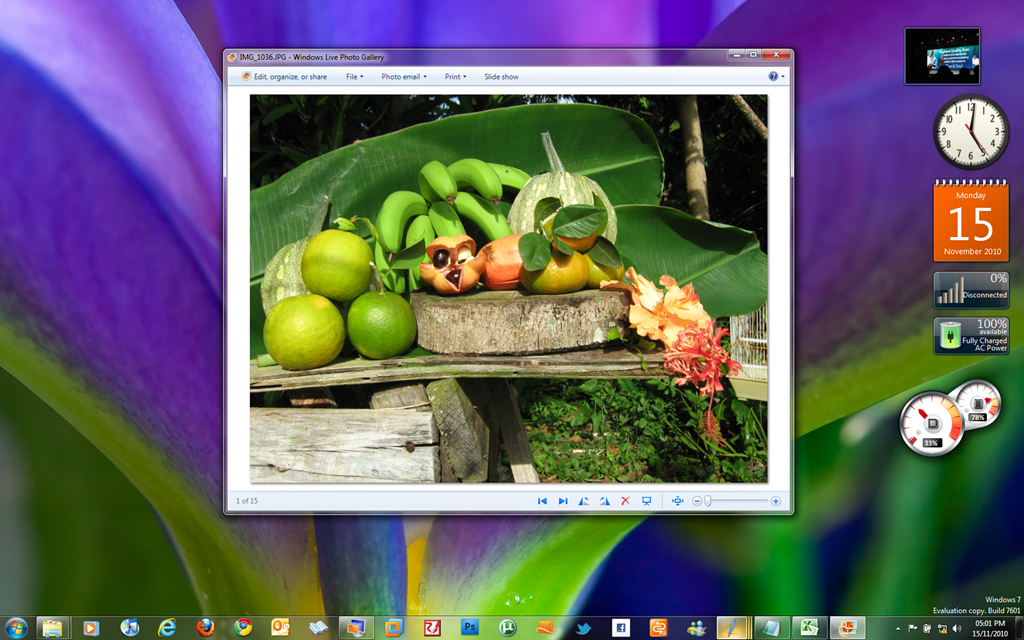
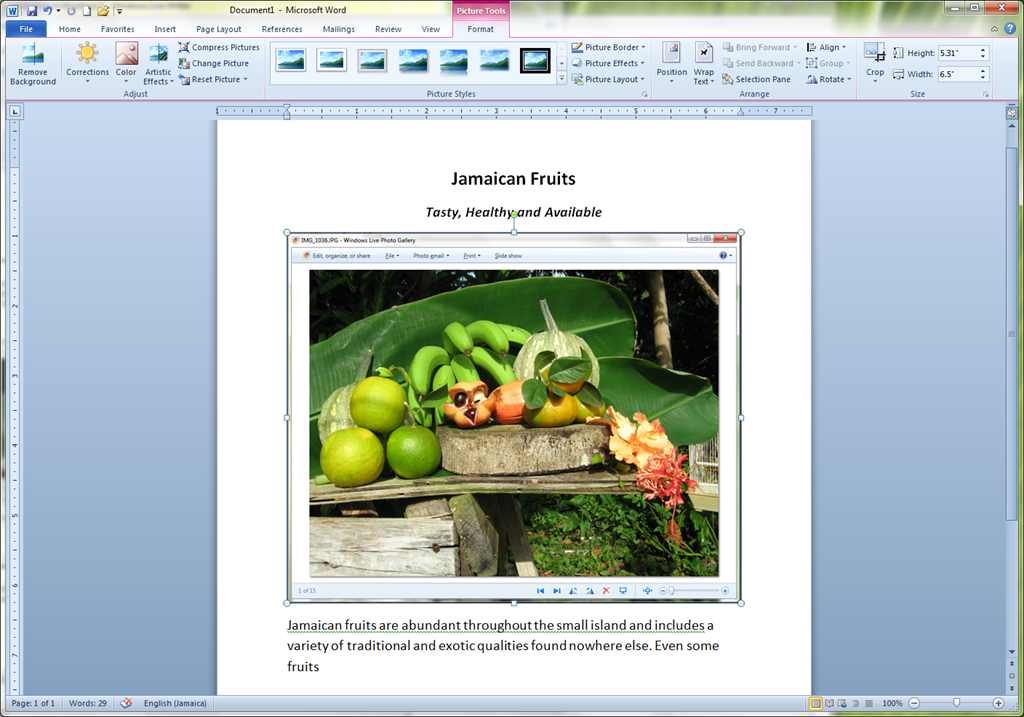
As you can see, I have incorporated the window into this document by using the commands for capturing a screenshot then pasting into the document. This is another thing about taking screenshots. So if I was typing a document about fruits in Microsoft Word, I could paste the screenshot on the fly in that program, see below:

Incorporating screenshots in other programs.
Using the snipping tool to quickly take screenshots
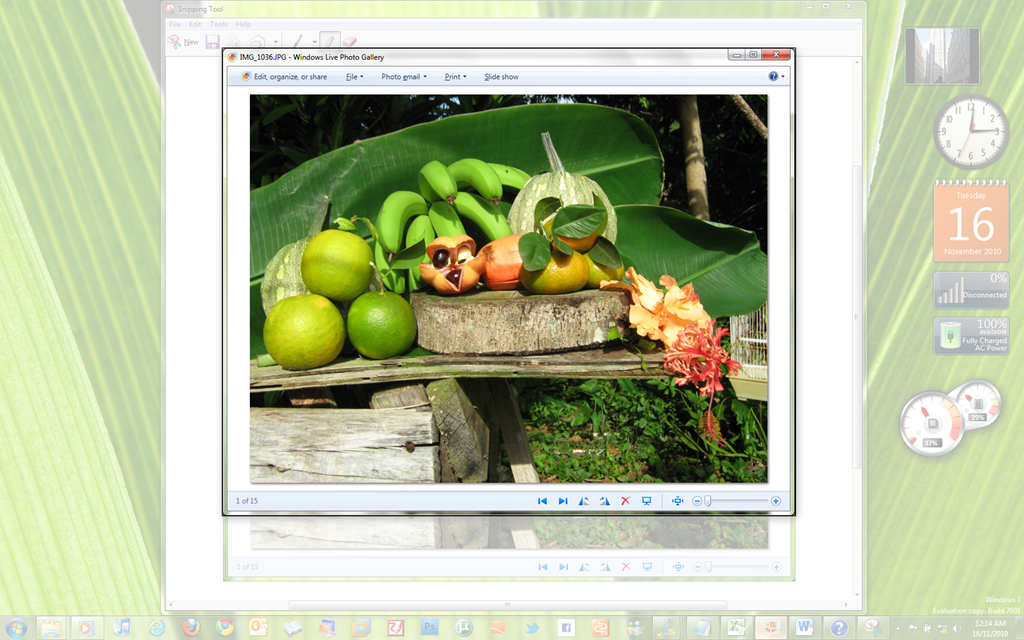
Another tool included in Windows since the release of Windows Vista that makes it quick and easy to grab screenshots is the snipping tool. Click Start, type: Snipping Tool When you launch the Snipping tool for the first time, you will notice that your screen becomes pale.
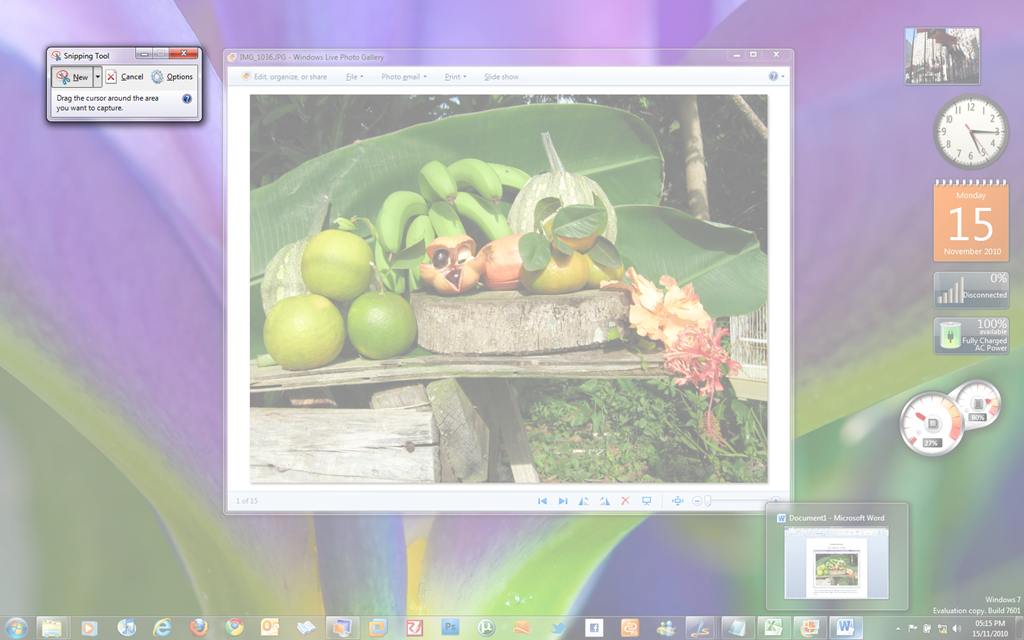
What this means is you can take a screenshot of a particular element of the screen, whether it’s the desktop or active window.

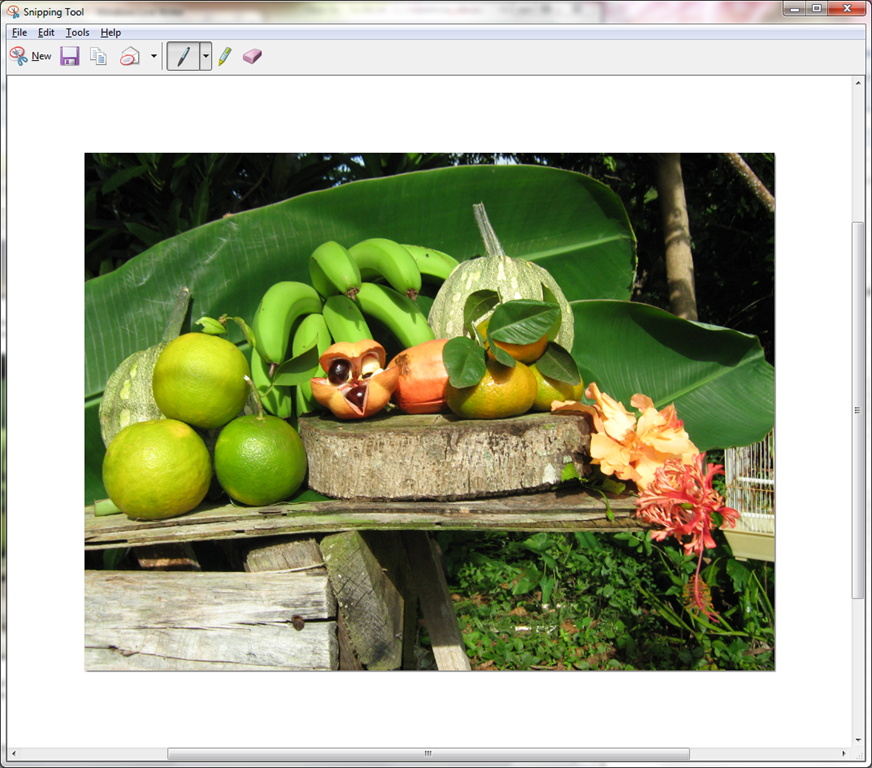
Here you can see I just grabbed a screenshot of the picture in the window instead of the window that contains the image. The Snipping tool will also place the image in it’s own window:
I could of course have the Snipping Tool just grab a screenshot of the window. To do that, on the snipping tool window, click the pop out menu within the New button.
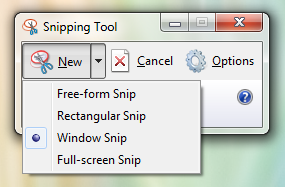
This will reveal additional options, which includes the following options:
- Free-form Snip. Draw a free-form shape around an object.
- Rectangular Snip. Drag the cursor around an object to form a rectangle.
- Window Snip. Select a window, such as a browser window or dialog box, that you want to capture.
- Full-screen Snip. Capture the entire screen.
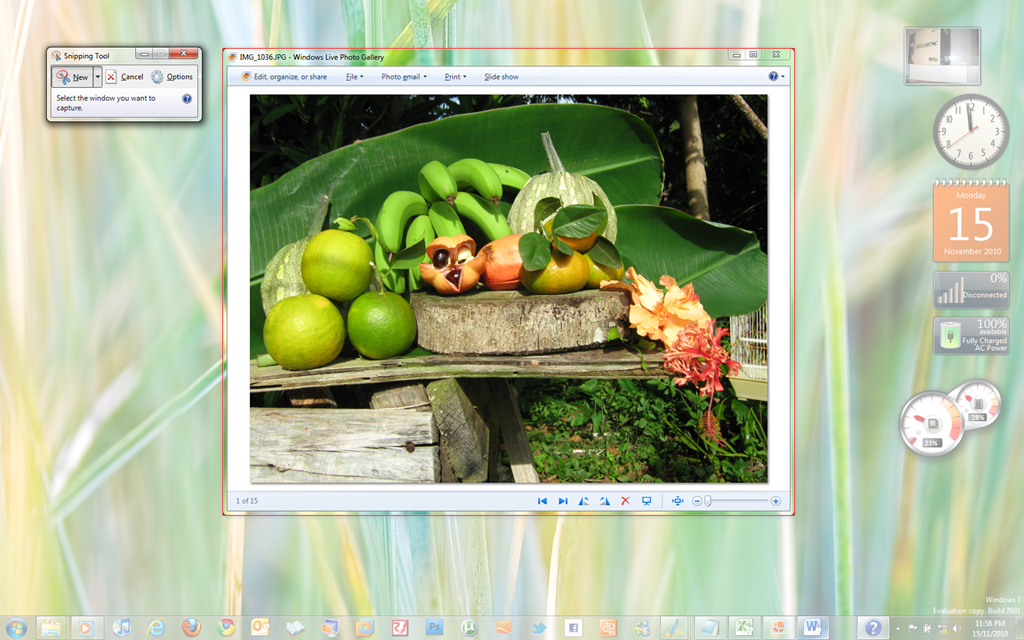
As you can see from the above example when using the Windows Snip option, when I hover my mouse pointer over the active window or any object on screen such as a Windows Gadget or the Windows Taskbar it intelligently highlights it. If I click the object, it will automatically grab a screenshot and import it into the Snipping Tool program.
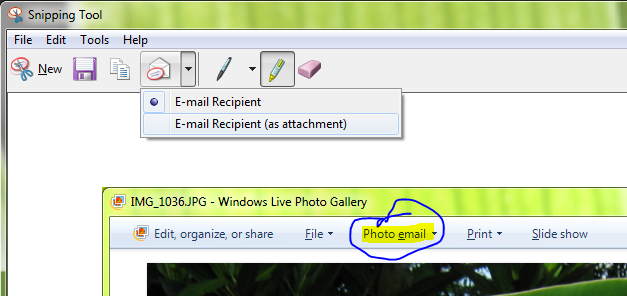
In addition to taking screenshots, the Snipping Tools includes quick and convenient tools for editing you images on the fly. You use the Pen tool to make annotations or the highlight tool to make an emphasis along with the ability to email your image instantly.
Using the Screenshot tool in Microsoft Office 2010 programs.
If you have Microsoft Office 2010 installed, these programs also have a built in Snipping Tool installed.
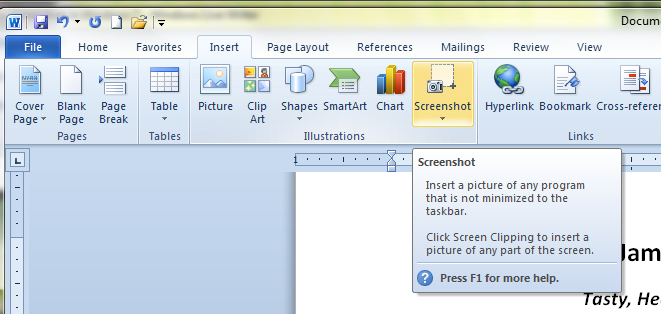
Located under the Insert tab in the Illustrations group, the Screenshot button allows you to insert a picture of a program that is not minimized. Clicking the Screenshot button will reveal a collection of screen grabs you can immediately insert into your document.
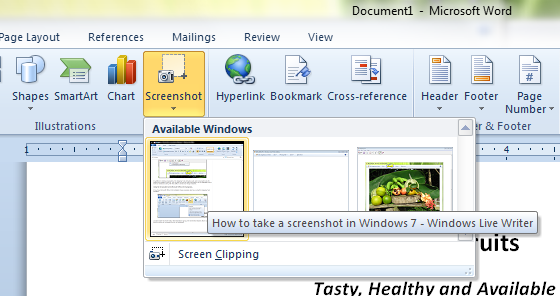
If you don’t see the desired screenshot, all you have to do is click the Screen Clipping Tool which will automatically minimize the Office 2010 application window revealing open programs that are not minmized on the desktop with a tool that works similarly to the Snipping tool.
Once you have highlighted the object on screen you want to capture, release the mouse and it will be automatically pasted into Microsoft Word.
That’s it!
Related Posts
-

Microsoft’s Windows operating systems let users do a lot of things. Every day, machines loaded…
-

Even though Windows 10 has made upgrading Windows easier than ever, sometimes you still need…
-

On August 2, 2016 the Windows 10 Anniversary Update came out with some cool new features…