If you are new to Windows 7 or you are still discovering its wealth of new features HomeGroup is one you should check out. In a previous article we did an introduction to HomeGroup detailing some of the steps setting it up and troubleshooting it.
What is HomeGroup again?
HomeGroup is a simple way to network Windows 7 PC’s, share files and resources such as a printer. In this quick tip, I will show you how to share files using HomeGroup.
Join a HomeGroup
The first thing we need to do is Join our HomeGroup. To do this:
Click Start
The click Network
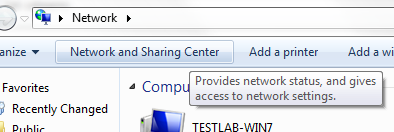
On the Command Bar, click Network and Sharing Center

Under See Also click HomeGroup
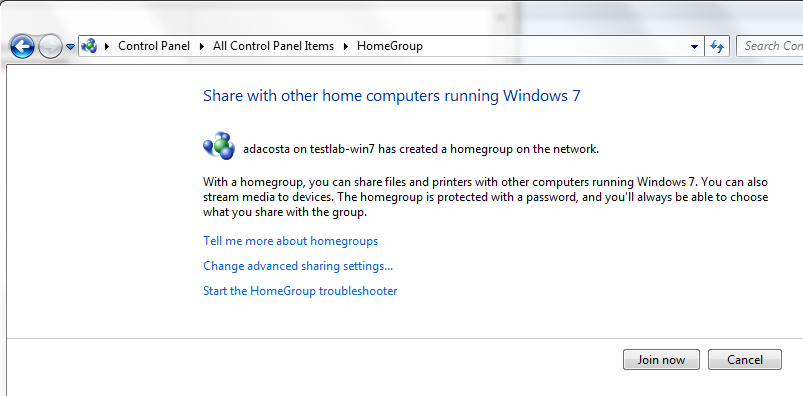
Windows 7 should automatically detect another Windows 7 computer with HomeGroup configured. Your next step is simply to click Join now.
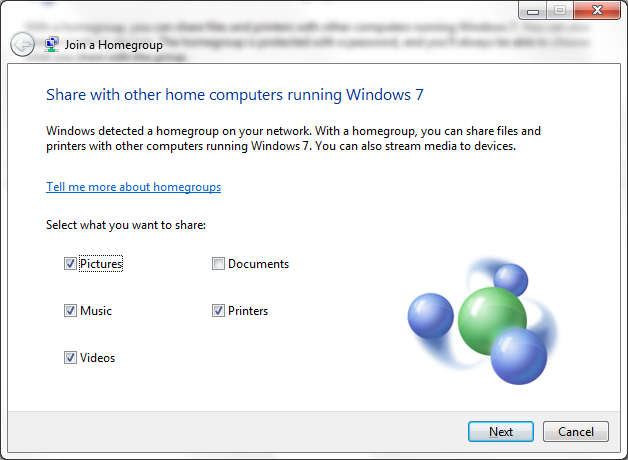
Select the type of content you would like to share with your HomeGroup, you can choose from Pictures, Music, Videos, Documents and resources such as a Printer.
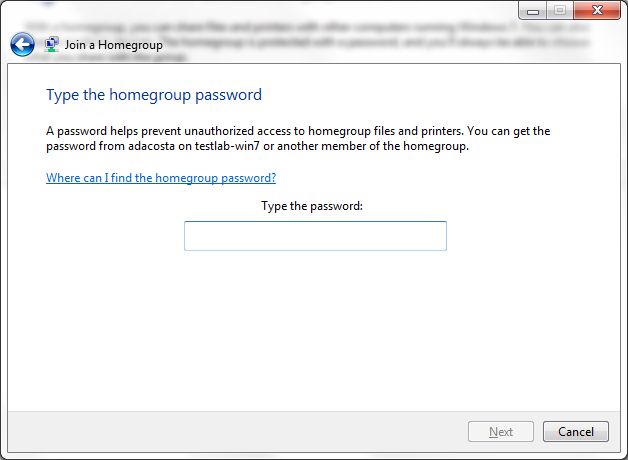
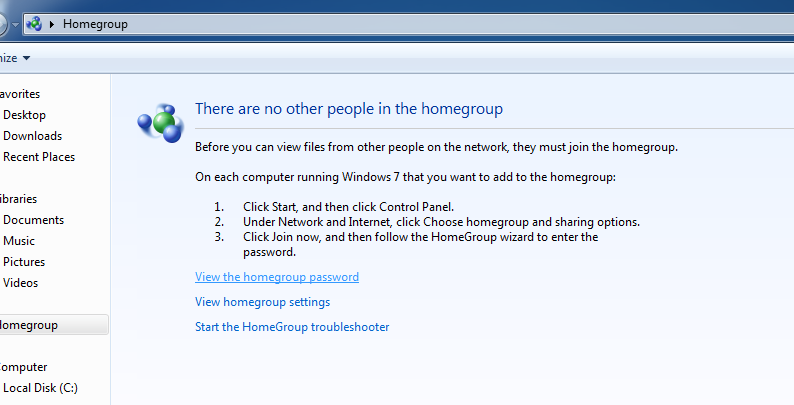
Enter the HomeGroup password that was created on the other computer. If you don’t know it, you will need to return to the other computer and click the ‘View the homegroup password’ link
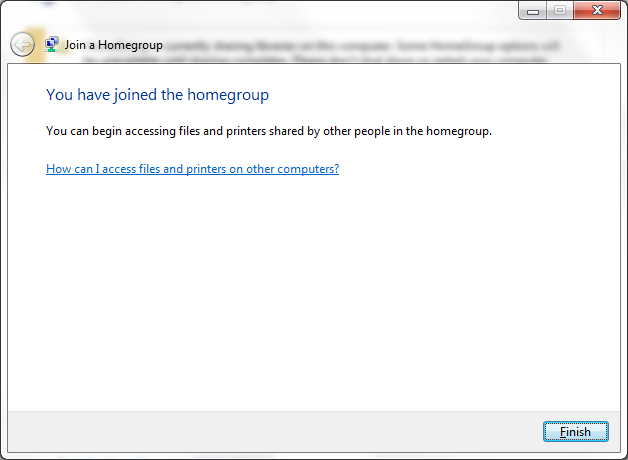
Once you have entered the password, you will now be able to share and access files on other Windows 7 PC’s:
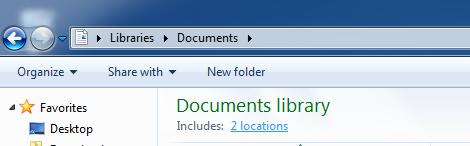
Our next step is to add shared locations in our Windows 7 Libraries, to do this, click Start > Documents. In your Documents Library, click the link to share a Location on your Network.
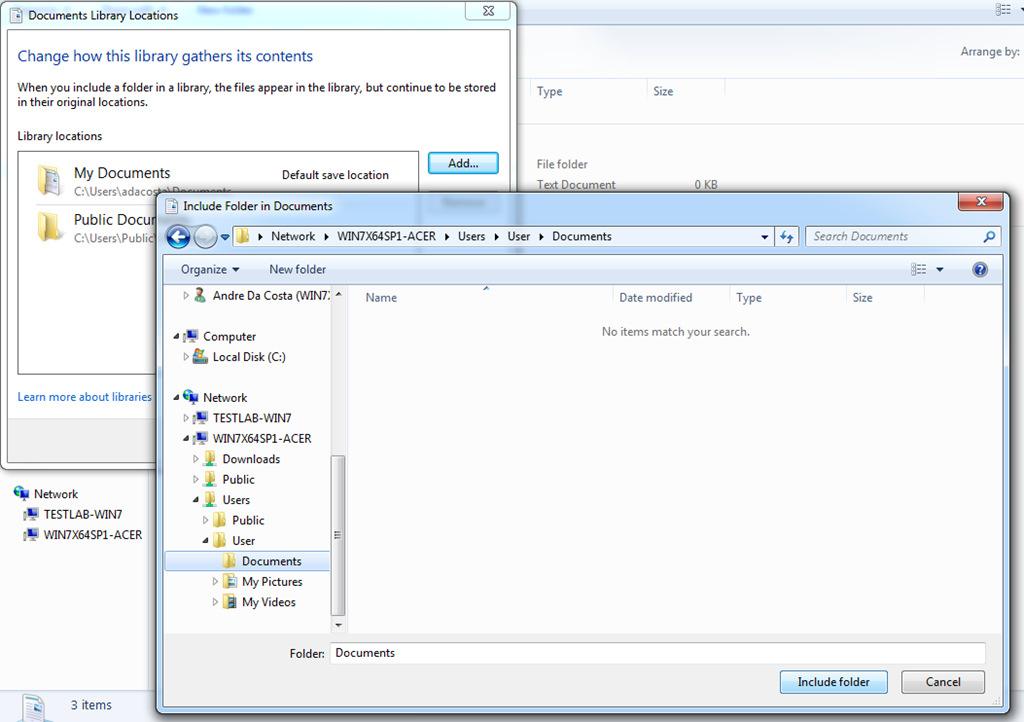
This will display the ‘Documents Library Locations’ window. Click the Add button, under the Navigation pane, expand your Network locations > expand the name of the computer on which shared files exist. Navigate to the location of the shared files or folder then click Include folder. Then click OK
What will happen now, files that you have shared in that specific folder will automatically show up in your library.
Individually Share Files
You will notice that I did not check the option to share Documents during the HomeGroups sharing wizard. HomeGroups gives you the option to individually share files too, you can even share a batch of files if you wish.
To do this, click Start > Documents

Right click the file you would like to share, click Share with and select ‘HomeGroup (Read/Write’). What this will do now is automatically share those files and they will show up in the Documents Library on the other computer where we added Documents folder as a location.
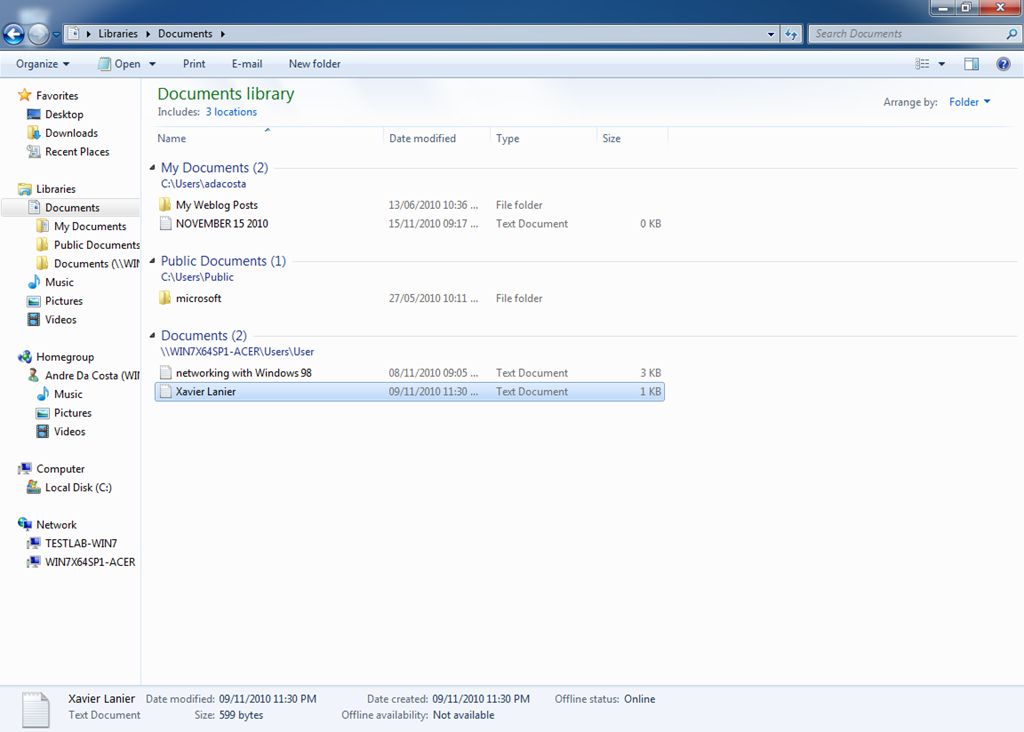
As you can see our two files we just shared, now show up in our Library. You can also do this for other folders too.
Related:
Networking Made Easy with HomeGroups
Related Posts
-

Although quickly fixed, a recent Adobe Creative Cloud bug has been deleting the files on…
-

Even when you have all the power and versatility of a full Mac at your…
-

Microsoft’s Windows operating systems let users do a lot of things. Every day, machines loaded…