Now that you’ve claimed your Facebook email, we want to show you how to set up Gmail so that you can send from your @Facebook.com email address right within Gmail. Right now you can’t check your Facebook email in Gmail, but if you have Facebook set up to email you when you receive a new message you will get a message in your inbox.
How to Check Facebook Email in Gmail:
Step 1: Log in and click on Settings in the upper right.
Step 2. Click on the Accounts and Import tab.

Step 3. Click the “Send mail from another address” button.
Step 4. In the next window, enter your Facebook.com email address like “[email protected]”.

Enter Your Facebook email address
Step 5. Have Gmail Send email through Gmail servers.

Step 6. Click “Next Step”, then click “Send Verification”.

Step 7. Click the link in your Facebook messages to confirm that you own this address, or copy and past the code into the box.

Step 8. Now, when you open up a new message in Gmail, you will be able to choose which email address you want to send from and your @Facebook.com email address will be one of the choices.

That’s it. You’re ready to send emails from Gmail that look like they are coming from your Facebook.com account. If someone replies to this email, you will receive the notification in your Facebook Messages account.
Related Posts
-
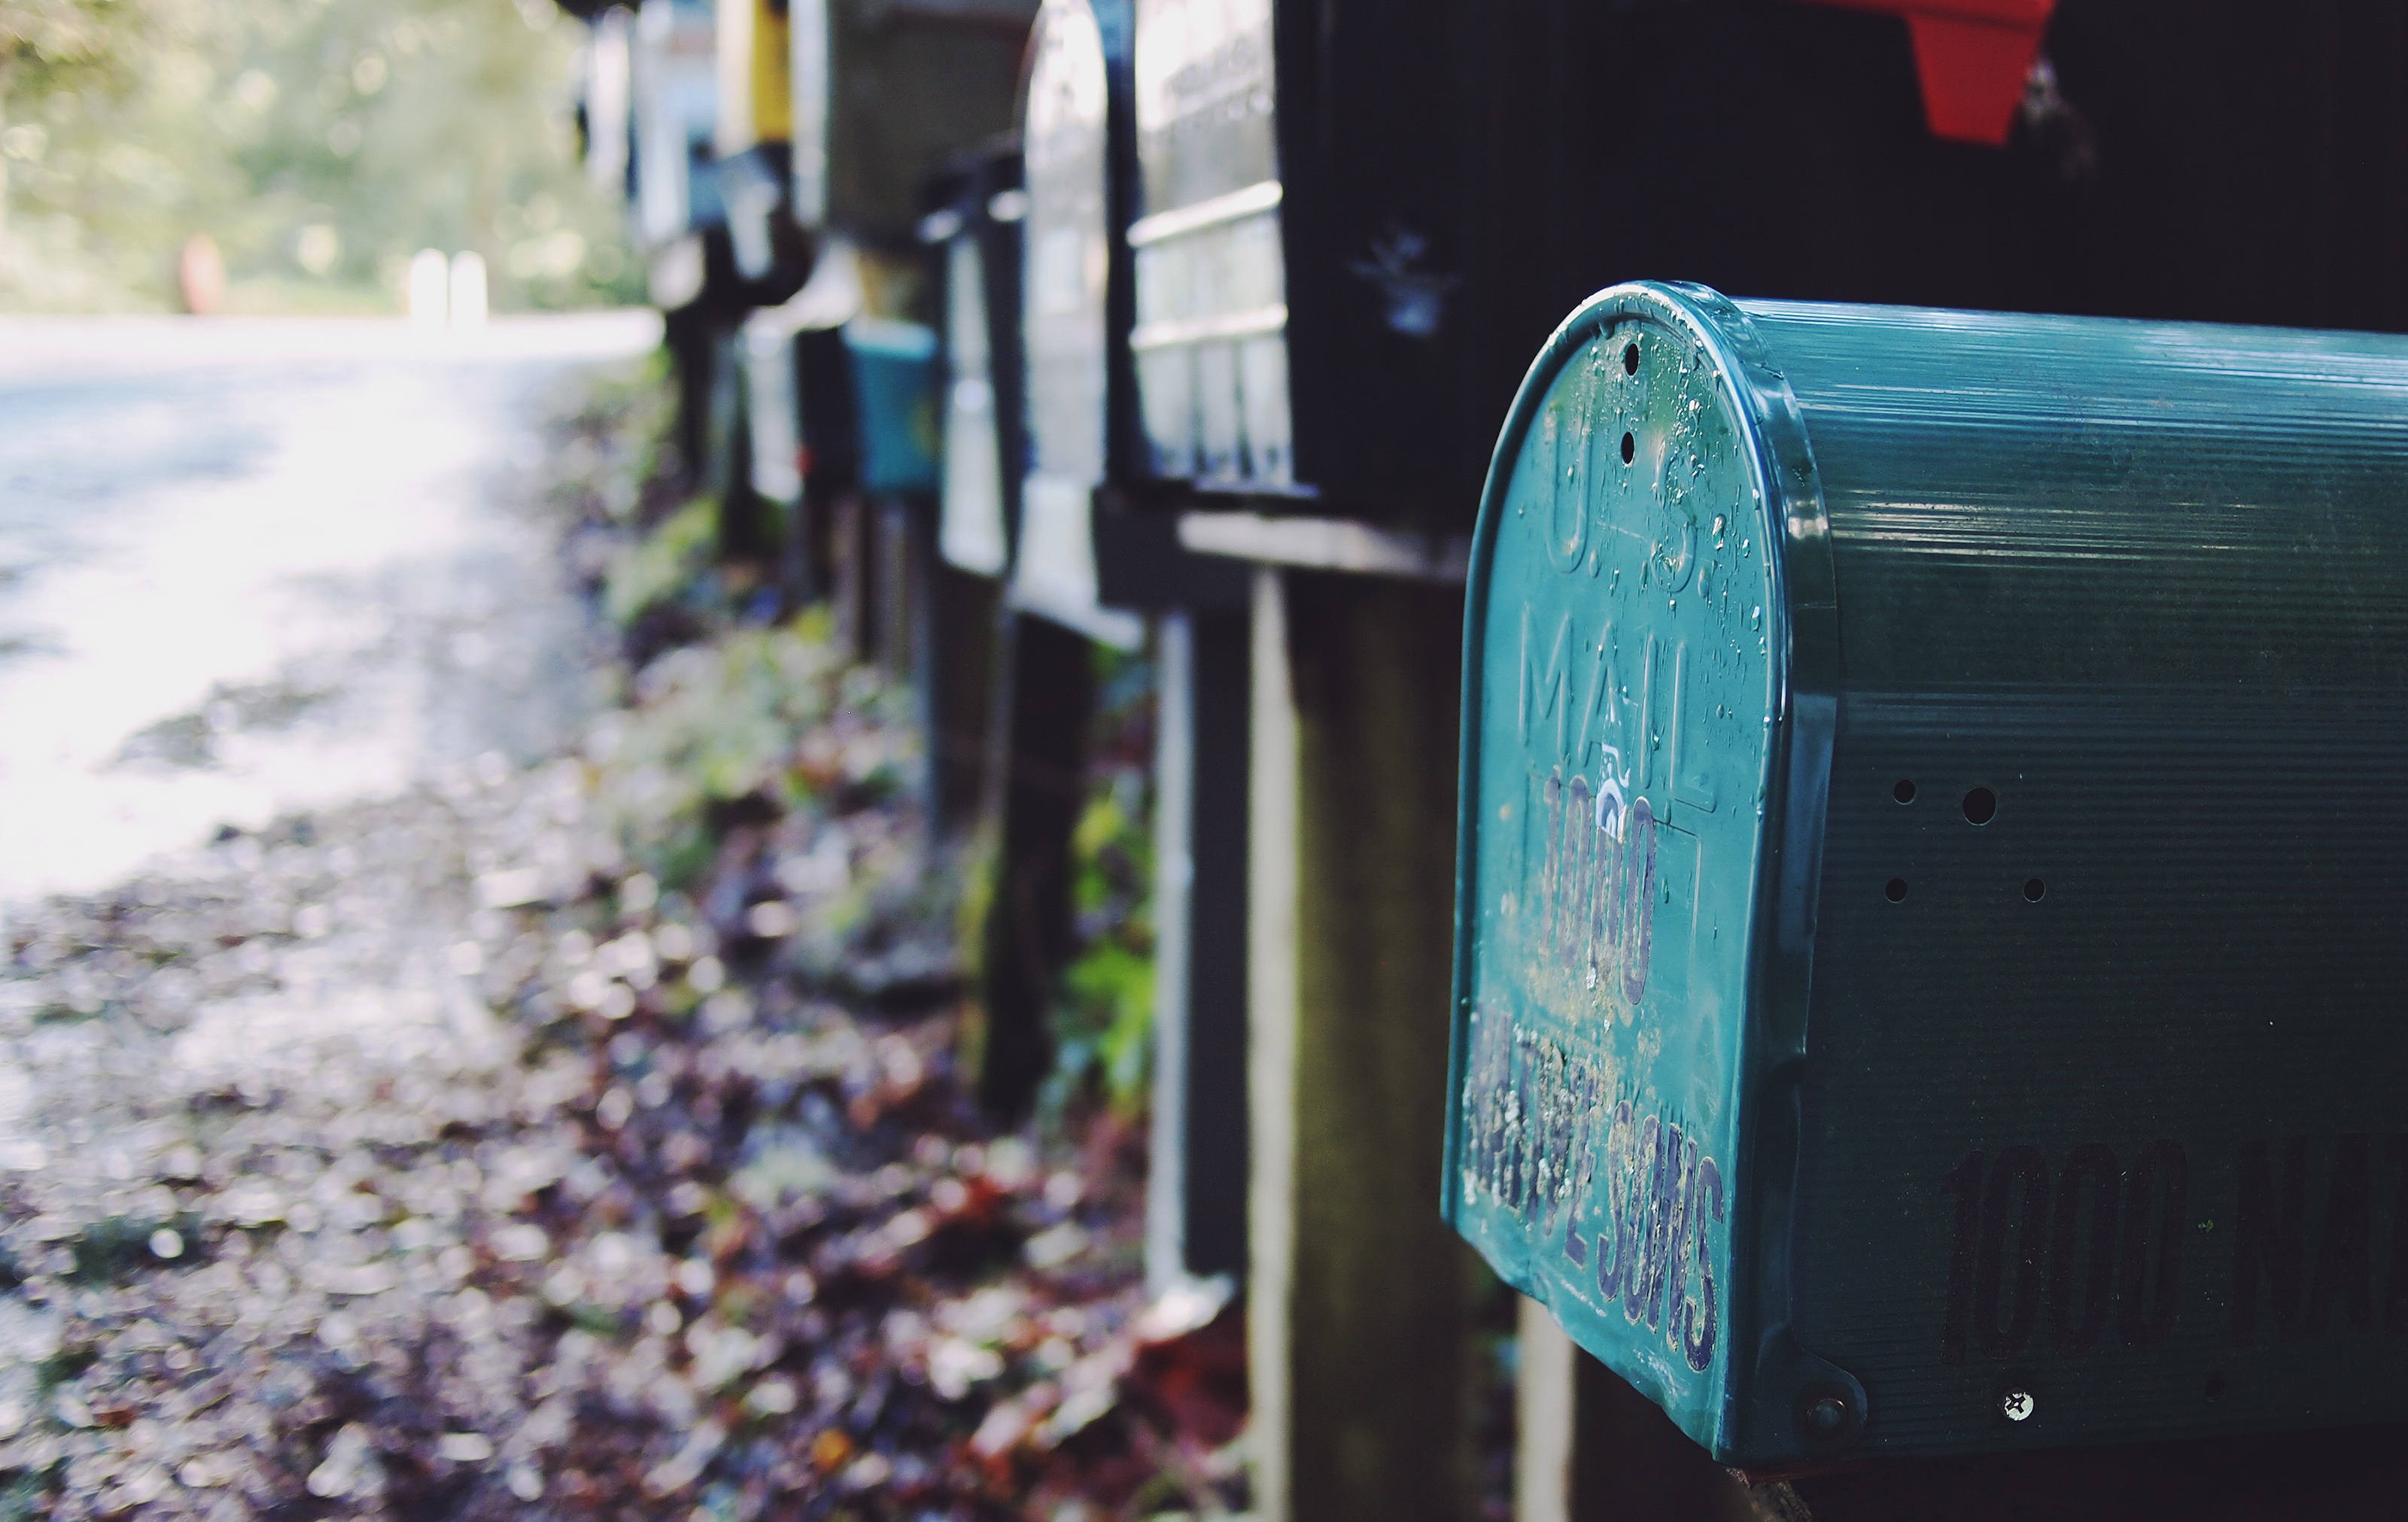
While most people can access their email via the web these days, having a dedicated…
-
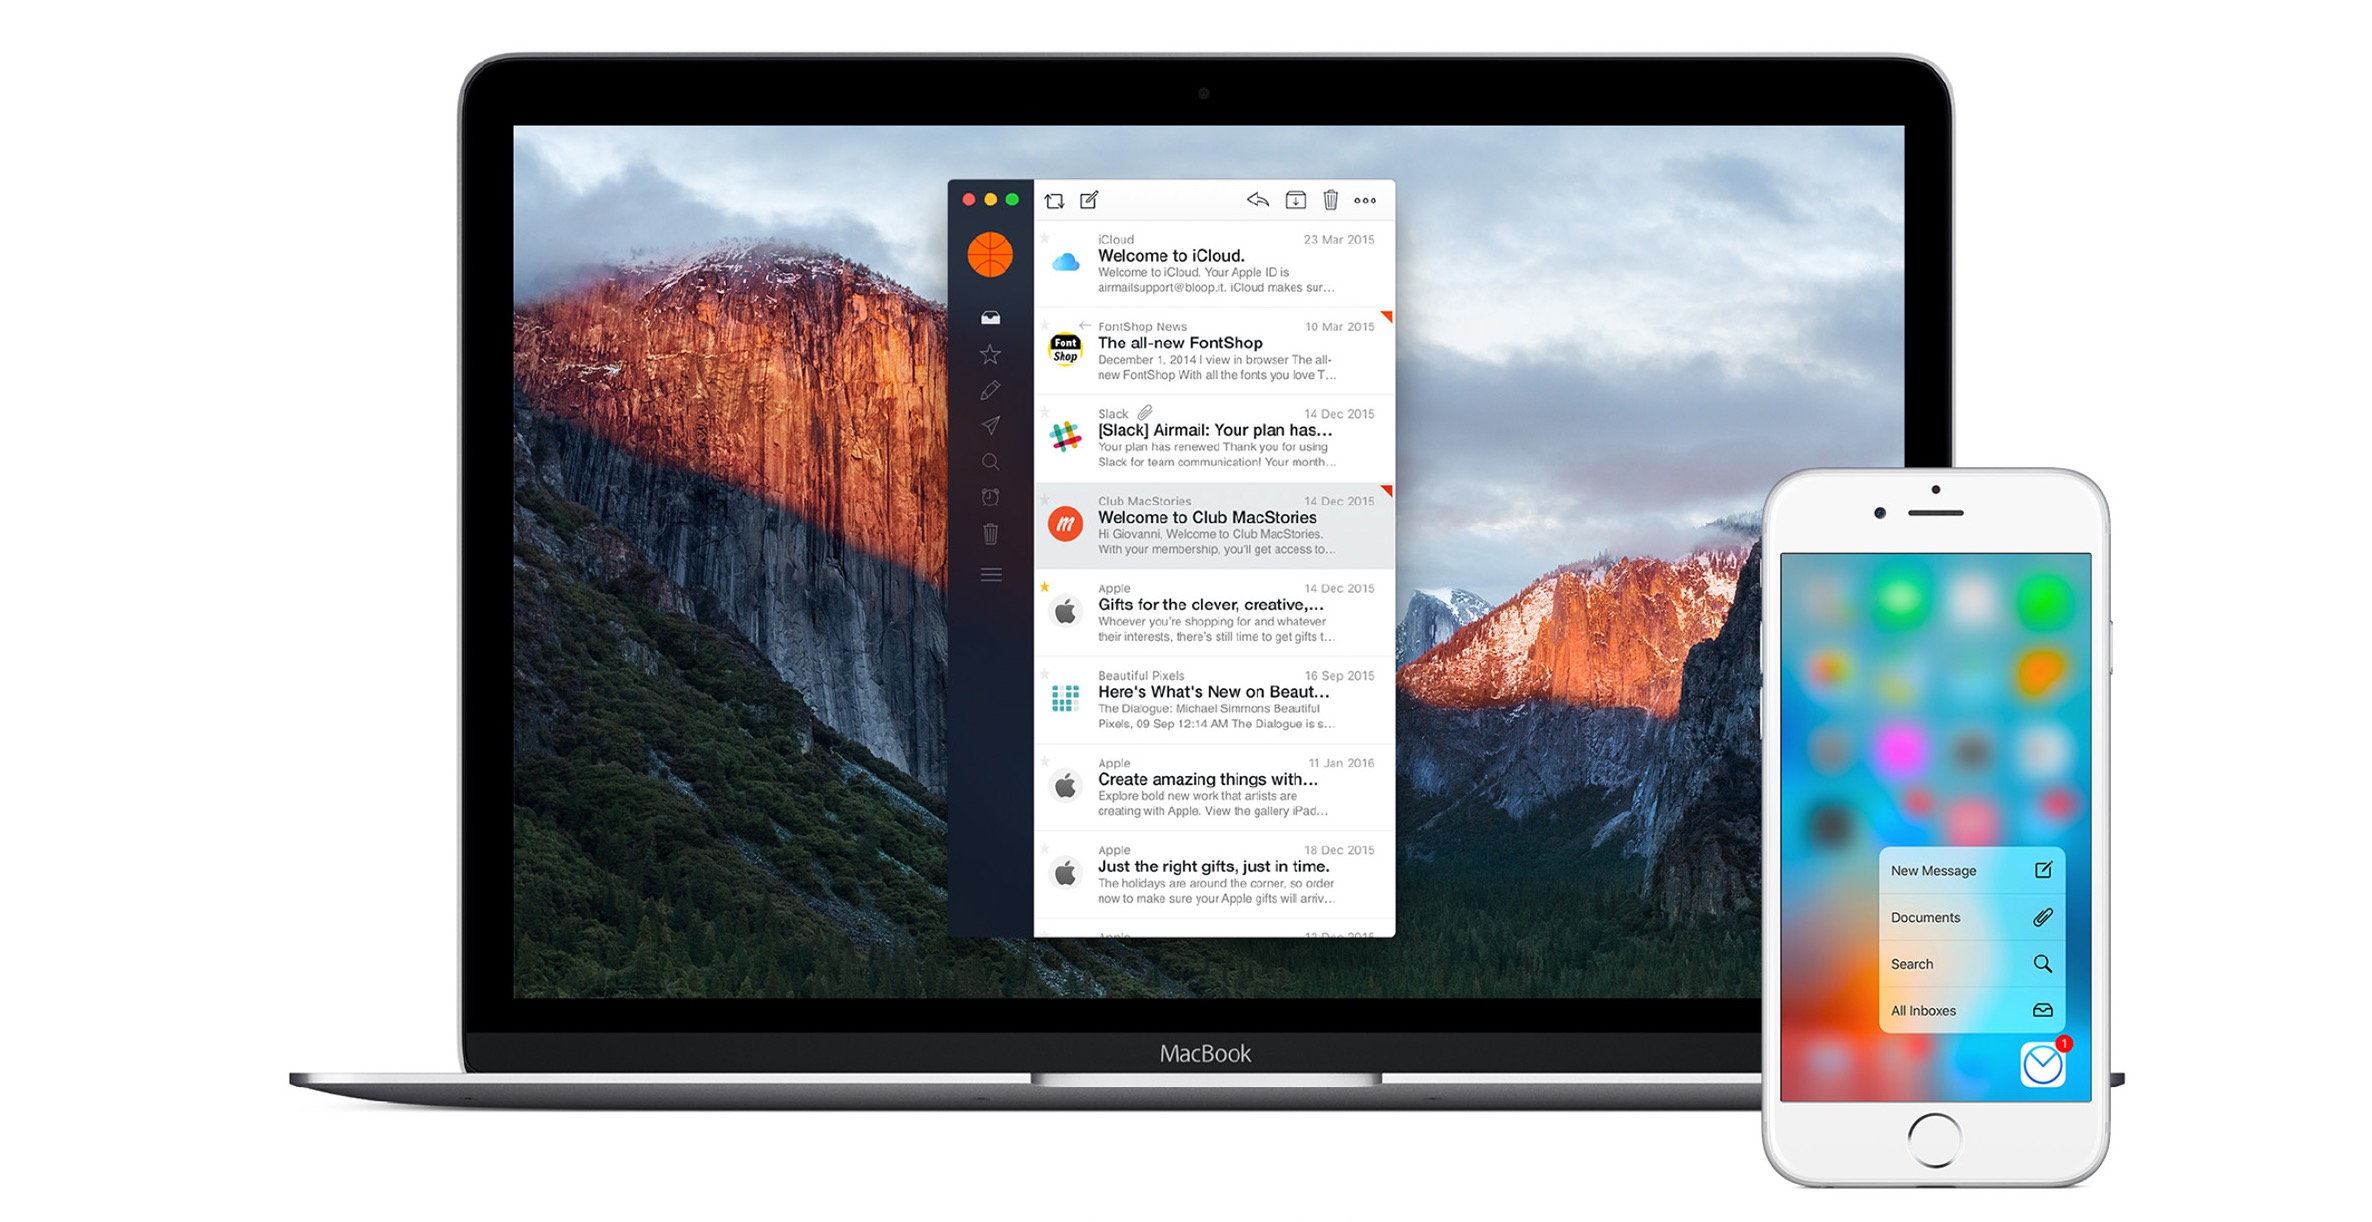
Even when you have all the power and versatility of a full Mac at your…