One of the the built in features we haven’t covered in regards to Windows 7 is the built in support for image burning. Not too long ago, if you wanted to burn a disc image, often called a .ISO file, you had to turn to third party solutions such as Ahead Nero, Roxio or a utility such as Clone Drive. It seems Microsoft realized that a lot of people have been using disk images over the years and has built in support right into Windows 7.
With pervasive of broadband Internet, ISO files which are often large in size can be downloaded in minutes. After you have downloaded an ISO image, you can do a number of things with, it you can burn it to optical media such as a blank DVD or CD or you can mount it as a virtual disk and use it directly in Windows.
A lot of companies these days are distributing software as .ISO files, Microsoft is no exception, if you download a program such as Microsoft Office, it will likely be available in the .ISO format. Instead of having it stored on your hard disk taking up disk space, you can have it stored on a blank DVD instead, it can also be a handy way to back up your programs in case something happens and you need to reinstall them.
Lets get started, insert a blank disc.

If the image file you want to burn is more than 700 MBs in size, you will need a blank DVD to burn.
Locate where the image is stored on your hard disk.
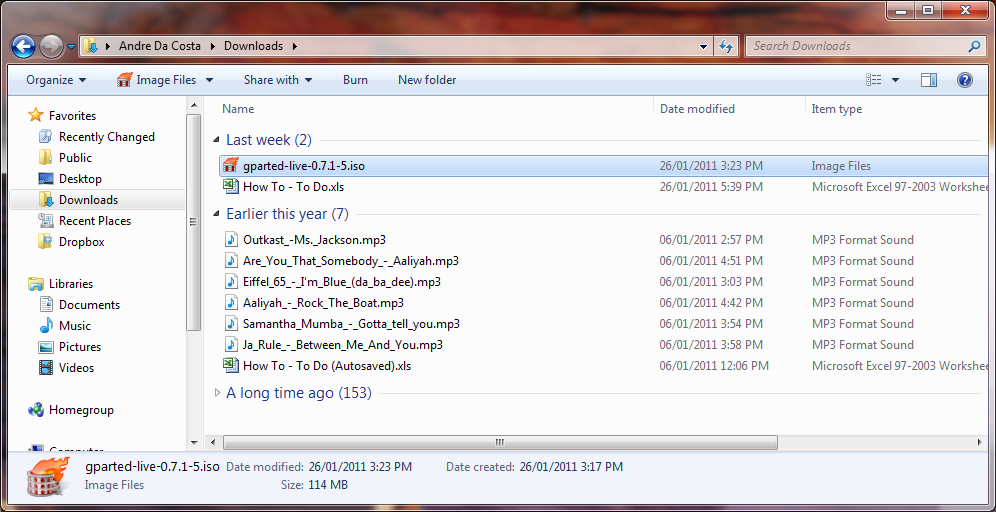
In my case, I have it stored in my Downloads folder. You can know an image file by its extension, .ISO, you can also look for the Item type, which is displayed as Image Files. Of course, there are different image formats such as .VHD which Windows offers native support for. So, regardless it might be an image file, it might not necessarily be .ISO file
Once we have located the image file, right click on it.
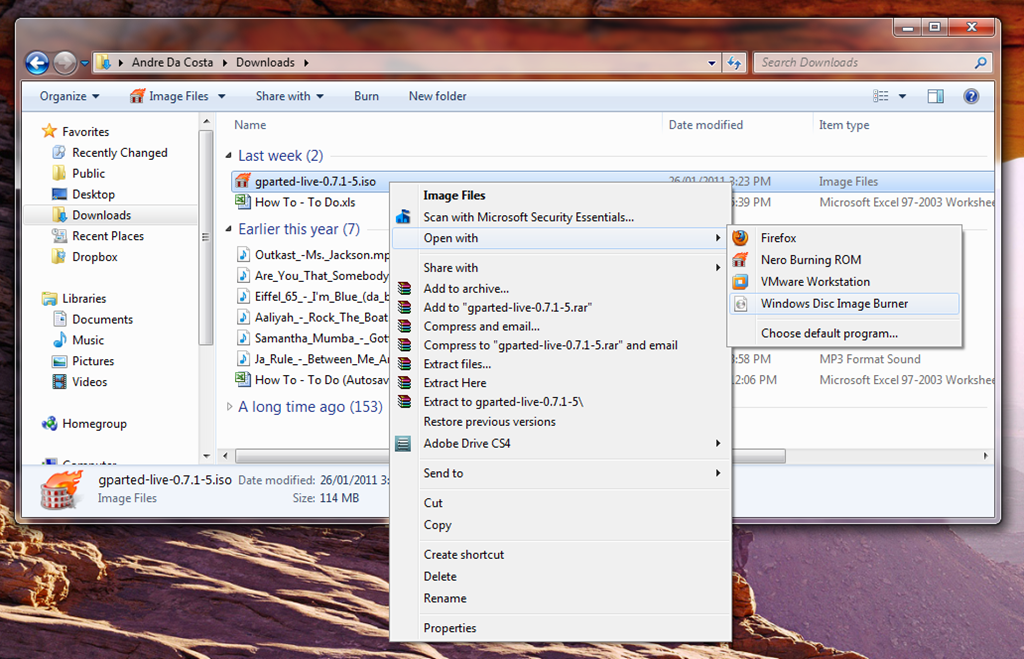
Select Open with then click Windows Disc Image Burner.
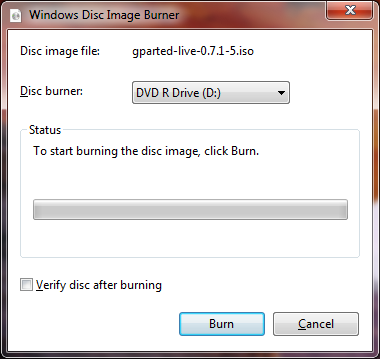
If you have more than one Disc burner installed, you can select the drive you want to use to burn the image. Make sure the blank disc is inserted. Also, check the box Verify disc after burning to guarantee it is burnt properly. Click Burn to add the image to the disc.

Disc burning in progress.
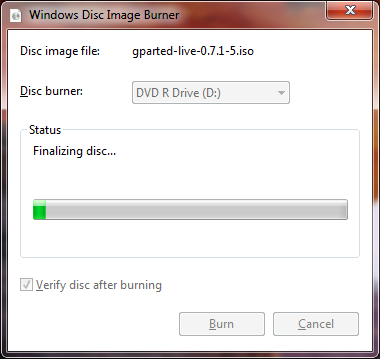
Finalizing the disc.
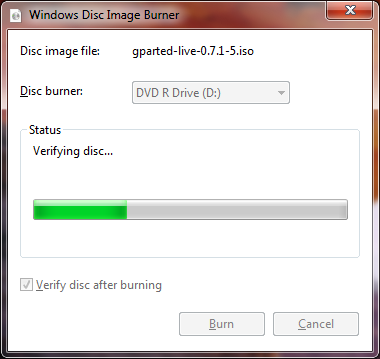
Verifying that the disc image has been burnt properly.
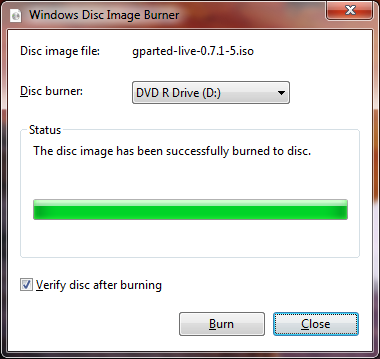
When the disc image has been burnt successfully, the disc will be automatically ejected and you can close the Windows Disc Image Burner. That’s it!
Related Posts
-

Microsoft’s Windows operating systems let users do a lot of things. Every day, machines loaded…
-

Even though Windows 10 has made upgrading Windows easier than ever, sometimes you still need…
-

On August 2, 2016 the Windows 10 Anniversary Update came out with some cool new features…