There are a few things you should always do to maintain upkeep of your Mac, but perhaps the most important task is backing up your computer. Here’s how to back up your Mac using Time Machine.
Backing up you Mac ensures that you don’t lose your most important files if your computer ever takes a wrong turn. It could suddenly crash or just die without any warning, and if you didn’t have anything backed up, it’s possible that all of your files could be gone forever.
You might think that backing up your Mac is time consuming and you just don’t want to go through the hassle, but a built-in utility in OS X makes the process really easy and completely hands-free, just like a self-cleaning oven.
Time Machine is a Mac utility that backs up your Mac every day to make sure that you have the latest backup on hand if anything bad should happen to your Mac. It takes just a couple of minutes to set up, and then after that it’s smooth sailing with no need to maintain it unless you want to change around some settings.
Here’s how to back up your Mac using Time Machine.
Backing Up Your Mac
Time Machine is a built-in feature that comes with all Mac machines, and it’s about the easiest way to back up everything.
All you need is an external hard drive to get started, which you most likely already have, but if not, there are a lot to choose from, and we have a few that you might like.
Plug the hard drive into your Mac and go into System Preferences. Click on Time Machine and you’ll see the settings page for the backup utility.
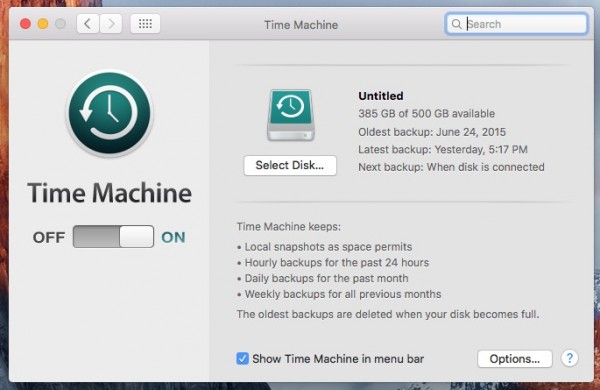
On the right side, it should automatically select your external hard drive, but if it doesn’t click on Select Disk and select your drive that you want to use with Time Machine.
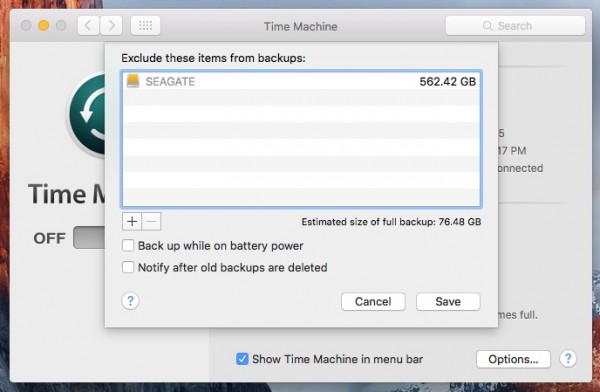
From there, you can click on Options where there are a few more settings you can adjust. From there, you can add folders and other drives that you want excluded from the backup, as well as choose whether or not to backup while on battery power and whether or not to get notified when older backups are deleted.
After you’ve adjusted all of the settings that you want, click on the Off/On switch to turn on Time Machine if it isn’t already on. The utility will wait a couple of minutes before beginning its first backup.
Depending on how much stuff you have stored on your Mac, the backup may take a while, but if you shut down your Mac in the middle of the process, it will simply just start back up where it left off the last time, so there’s no need to keep your Mac on and running during the entire process until it’s complete.
Restore a Time Machine Backup
There are two ways that you can restore a Time Machine backup. You can either open up the Time Machine utility on your Mac (not the settings menu that you were just in) and find files that you accidentally deleted, or you can completely restore a full backup.

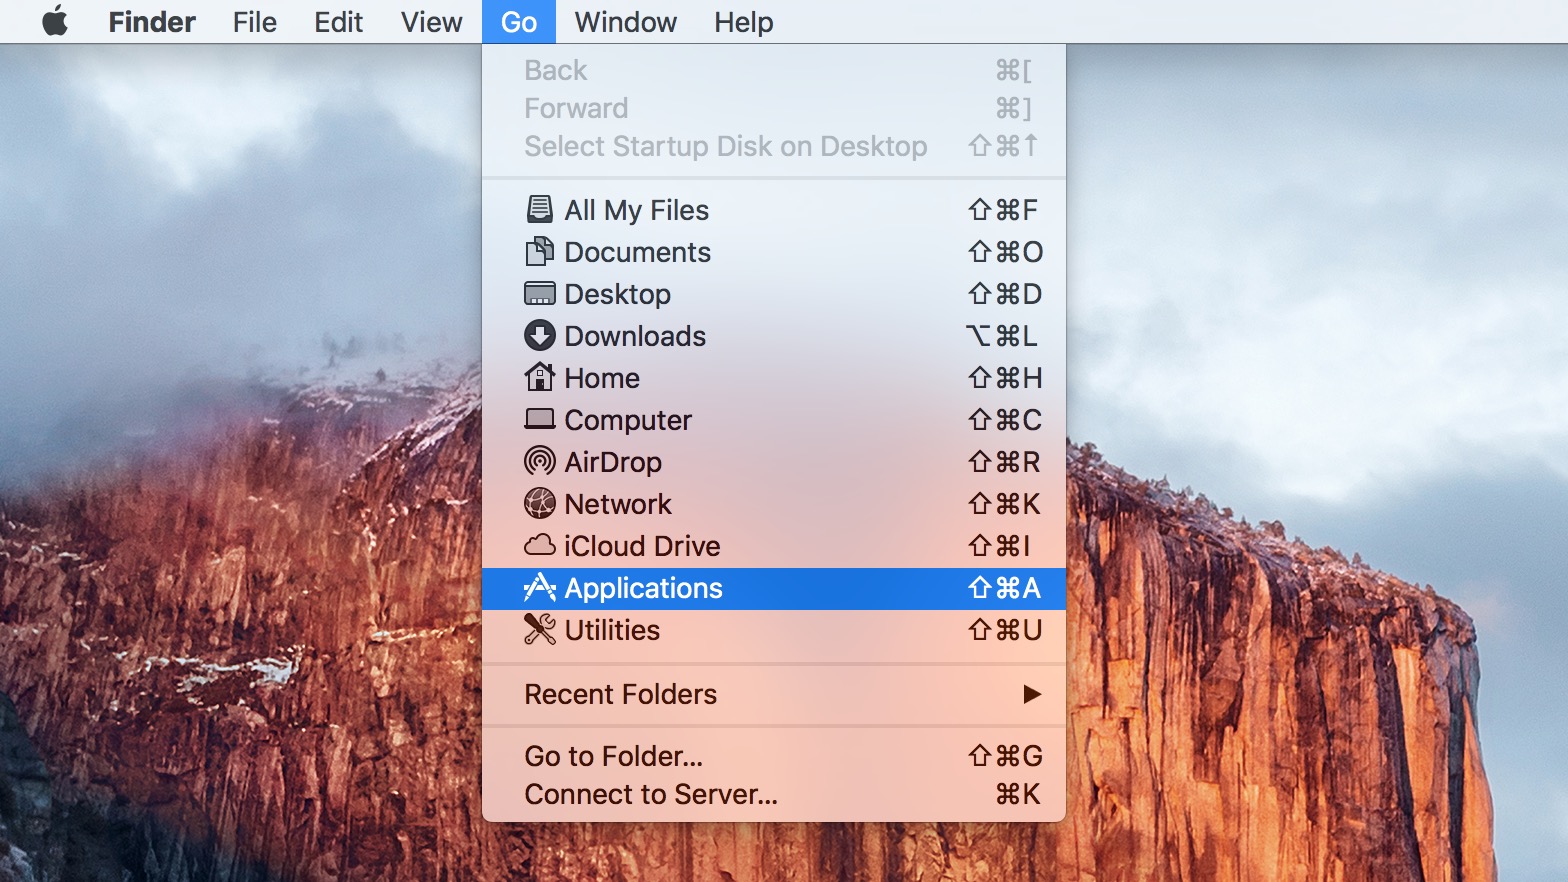
The first method is easy to do. Simply just go to Applications > Utilities and open up Time Machine. From here, you can browse past backups by using the timeline off to the right-hand side. Once you select a date, you can then browse the Finder window to find any files that you may have accidentally deleted and want back.
When you find the file(s) that you want to restore, click on them and then go down and click Restore.
To restore an entire backup (rather than just get back a few files), the process is vastly different. You’ll need to boot your Mac into its recovery partition by pressing and holding down Cmd+R during boot-up. This launches Recovery Mode, which takes up a portion of your Mac’s drive.
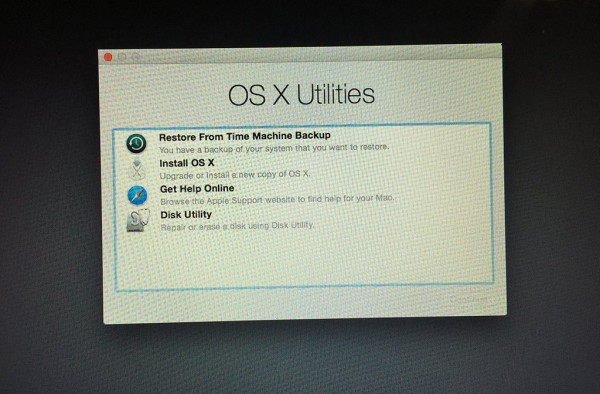
Once you get there, the OS X Utilities window will appear. Simply select Restore From Time Machine Backup, and click Continue until you get to the Select a Backup Source screen. Select your Time Machine’s external hard drive and hit Continue. On the Select a Destination window, select your Mac’s main drive to restore the backup to your Mac.
Related Posts
-
Like on a PC, most of your Mac's software lives in the same place on…
-
While most people can access their email via the web these days, having a dedicated…
-

If you want to start making your own GIFs and join the ranks of other…