Preview is the application most Mac user think is intended to just view files like PDFs or pictures. But it is actually a powerful program. Here are some of the cool things you can do with Preview in Mac OS X. These tips will save you some time since you won’t have to open a larger and often slower application to get at these tools. If your photo editing is simple, these tips might also save you some money.
Take a Screen Shot
If you need to take a screenshot, the simplest way to do this is to use the keyboard shortcuts. They work even if Preview is not running. There are two kinds of screen shots. To take a screen shot of the entire screen use SHIFT+COMMAND+3 (yellow keys below). For a more in depth look, check out our guide on how to take screenshots in OS X.
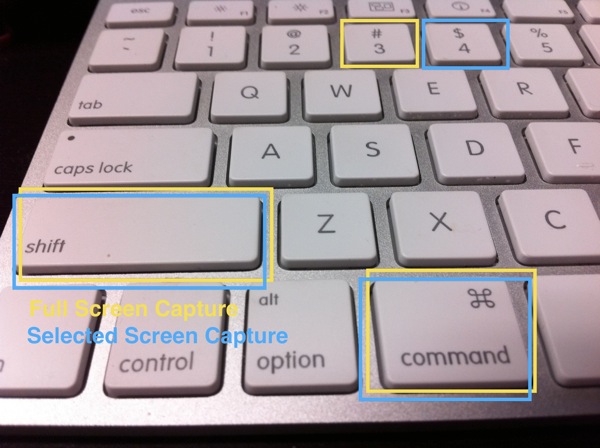
The other kind is an area selection. You may just want a portion of the screen. Instead of doing a full screenshot and cropping, just select exactly what you want to capture. To do this use SHIFT+COMMAND+4 (see blue keys above). A crosshair will appear on the screen. Using the left mouse button click and drag around whatever you wish to capture. If you cannot remember the keystrokes, just open Preview and go to the File menu. Select “Take Screen Shot” and then choose whichever kind of screen shot you wish to take. There are three:
- From Selection – you will be able to use your mouse to select the area of the screen you wish to capture
- From Window – the active window will be captured
- From Entire Screen – the whole screen will be captured and if you have two displays two images will be created
By default the resulting images will be saved to the desktop. If you don’t mind using terminal, follow the instructions at MacWorld to change the default location for saved screen shots.
Import Photos from a Camera
Connect your camera to your computer and then from the File menu choose “Import from Camera …”. All the pictures on the camera can be imported and used in the tips below.
Crop a Photo
If you have an image that you want to crop (reduce so that only a portion of the photo remains), then open it in Preview. Click on the Select button from the toolbar. Select the area you wish to use from the photo. From the Tools menu select Crop or just use the keyboard shortcut COMMAND+K. To save the cropped version over the top of the photo just hit COMMAND+S or from the File menu choose Save. Or you can select “Save As” to save it as a separate file preserving the original. Here is an example of a cropped photo using Preview.
Before:

After:

Note that when you start to select the area the pixel size will appear next to the crosshairs cursor. This way you can select exactly the right size you might need. We purposely choose an area that was 599 pixels wide so that it would fit this blog which is 600 pixels wide. The before image is larger but reduced to fit while the after image is full size.
Correct Exposure or Color
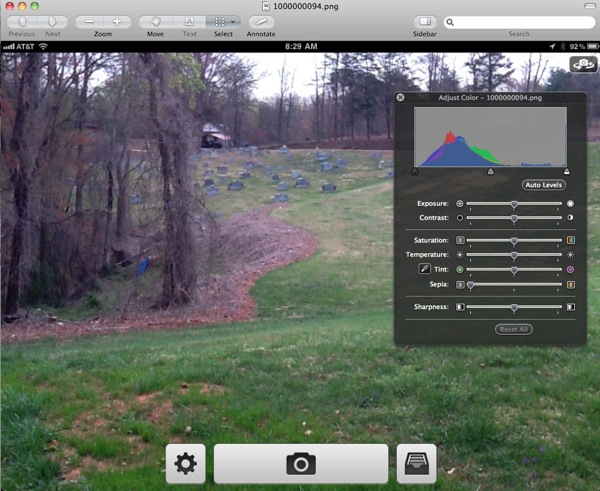
If you have an image that needs a quick color or exposure correction, Preview can do the job. Open the photo and from the Tools menu choose Adjust Color or use the keyboard shortcut COMMAND+OPTION+C. The color/exposure adjustment window will pop up. Make corrections (but don’t go wild unless you want to achieve a strange effect). And then save it just as you did above.
Here is a photo untouched which we took for a recent iPad App review:
Here is the after in which we did some “corrections” to the photo:

Granted our fixes look worse than the original, but you get the idea.
Scan Documents and Photos
Using an attached scanner, you can import photos or documents. From the File menu choose “Import from Scanner” and then choose your scanner from the fly out menu. Use the scanner interface to import the document.

Now you can save it as any of the supported file formats in the “Save As” box or use the other tips to adjust the image or document.
Make a Quick Slide show
If you have a bunch of images on your computer, then you can show them off without a lot of frills. Preview can take the files and create a quick slide show.
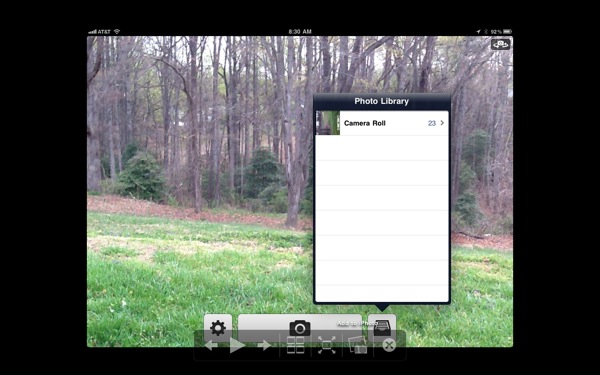
Open Preview and then open all the files you wish to use for the slide show. From View menu choose Slide show or press SHIFT+COMMAND+F. The screen will go dark and the slide show will start. Across the bottom, there are control buttons. The arrows go forward or backwards in the show. The play button starts the slide show. The Index Sheet button makes an onscreen index sheet of smaller thumbnails of your open images (see below).
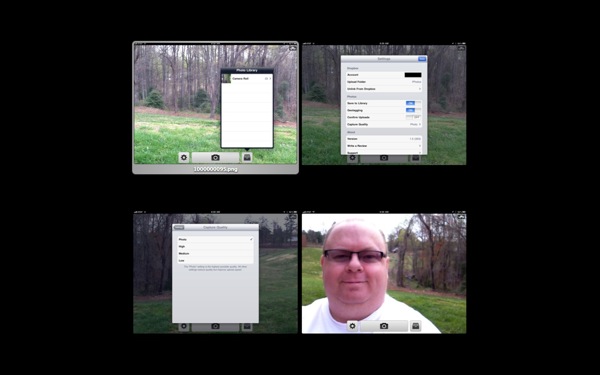
The shrink or expand button does what is says, shrinks the images or expands them to fill the screen. The button next to that will send the image to iPhoto. The last button ends the slide show. Open iTunes and play an album to get music behind the slide show for added effect.
Annotate Images and PDFs
Sometimes you will need to mark up a document or image. To do so click the Annotate button on the toolbar. A new toolbar appears at the bottom with tools for making notes or drawing on the screen.
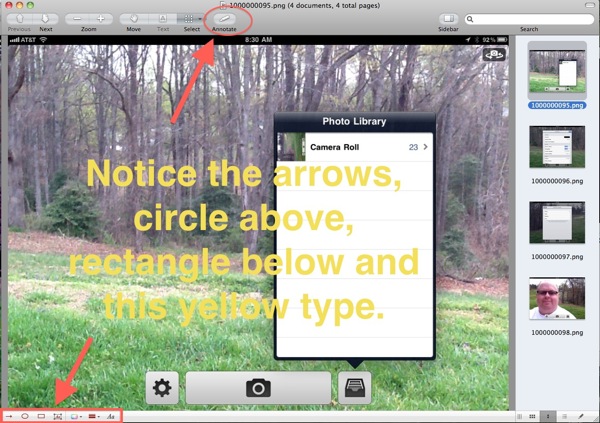
Above you will see an image that has been annotated with arrows, an oval around the Annotate button, a rectangle around the Annotate bar, and some text on the screen. You can change colors and using the font button change the typeface of the annotation. Save or Save As just like above to keep your work.
These work on PDFs too. You can also highlight text. Select the text and then choose Tools, Annotate, and Highlight Text.
Rotate or Flip Pictures
To rotate an image open it and hit Command+R. This rotates it to the right. COMMAND+L rotates to the left. To flip the image use the Tools menu and choose “Flip Horizontal” or “Flip Vertical”. You will find the Rotate commands on the Tool menu as well.
Find Text in a PDF
If you have a long PDF file and you want to find some text, just choose Edit and then Find. From the fly out menu choose “Find…” and enter the word or words you wish to find. Or you can use the keyboard shortcut COMMAND+F. To go to the next instance of that same text, hit COMMAND+G. To find the previous instance hit SHIFT+COMMAND+G. You can also select some text and find other instances of the chosen text by hitting COMMAND+E. All of these are on the Edit menu under Find.
Listen to a Document
If you load a document into Preview, then your computer can read the document to you. Just choose Speech from the Edit menu. In the fly out menu choose “Start Speaking” and when finished listening choose “Stop Speaking”.
Related Posts
-
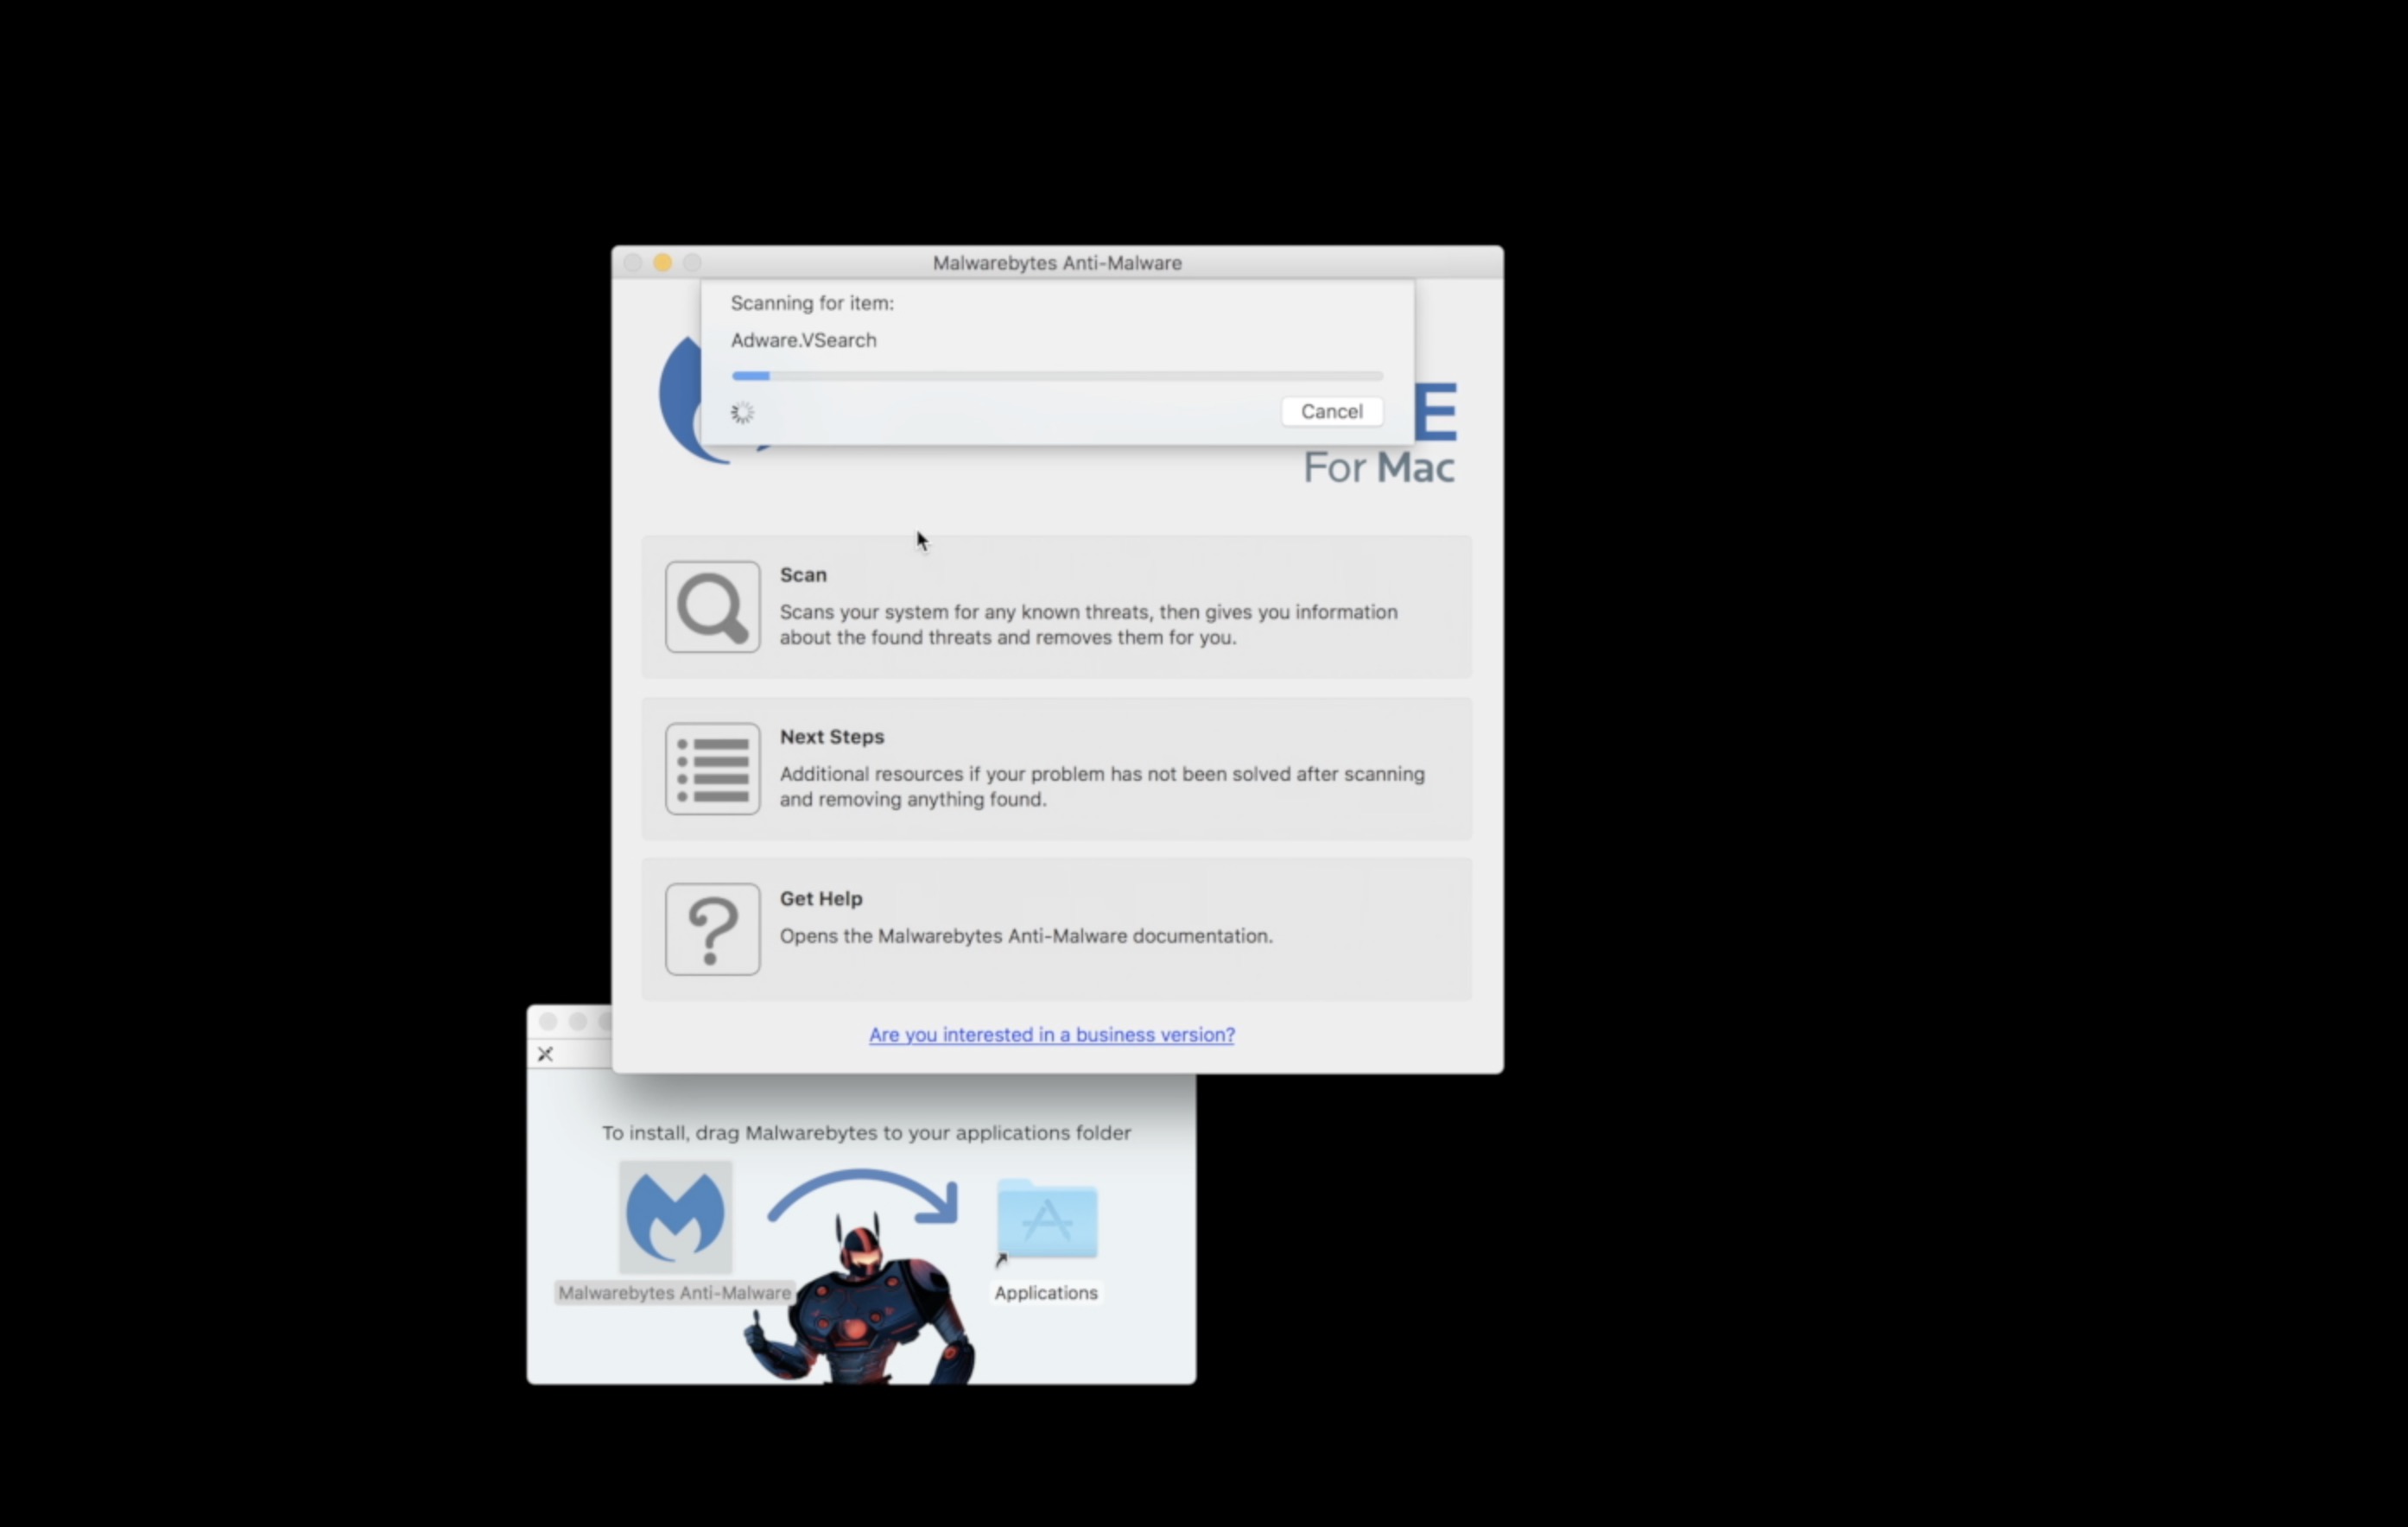
Here is a guide on how to detect Mac malware and safely remove it from…
-

With recent updates to the Mac's OS X El Capitan, and the new iOS 9.3,…
-
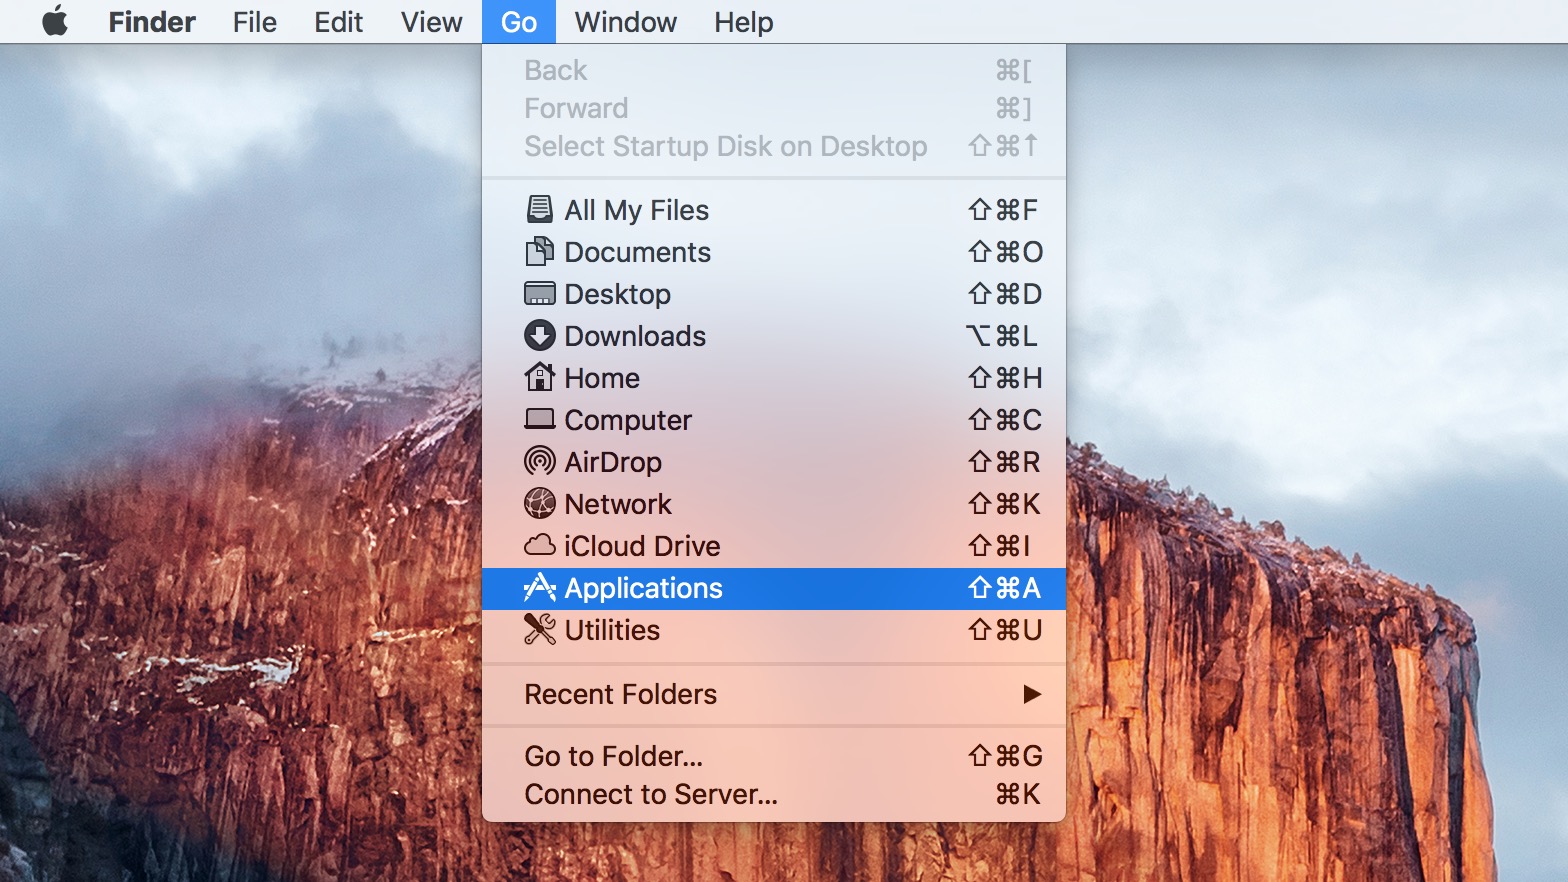
Like on a PC, most of your Mac's software lives in the same place on…