Previously we have looked at how to dual boot Windows 7 and Windows XP with Windows 7 installed first, now we are going to look at a more straightforward method of installing Windows 7 with Windows XP installed first.
The aim of a dual boot system is to provide a smooth transition to Windows 7 by maintaining compatibility with legacy applications, games and hardware devices; while still taking advantage of the latest that Windows 7 has to offer. To complete this task, you will need to have a full version Windows 7 license because the upgrade version requires that there be a qualifying version of Windows already installed on a drive to qualify for the upgrade. Because we will be installing Windows 7 on a blank partition, we need the full version.
First we need to create the partition. This is a bit more difficult in Windows XP, but not impossible. Windows XP has a built in utility called Diskpart, but it requires the command line and it seems to be a hit and miss when comes to creating partitions. I decided to go for something much quicker and simpler. Gparted-Live is an open source partitioning tool that makes it easy to create partitions. So, the first thing I recommend you do is download it.

Next, you will need to burn the image to a blank disc. After you have burnt the .ISO image file, make sure the disc is inserted and your computer is set to boot from the disc drive.
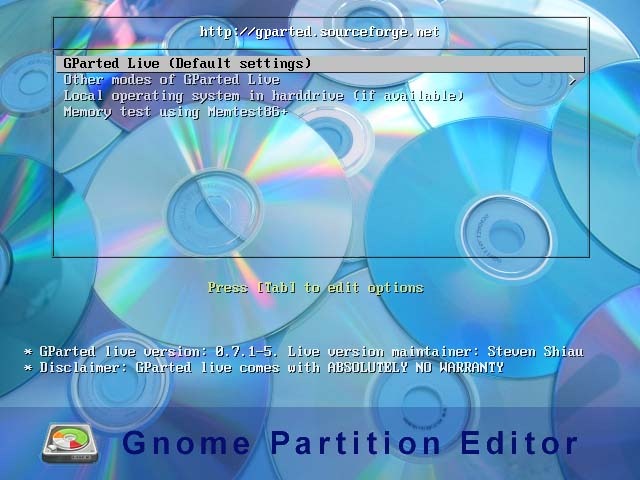
When you boot from the GPart disc, it will automatically boot into the GPart Partition Editor setup. By default GPart Live (Default settings) should be selected, hit Enter on your keyboard
Setup will run through a series of commands, don’t be alarmed, this information will go by really quick.
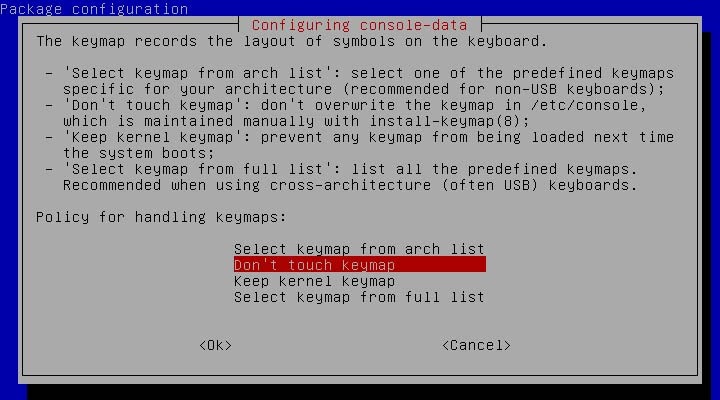
Go with the default Don’t touch keymap then hit Enter on your keyboard
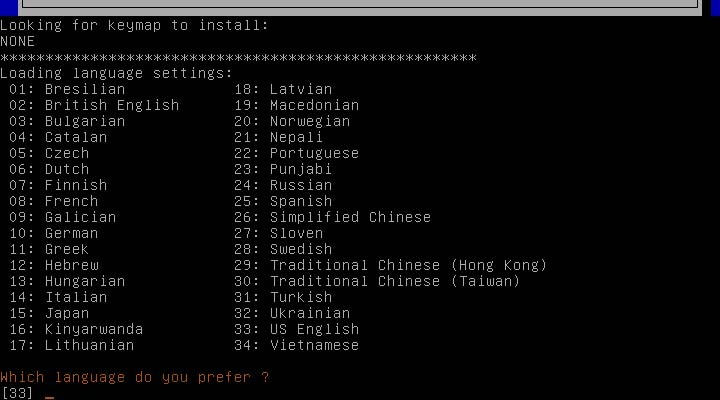
Choose a number to select your default language, 33 which is for US English was automatically entered. Press Enter on your keyboard to continue

Press Enter
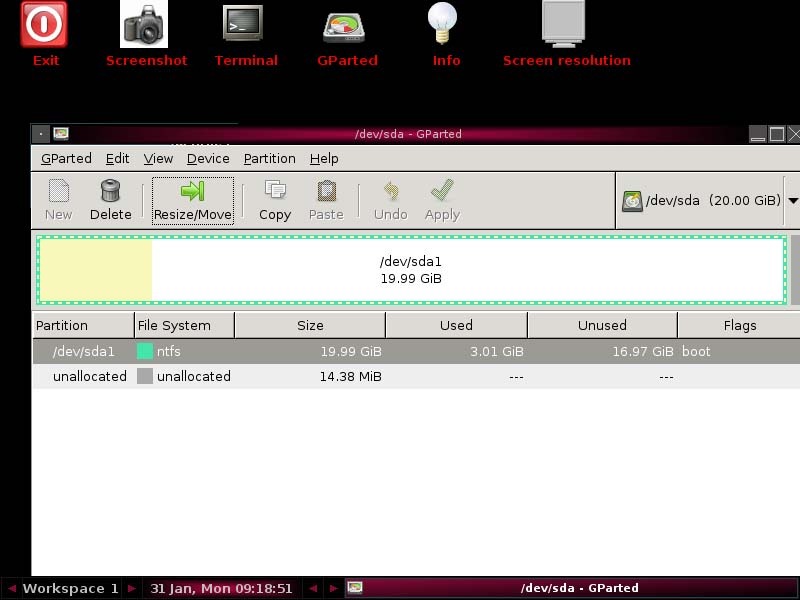
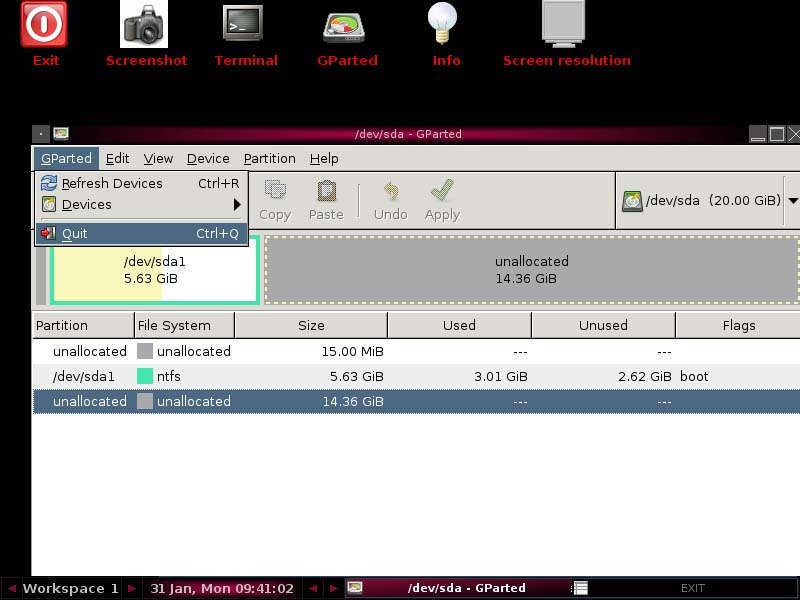
Once you have reached the graphical interface, we are ready to setup a partition to install Windows 7 on. As you can see in the above screenshot, displayed is the system partition along with yellow highlight indicating the amount space used which 3.01 GBs (Windows XP). We need to set aside some space for Windows 7.
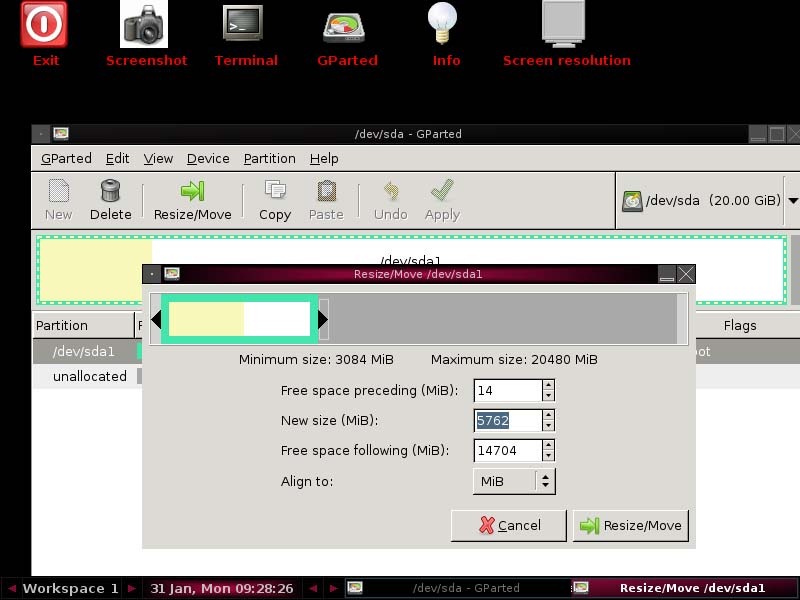
To resize the drive, click the Resize/Move button on the toolbar. This will display partition editor dialog. Since I am using a 20 GB drive for this article, I will need to make sure I set aside enough space for Windows 7 while at the same time leaving enough space behind for Windows XP. In the Free space preceding field, I will enter 14 which is 14 GB, the press tab. This should automatically calculate the amount space that will remain after for the boot drive (Windows XP). In above screenshot, you will see the drive space after is 5.7 GBs. Click Resize/Move
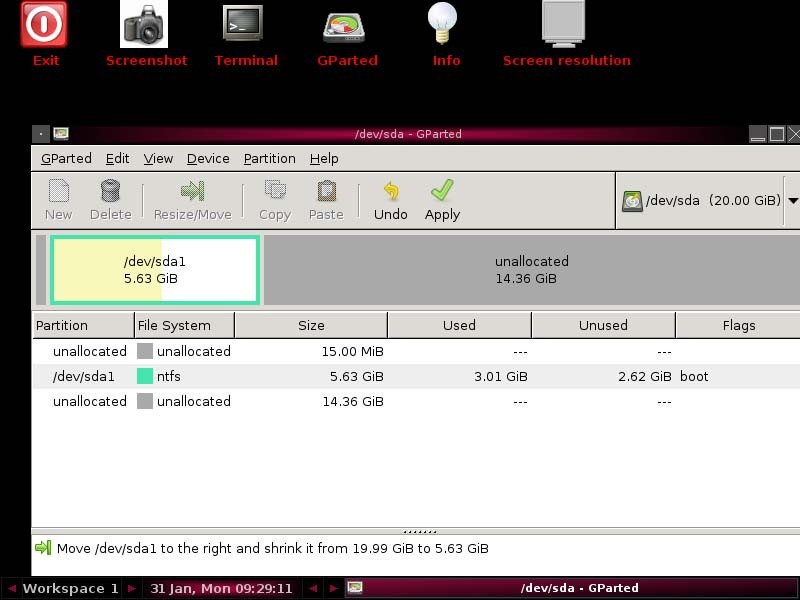
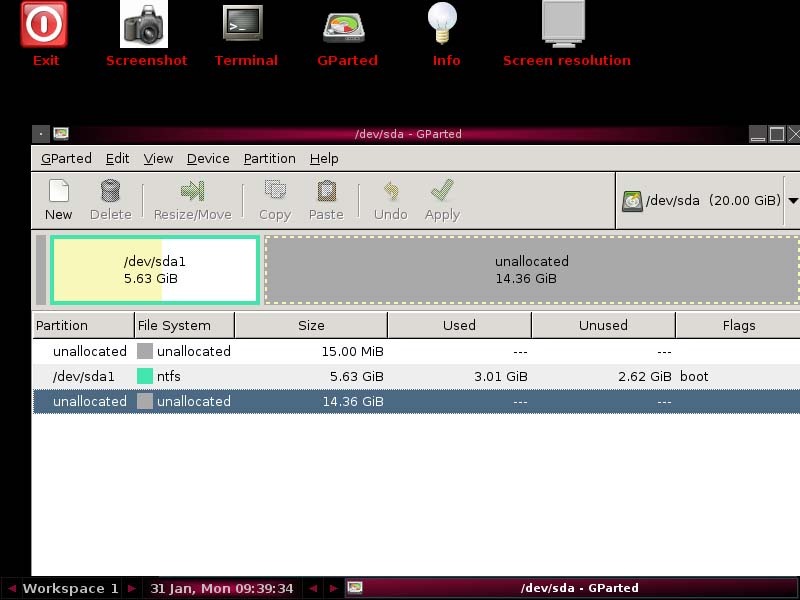
You will now see the resized space listed as unallocated. Next step is to apply the changes. Click Apply on the toolbar
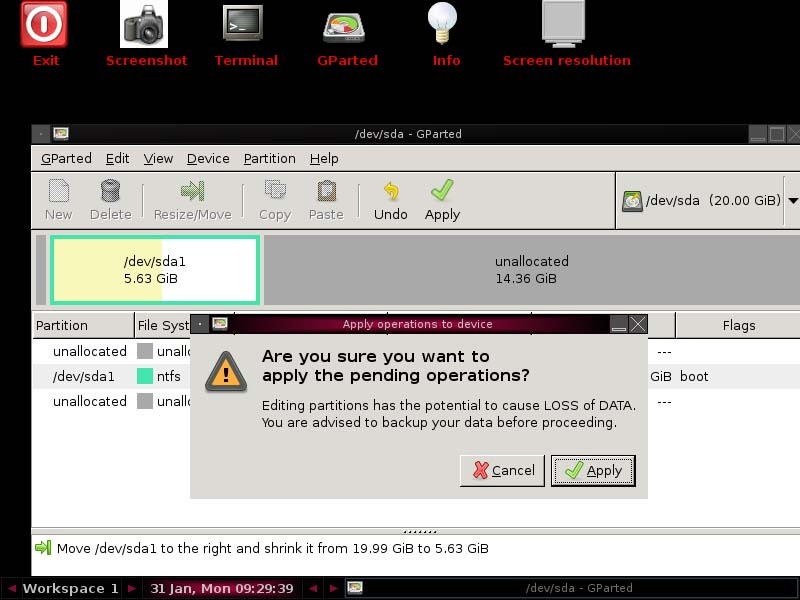
Click Apply
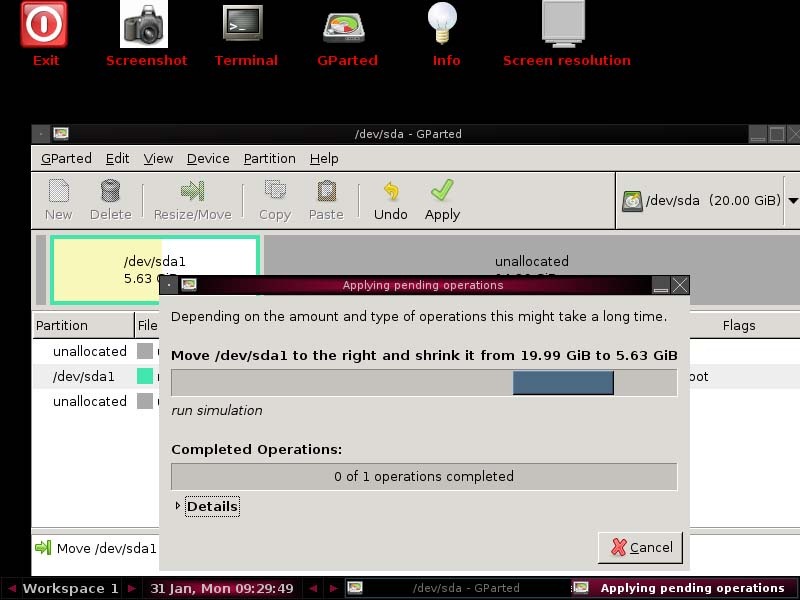
Wait while the wizard applies changes to the partition, in the above screenshot, a simulation (or trial run is being run)
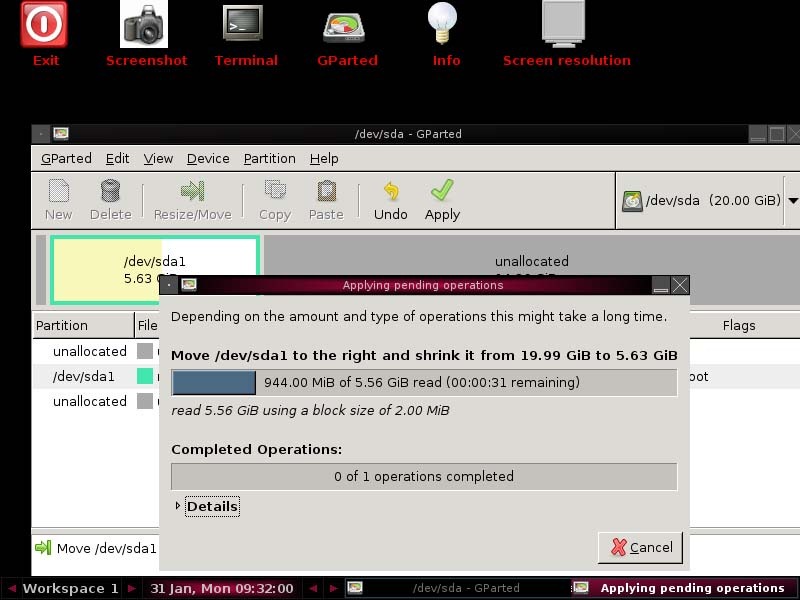
Making changes to the partition.
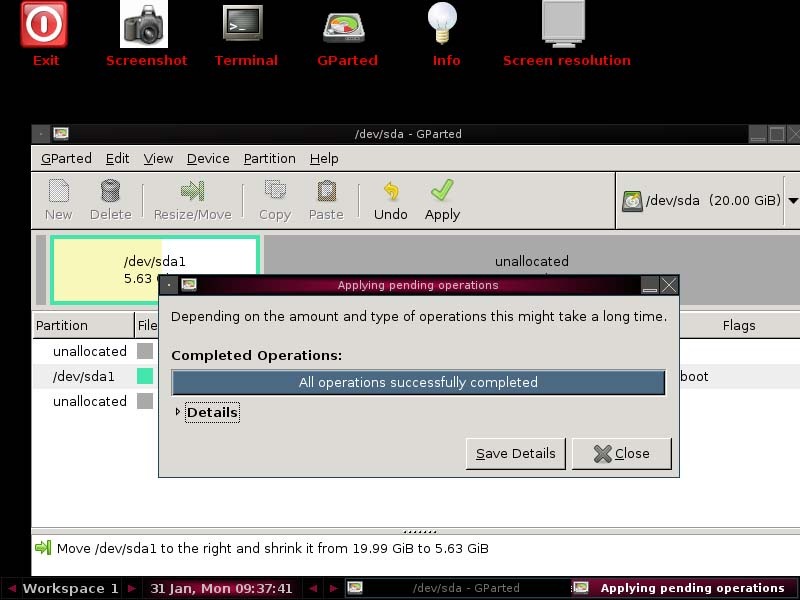
Click Close when complete
Our partition is almost ready for Windows 7
Click the GPart menu, click Quit
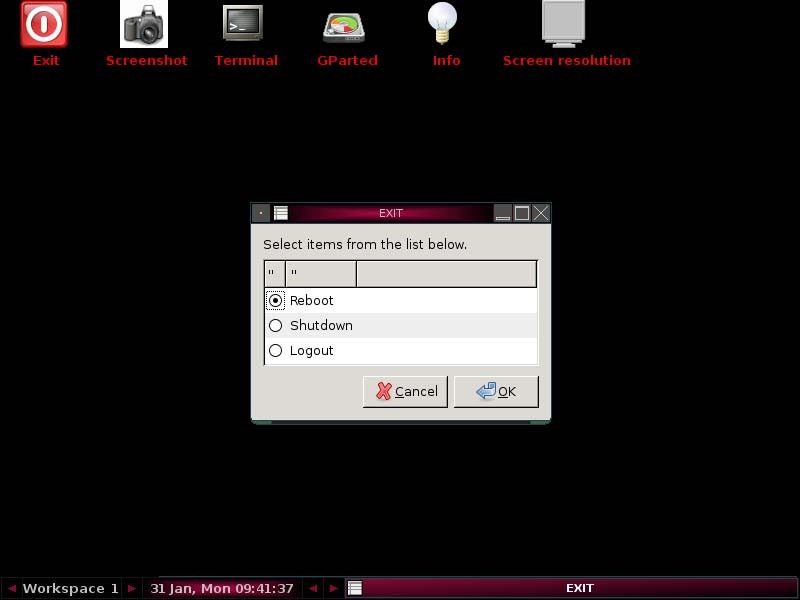
Select Reboot click OK

Remove the disc and press Enter to reboot your computer.
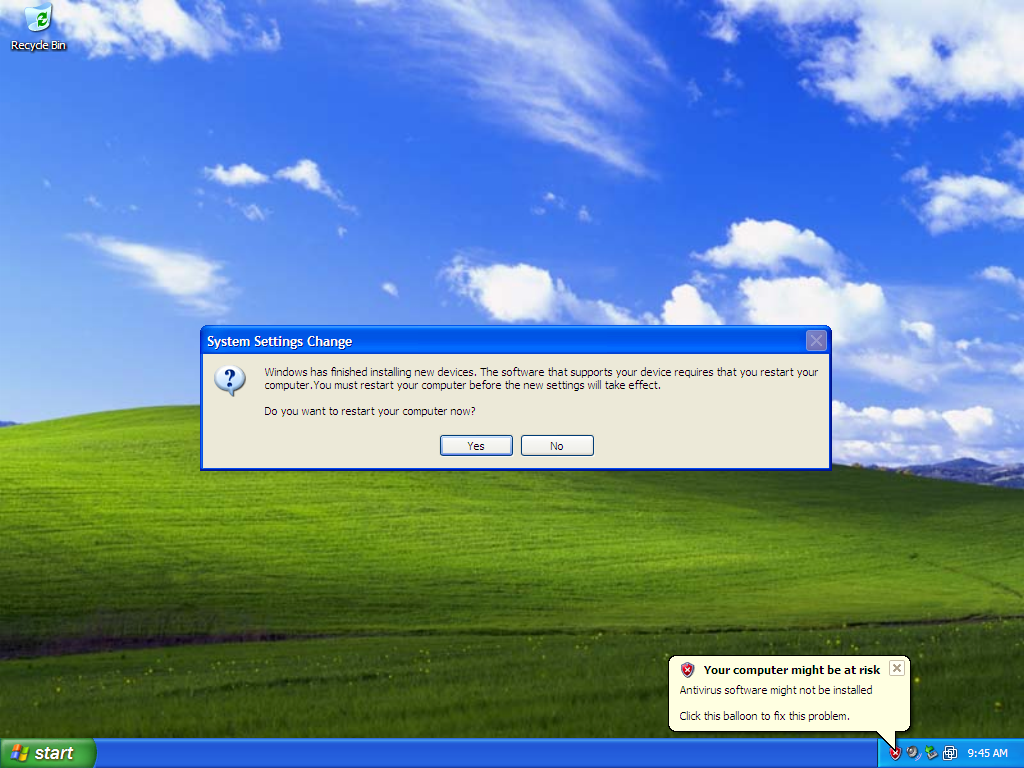
Once you have rebooted into Window XP, the new partition will be detected, click Yes apply changes.

After restarting, open Disk Management. (Start > right click Computer > click Manage > expand Storage > click Disk Management) You will now see the partition we created listed as Unallocated.
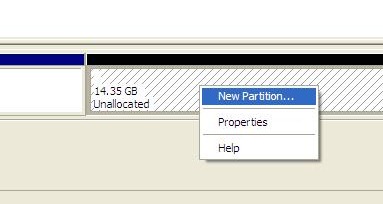
Right click the Unallocated space and click New Partition
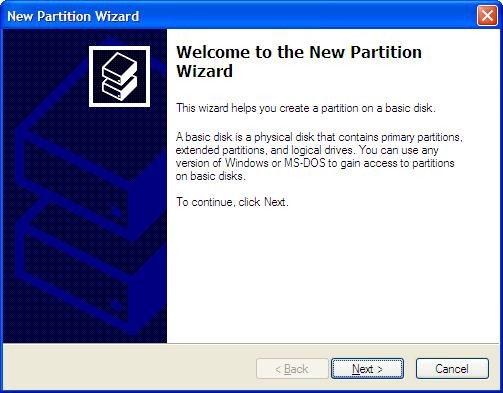
This will start the New Partition wizard, click Next
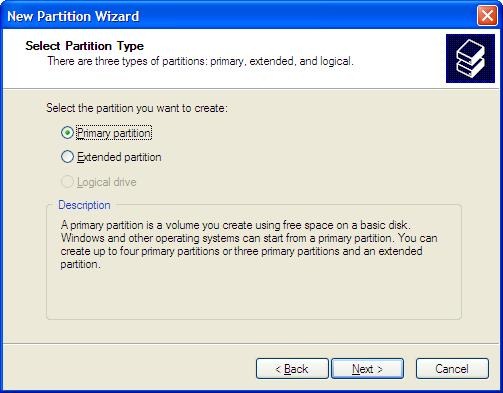
Select Primary partition then click Next
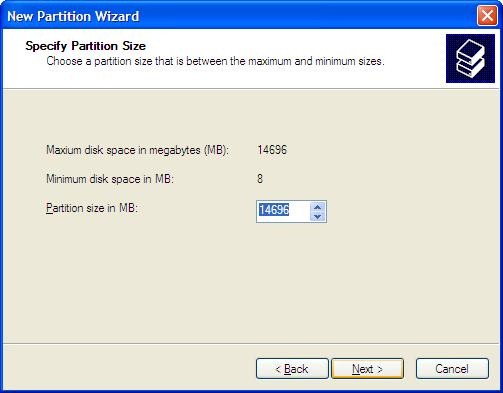
Go with the default, click Next
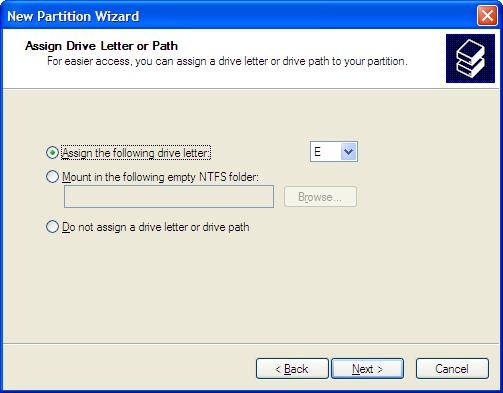
Go with the default options, click Next

Select Format this partition with following settings: enter an optional name for the volume, I chose WIN7, click Next
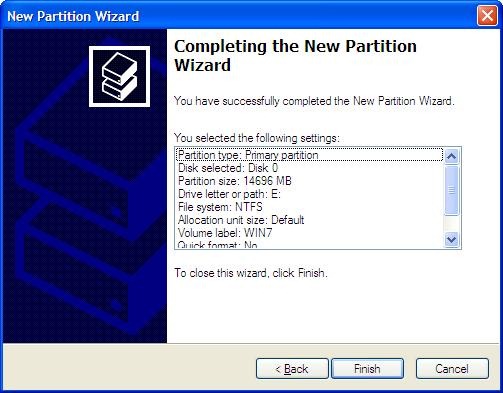
Click Finish

Our partition is now ready
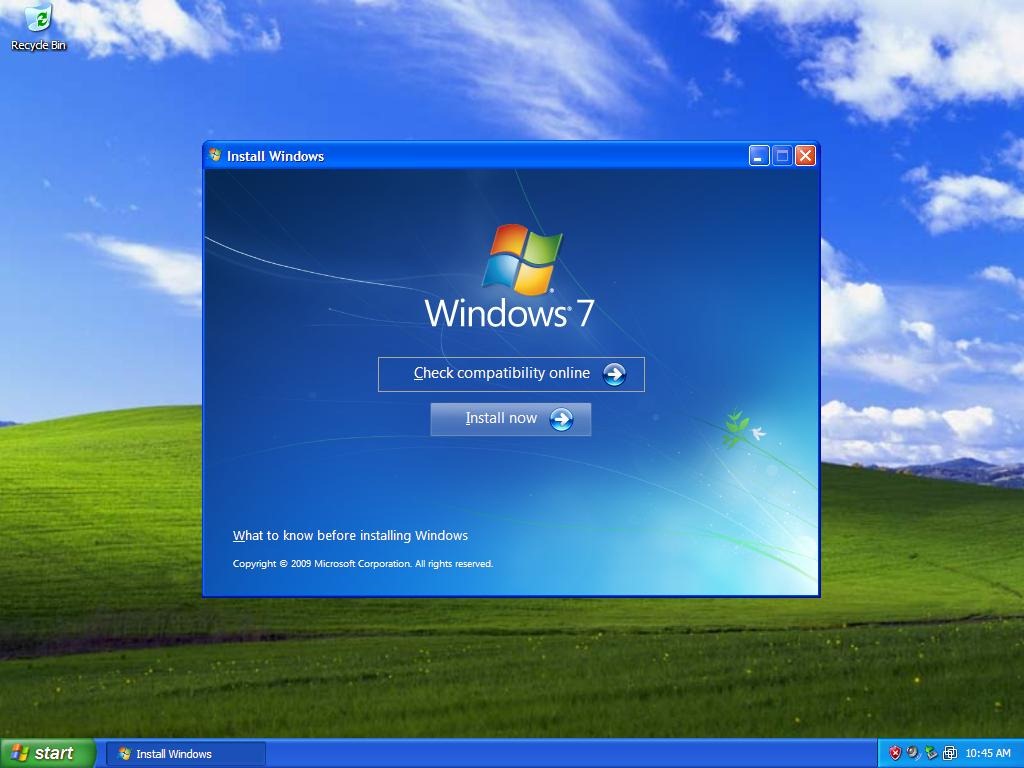
Insert your Windows 7 DVD, then click Install now

Wait while setup copies files to assist with installation
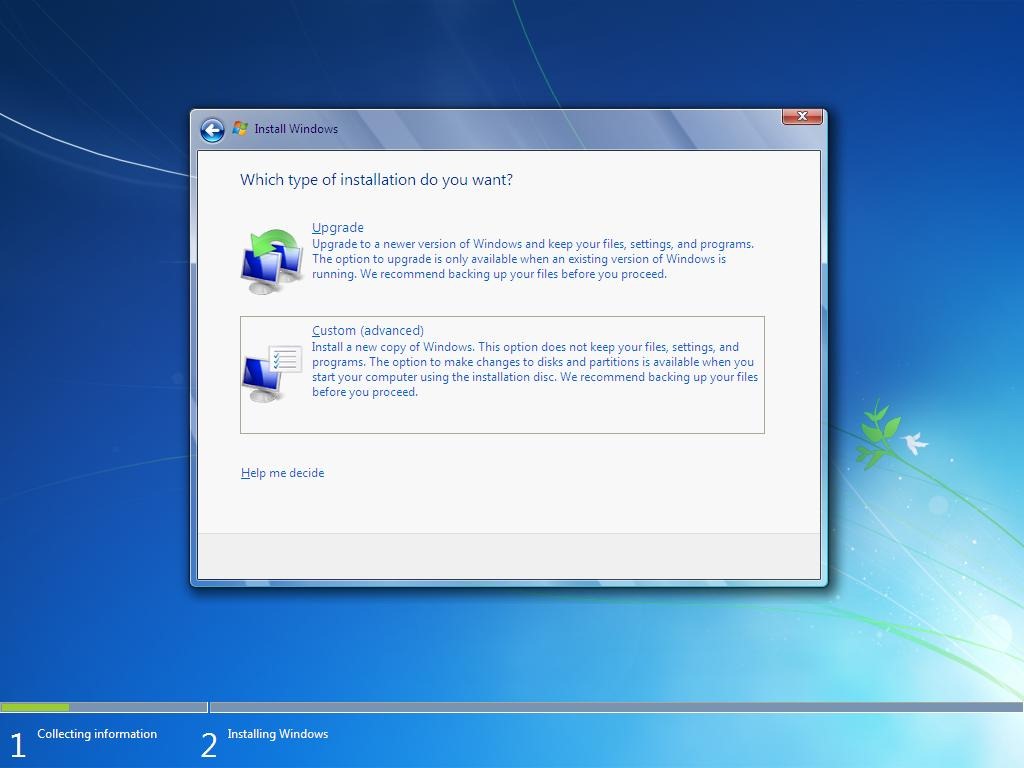
When the setup menu is displayed, click Custom (advanced)
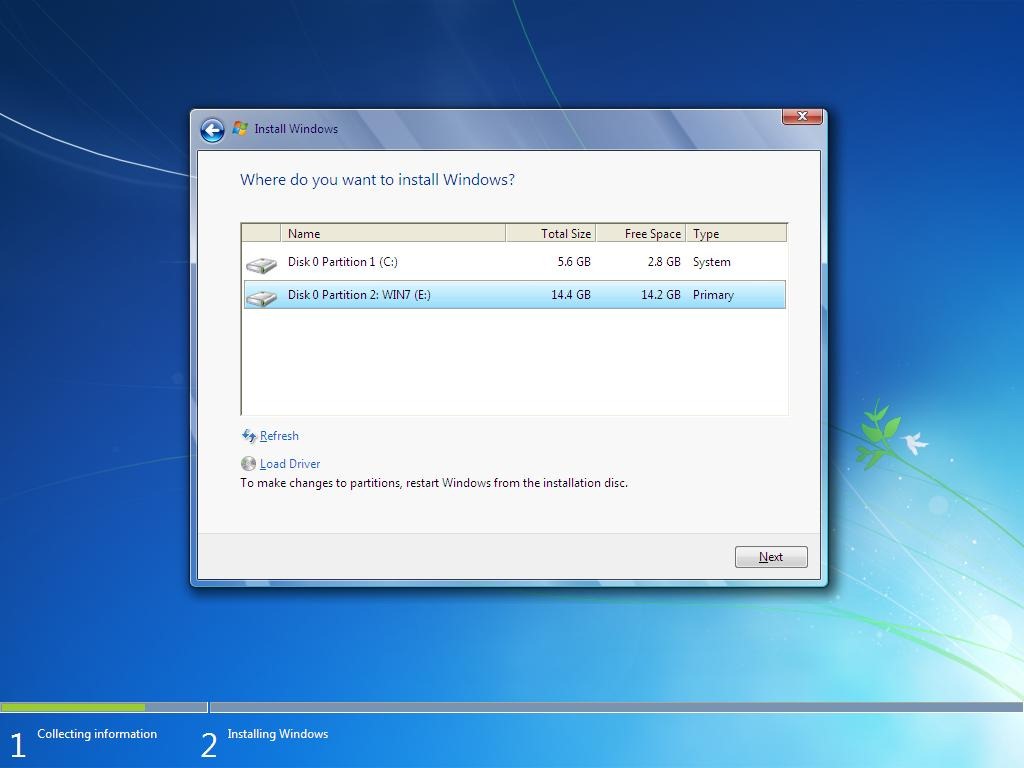
Select the partition we created for Windows 7 earlier click Next
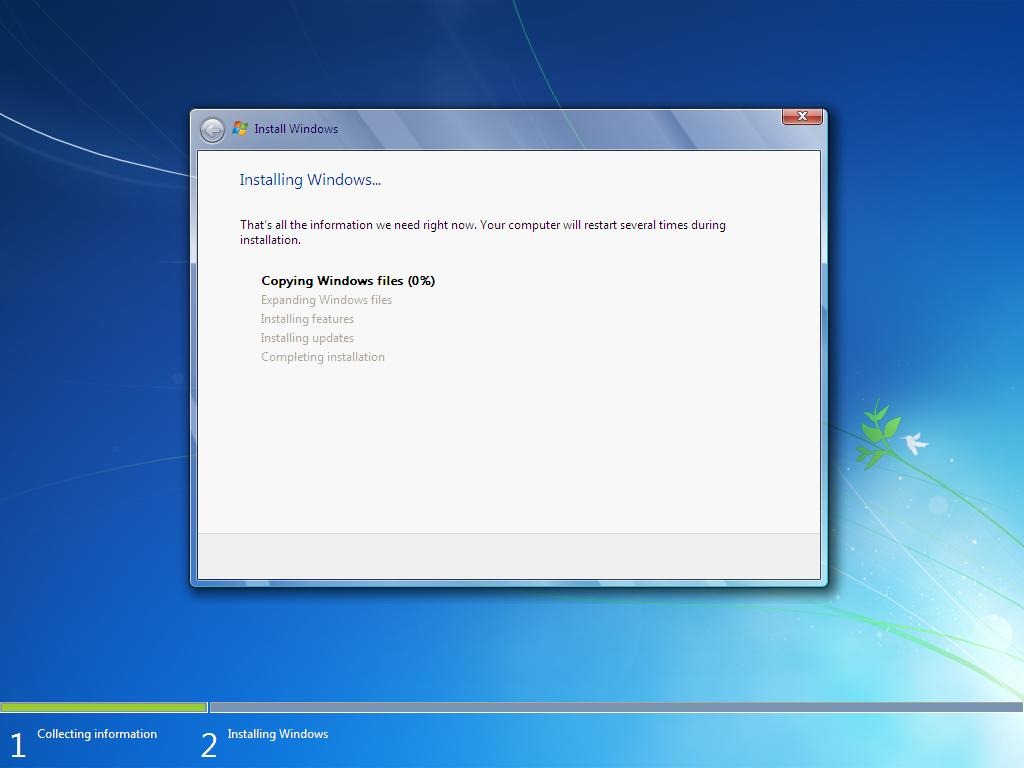
Follow the on screen instructions for installing Windows 7
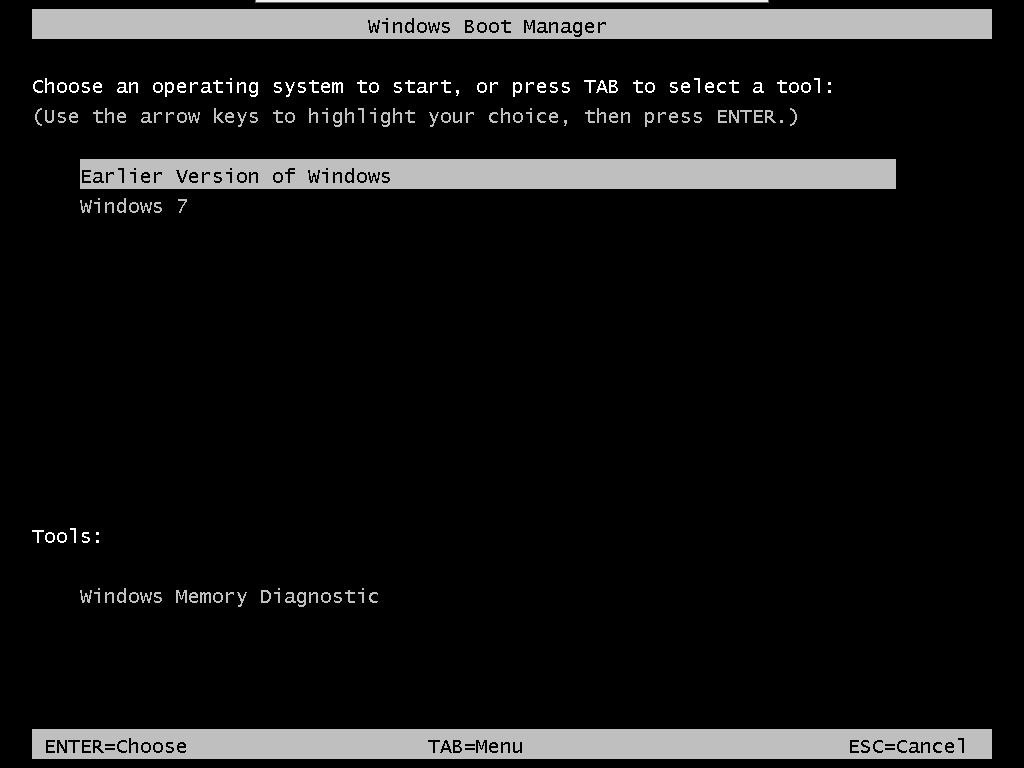
When setup is complete, you will now be offered an option on the Windows Boot Manager. To boot into Windows XP, select the Earlier Version of Windows menu and hit Enter on your keyboard.
Related Posts
-

Microsoft’s Windows operating systems let users do a lot of things. Every day, machines loaded…
-

Even though Windows 10 has made upgrading Windows easier than ever, sometimes you still need…
-

On August 2, 2016 the Windows 10 Anniversary Update came out with some cool new features…