Do you ever wish you could send emails to a specific folder automatically so that you can choose when to deal with them? Well, you’re in luck. You can use message rules in most email programs to send emails to specific folders or even to delete them. In this guide we will show you how to use message rules in Windows live Hotmail.
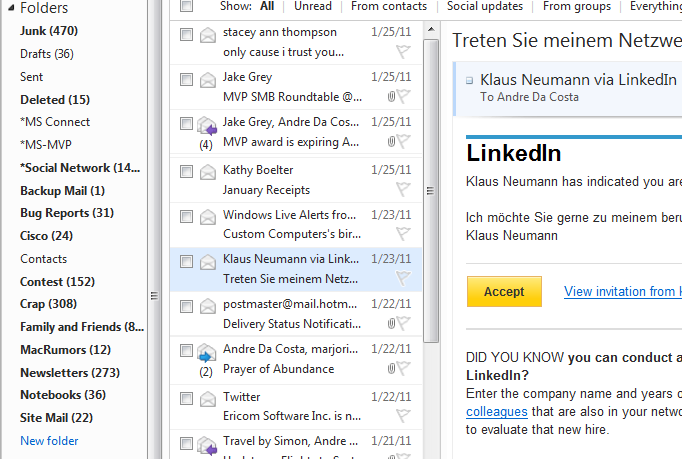
I recently transitioned my personal blog from Windows Live Spaces to WordPress, but one of the things I noticed was the amount of comment emails that are sent to my Windows Live Hotmail inbox. Fortunately, Hotmail makes its easy to customize and configure your inbox and with the new wave 4 release./ Now that the service includes unlimited rules, you can create as many rules as you need to keep your inbox clean and organized.
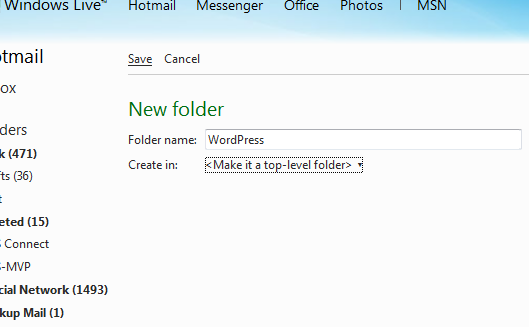
The first thing I will do is setup a folder just for messages from WordPress. To do that, under the folders pane in Hotmail, click New Folder. Inyour case, create the folders you need for rules you plan to create.
Give the folder a name and click Save.
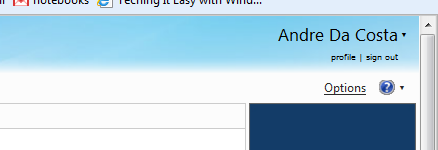
Next click the Options link at the right hand top of the Hotmail page.
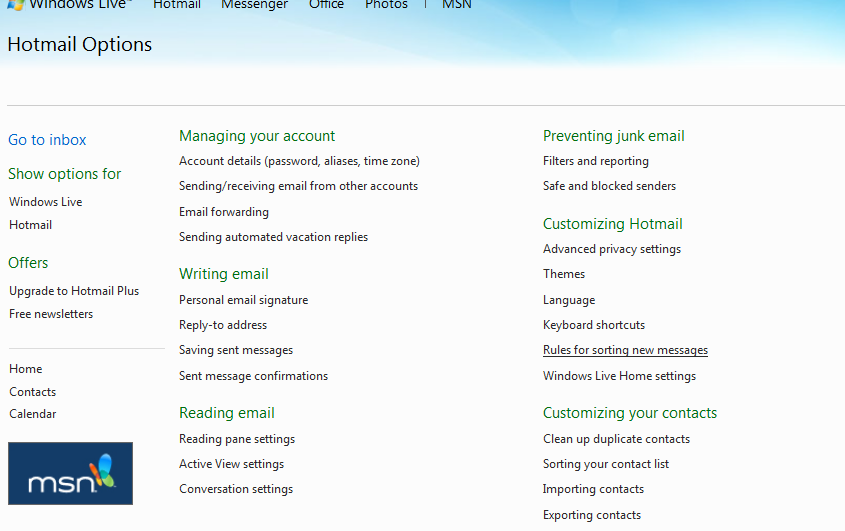
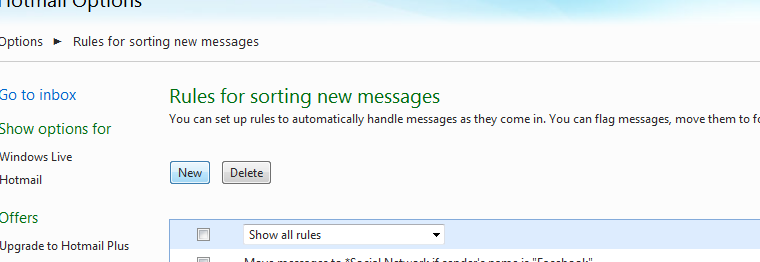
Under Customizing Hotmail, click Rules for sorting new messages link.
Click New.
Select the type of messages you want this rule to be applied to, you have a number of options:
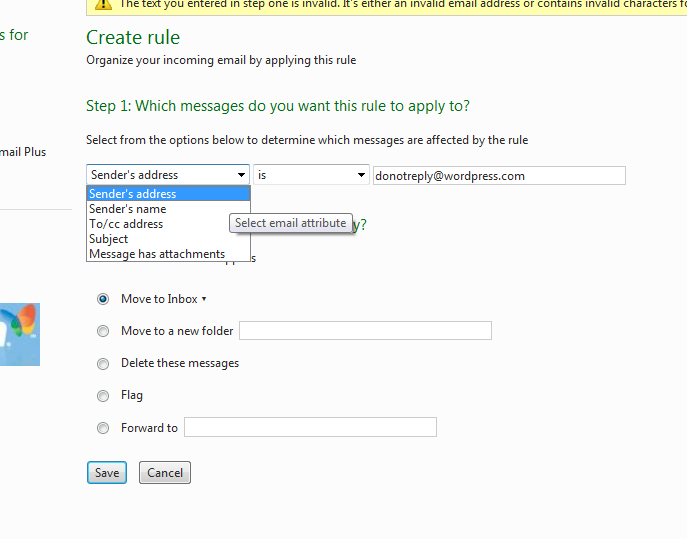
In my case, I will select Sender’s address. Avoid using criteria with invalid characters such as period or exclamation sign.
The next option is to select where I want those messages to go, in my case, it’s the WordPress folder I created earlier. Since I already created the folder, I will click in the ‘Move to Inbox’ If you have not created a folder, just enter the name in the Move to a new folder field.
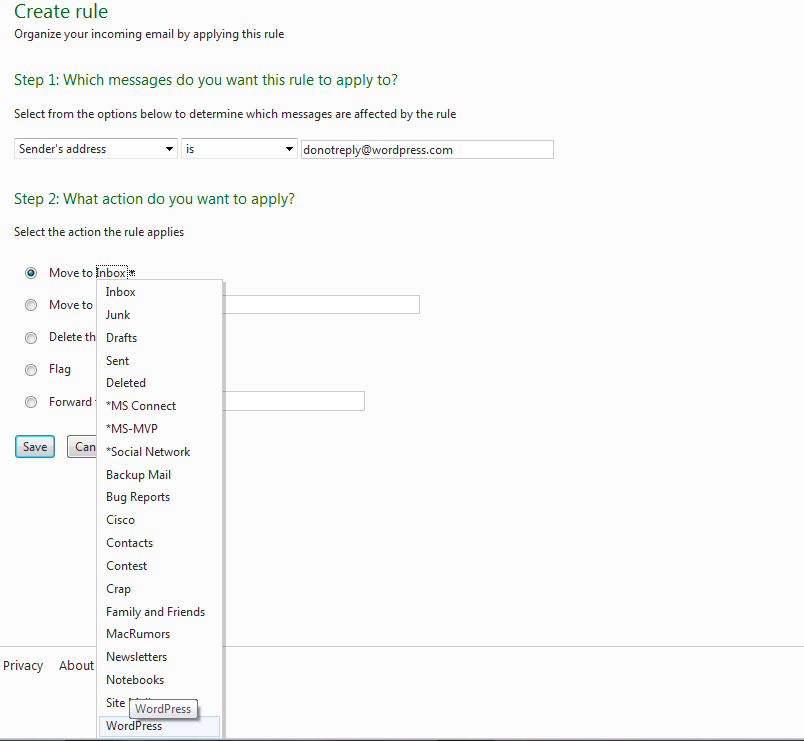
Then click Save.
Your messages from that particular address will automatically be moved to that folder.
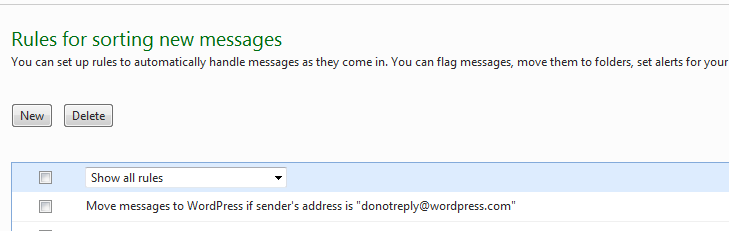
You can now review or delete the filter. Keep creating filters in Windows Live Hotmail until you have your messages sorted how you want. Just remember if you send the email messages to a specific folder they won’t show up in your inbox.
Related Posts
-

Microsoft’s Windows operating systems let users do a lot of things. Every day, machines loaded…
-

Even though Windows 10 has made upgrading Windows easier than ever, sometimes you still need…
-

On August 2, 2016 the Windows 10 Anniversary Update came out with some cool new features…