As we go further into 2011, the user base for Windows 7 will increase, at the same time, there will be users who still want, or need, to use legacy applications that will not work with the new operating system. Of course, there are solutions available for Windows 7 such as Windows Virtual PC with Windows XP Mode, but because of certain performance issues, like memory and the lack of accelerated graphics, it’s not such a viable solution.
So what is a former Windows XP user to do to get those applications or games you still want to use and play working? Compatibility mode might be an answer (and it might not be an answer). If your intention is to use an old hardware device or game that will never work or be updated to support Windows 7, then the next best option is to dual boot Windows XP with Windows 7. This guide will show you how to dual boot Windows XP and WIndows 7.
Nothing is wrong with that and its part of the concession of running the latest in technology. Some might ask, why upgrade then? This is really about getting the latest advances in computing, while still being able to use what you want, it’s a tough compromise sometimes and there will be some chores. For instance, if you set up a dual boot with Windows XP just for games, then you decide you want check some email or do some Office productivity you will have to restart your computer and boot into Windows 7 to do that.
What is dual booting?
Dual boot is a method of configuring your computer to run more than one operating system. In fact, you can setup your computer to run multiple copies of the same operating system, different versions of the OS or even different types of operating system as long as your computers processor supports it. Doing so takes planning though and you need to evaluate, what your needs are. If your intention is to run an old legacy application such as Microsoft Word 2000 or Photoshop 4.0, then Windows XP Mode would probably be best. If it’s a game, a custom written application or a legacy hardware device, then dual booting might be a better option since it will be running on real hardware and will be running on an operating system its specifically designed for.
What you should know be fore dual booting?
Because a lot of modern laptops and desktops are phasing out support for Windows XP, you need to first check the manufacturer’s website where you purchased your computer to find out if the machine still supports Windows XP. This means, things like drivers for each component in the system are supported, whether it’s the chipset, SATA drivers, the track pad, the card reader, bluetooth, video card etc. Make sure they are all supported before attempting to setup a dual boot configuration since you might likely need these components working in Windows XP to do what you need with it or even to complete a successful installation
Setting up a partition
You will need to install Windows XP somewhere. For this, you need to set aside some storage for Windows XP. You need to also make sure its ample space for your needs. Games tend to use a lot of space and while you are in Windows XP, you probably will want to run a few applications while you are in it. So making sure you configure the system to support your needs is very important. So, the first thing we are going to do is setup the partition to run Windows 7. Windows XP needs a minimum 1.5 GBs of disk space, but to be realistic, 30 to 40 GBs would be recommended. This is my personal recommendation, look at your setup, your application usage patterns and determine what’s best for you.
Licensing
Of course, you will need to have a valid license for Windows XP, this means, you will need to have a full version Windows XP Home, Professional or Media Center 2005 disc to do the installation. If you don’t, then you will need to buy one or purchase an OEM System Builder license from a reputable source.
How to Create the partition
What is a partition by the way?
A partition, sometimes also called a volume, is an area on a hard disk that can be formatted with a file system and identified with a letter of the alphabet. For example, drive C on most Windows computers is a partition.
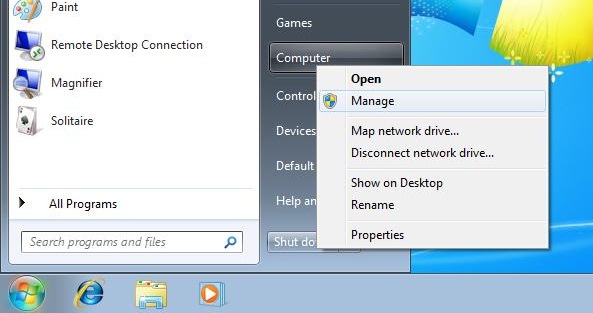
Click Start, then right click Computer then click Manage
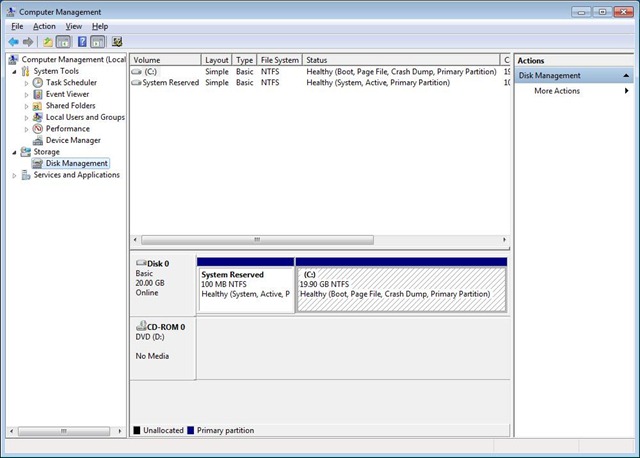
This will load the Computer Management Microsoft Management Console. In the left pane, expand Storage then click Disk Management. In Disk Management we will see all our installed and connected storage devices, whether it’s the local system partition, recovery partition, external hard disk, thumb drive, they will all show up here. The important one we will be dealing with is the system partition, often called the C: drive or where Windows is installed.
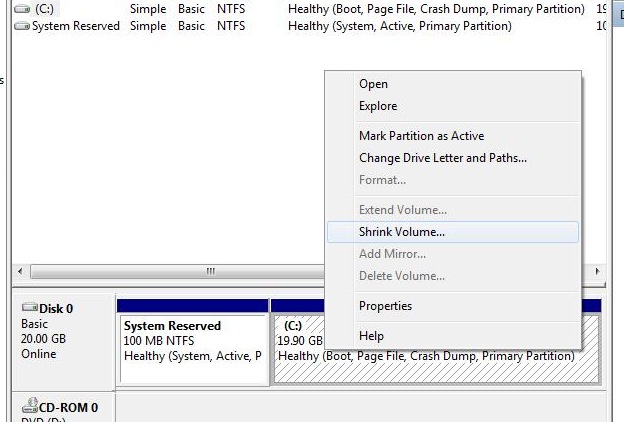
Select the C: drive, we will be reducing the size of it to make enough disk space to install Windows XP. Right click the C: drive then click Shrink Volume.
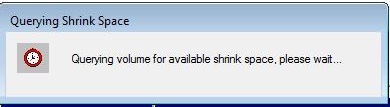
Please wait while it initializes
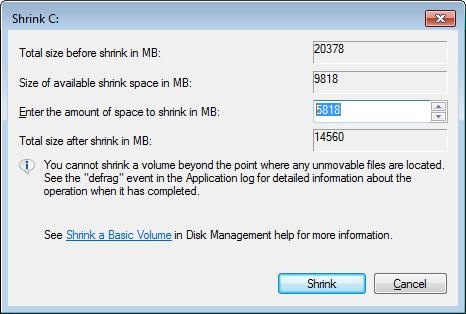
On the Shrink window, you will see various fields and options available. The important one is Enter the amount of space to shrink in MB. Here you will enter the amount of space you would like to allocate to Windows XP. In my case, I am using a small drive, so I will give it about 5.8 GBs of disk space just for the purposes of this article. You can choose more depending on the amount of space you have. This will also indicate how much space is left for Windows 7, as you can see, I will have 14.5 GBs remaining. Once you have confirmed everything, click Shrink to create the partition.
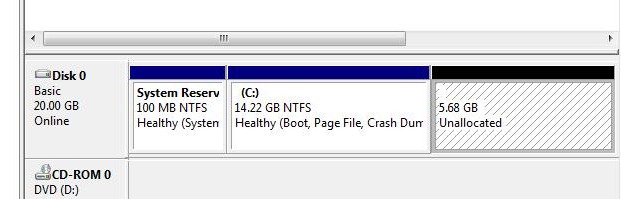
You will now notice the new drive appears, but it’s still not ready, since it’s in a state called unallocated. We will need to prepare it to be ready for use, this means formatting it with a file system supported by Windows XP which is NTFS.
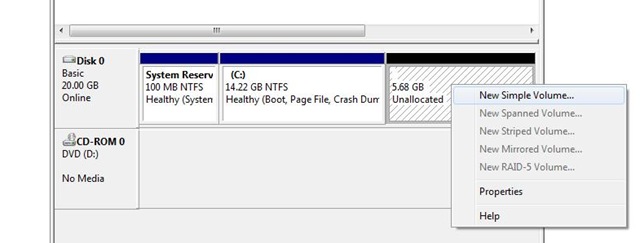
To do this, right click on the Unallocated disk space and click New Simple Volume.

This will start the New Simple Volume Wizard, click Next to continue
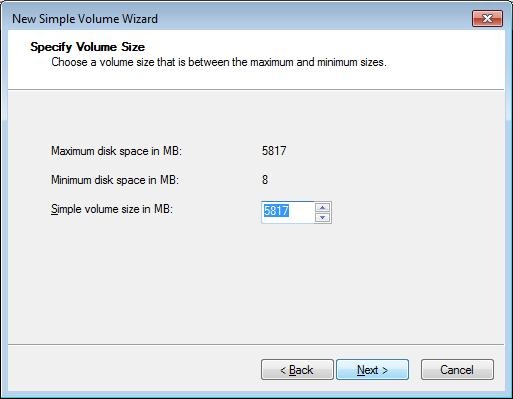
We have confirmed the amount of space we will be using, you have the option of further reducing the size if you believe it’s too much. Click Next
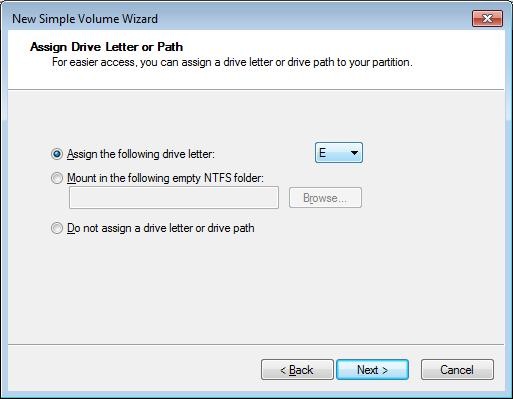
We will assign a driver, a default should already be selected, Click Next

By default, the option to Format should already be pre-selected, the default file system is NTFS. For identification purposes, we will give the partition a name, in this case WINXP, Click Next
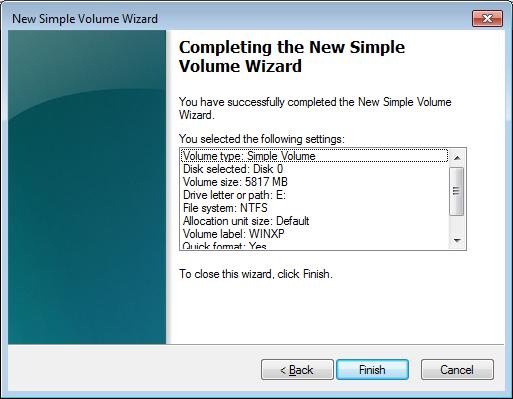
A summary of the changes made, click Finish to confirm and apply

You will now see the partition appear in Disk Management along with its file system and partition size.
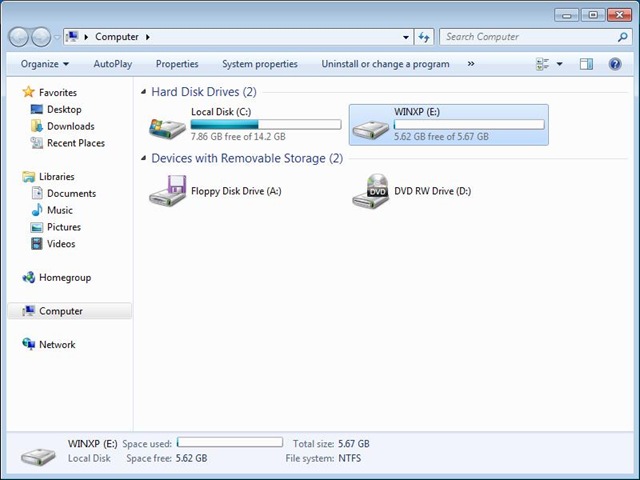
The drive should also show up in Computer explorer.
This means we are now ready to install Windows XP. But before we do so, let’s do a few things to be on the safe side.
- Create a backup, learn more here
- Create a recovery disk
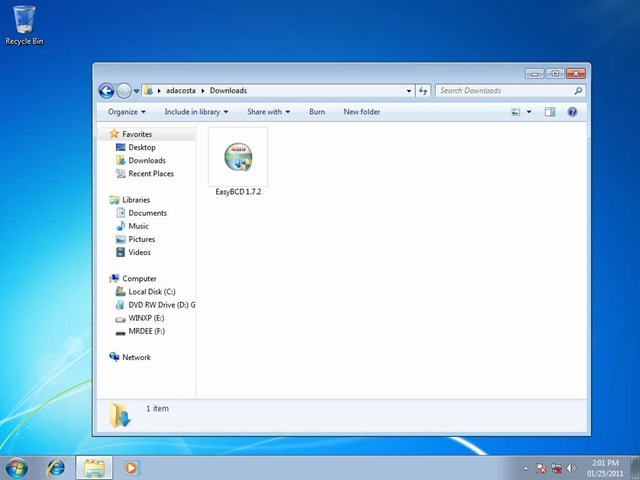
- Download EasyBCD by NeoSmart Technologies – a very important utility, store it on a thumbdrive
Insert your Windows XP CD, then restart your computer.

When prompted to boot from the CD, do so. This requires pressing any key on your keyboard.
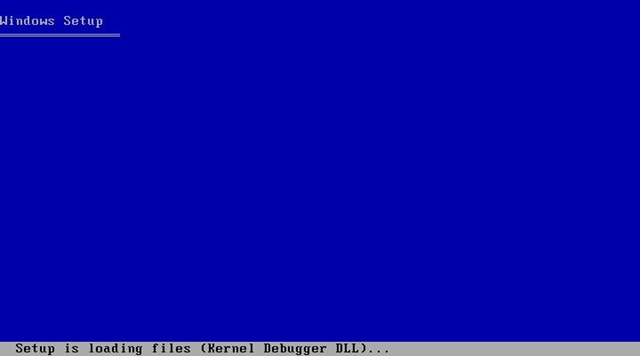
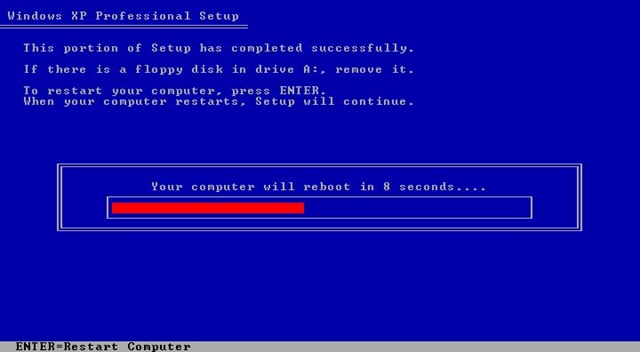
Windows XP will go through its setup process.

Once you arrive at the Welcome Setup, press Enter on your keyboard to begin the setup process
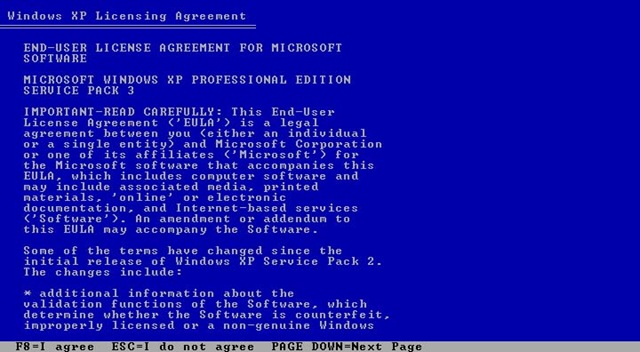
Press F8 on your keyboard to accept the license agreement

You will see a list of partitions, select the partition we created earlier in Windows 7. Choose the one we just created.
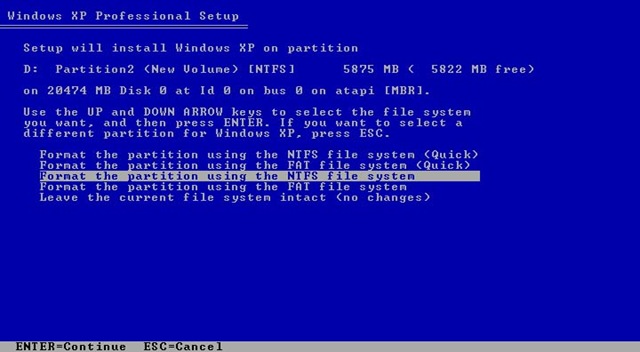
Select Format the partition using the NTFS file system
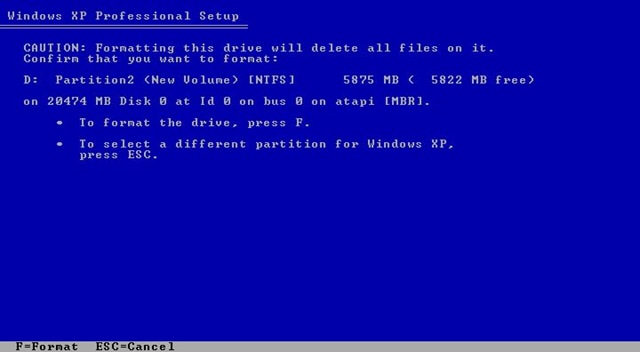
Press F on your keyboard to begin the formatting.

Installation files will now be copied to your hard disk
Your system will be restarted, Windows XP setup will continue

Warning: Do NOT press any key, this will only start the setup process all over again.

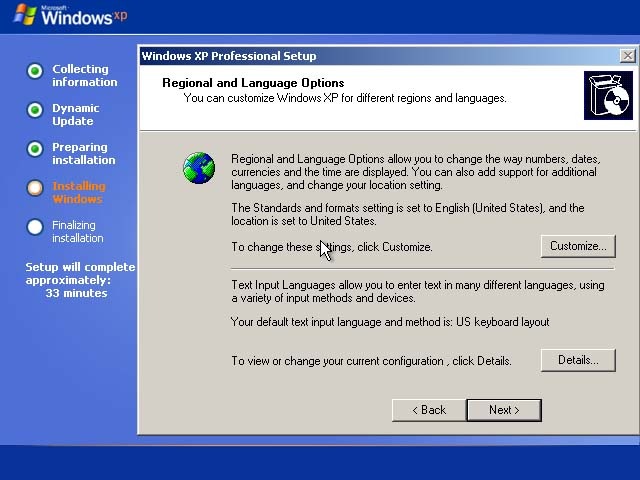
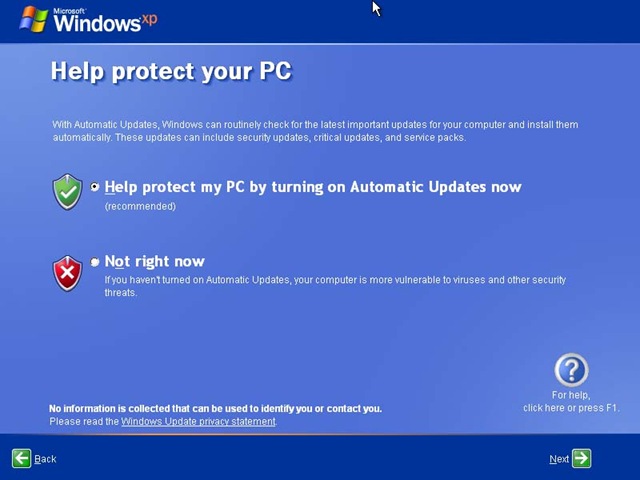

We have now reached the graphical portion of setup, let Windows XP do its thing, when prompted to select a language, account name and other usual task required of the Out of Box Experience, do so.

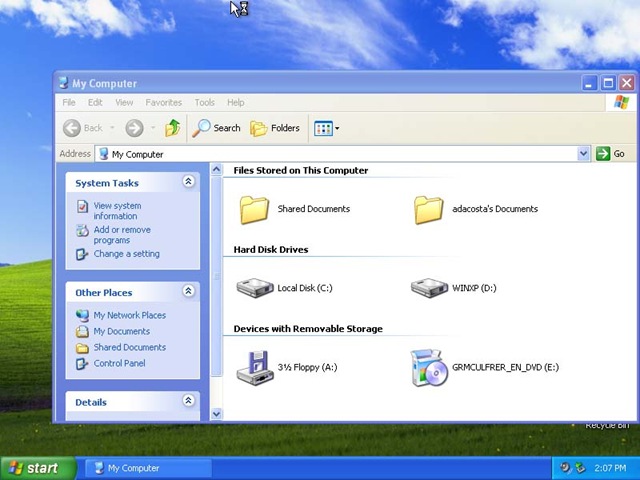
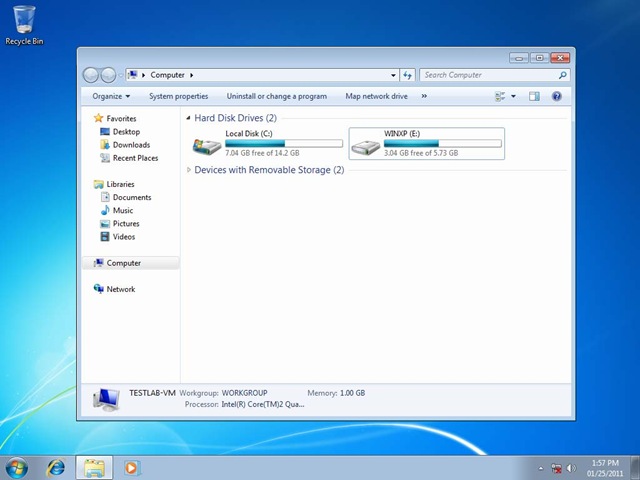
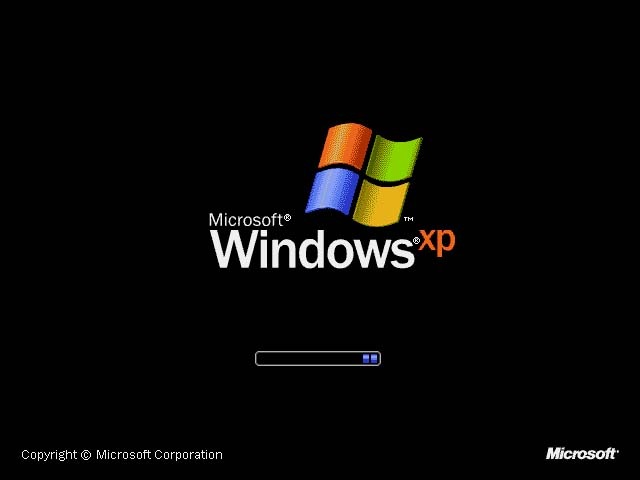
We are now back in Windows XP. So you will be able to run those game, applications, devices that you need from time to time.
Before we do that though, we need to get our Windows 7 installation back in working order. To do that, insert your Windows 7 DVD. Restart your computer.

Press any key to boot from the DVD
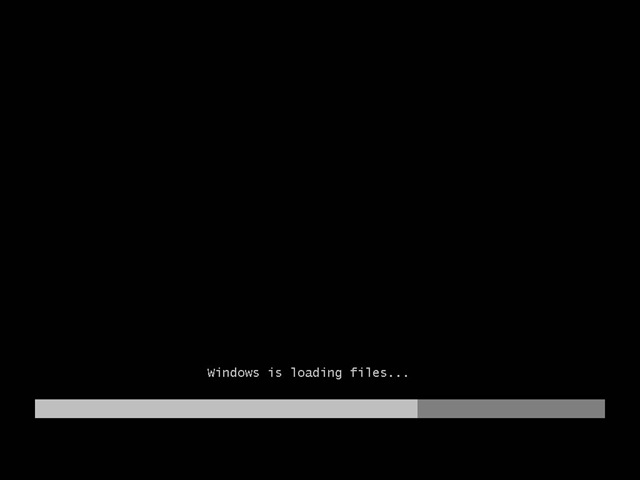
Windows 7 is loading files

Select a language, a time, a currency, and a keyboard or another input method, and then click Next.
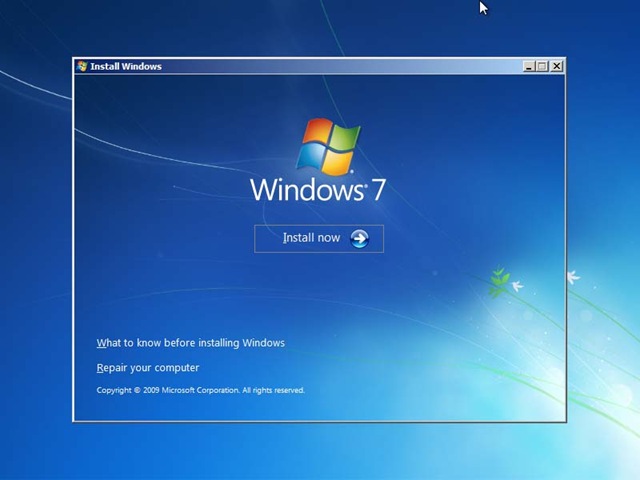
Click the link that says Repair your computer
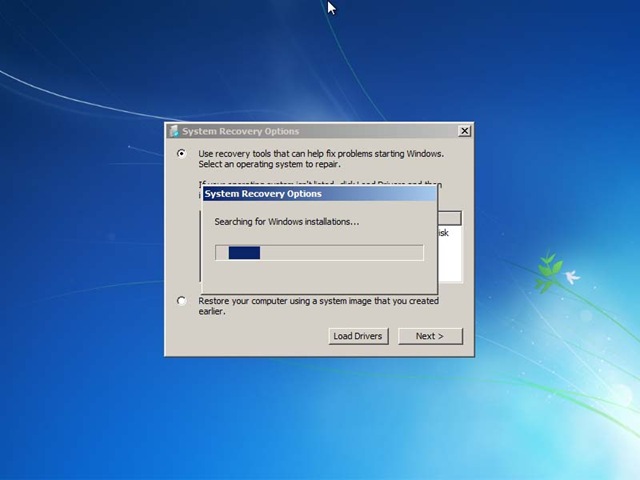
Wait while Windows 7 diagnostics tools are loaded

Click the operating system system that you want to repair, and then click Next
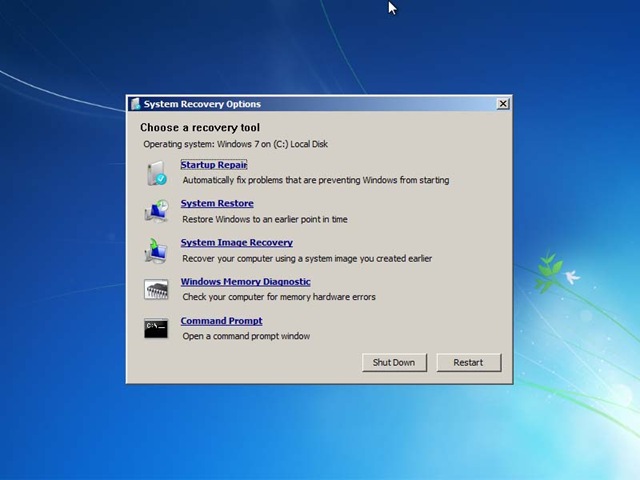
In the System Recovery Options dialog box, click Command Prompt
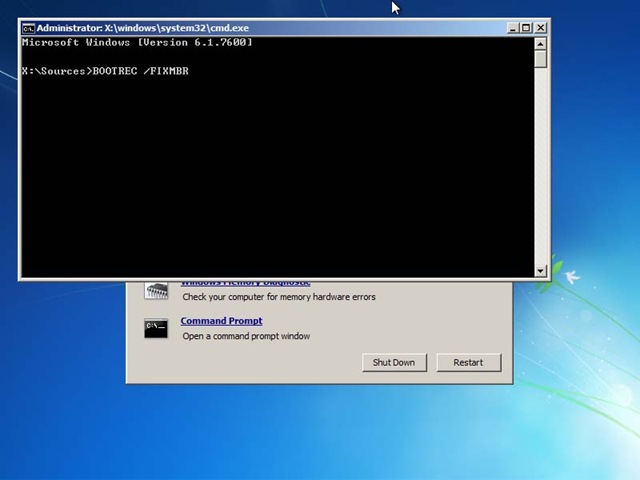
Type BOOTREC /FIXMBR and then press Enter
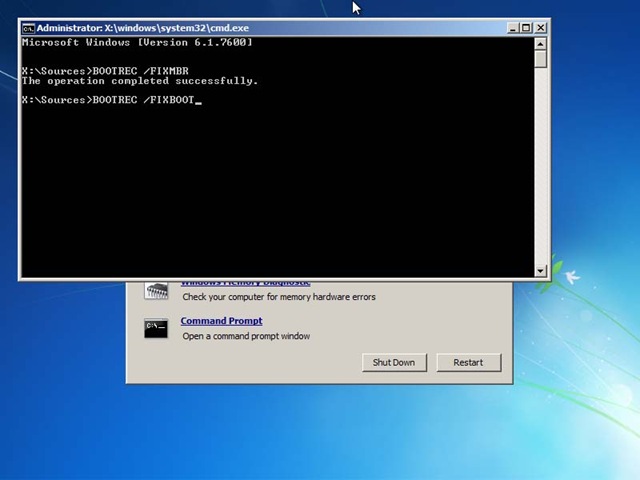
Next, type BOOTREC /FIXBOOT and then press Enter

Type x:bootBootsect.exe /NT60 ALL then press Enter
x: represents the name of your Optical Drive where the Windows 7 installation media is located. In my case, E: is the name of my DVD drive.
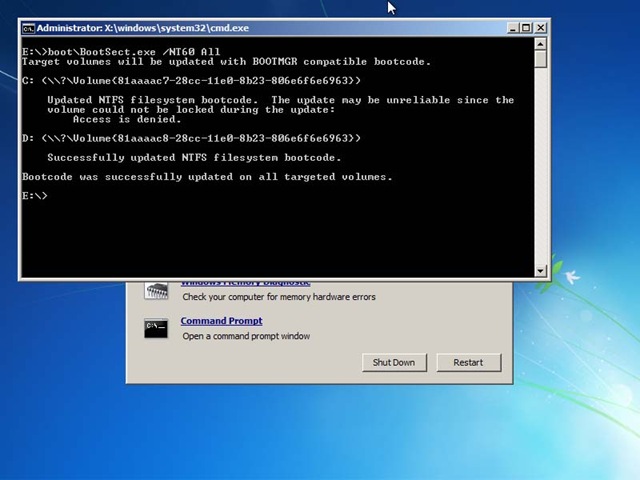
The output from the command which indicates the Boot Manager has been fixed.
Close the command prompt

Click Restart
We are now able to boot into Windows 7 once again, but we have once again lost Windows XP. To fix that remember that tool named EasyBCD by NeoSmart Technologies I told you to download? Now is a good time to have it.
EasyBCD provides a graphical front end to the BCDEdit Command line that makes it easy for you to define start-up settings and edit boot entries on the Windows 7 Boot Manager. You can download it at from Neosmart.

Go ahead and install EasyBCD
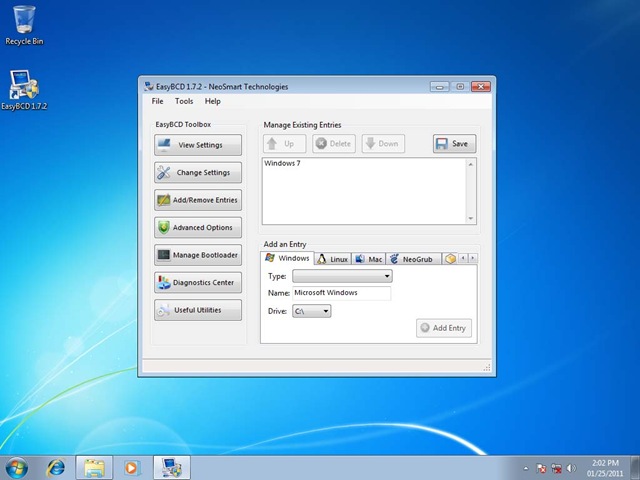
Launch EasyBCD when Setup is complete and go to Add/Remove Entries area of the program
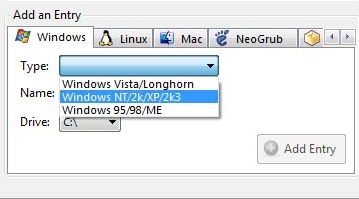
Click in the Type: list box and select the type of boot manager you want to add, in this case, select the Windows NT/2K/XP/2K3 option.
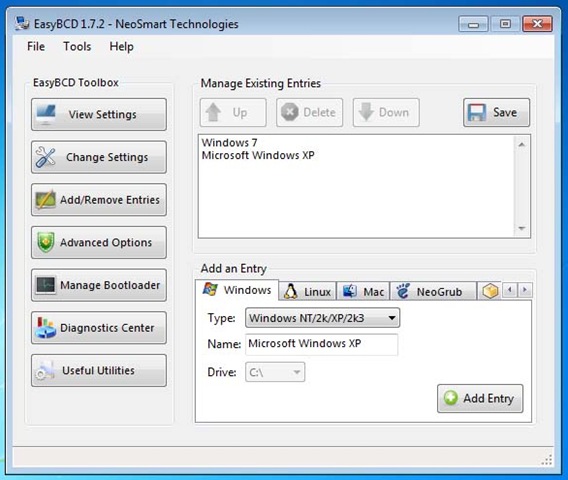
Give it a name, then click Add Entry then click Save under Manage Existing Entries
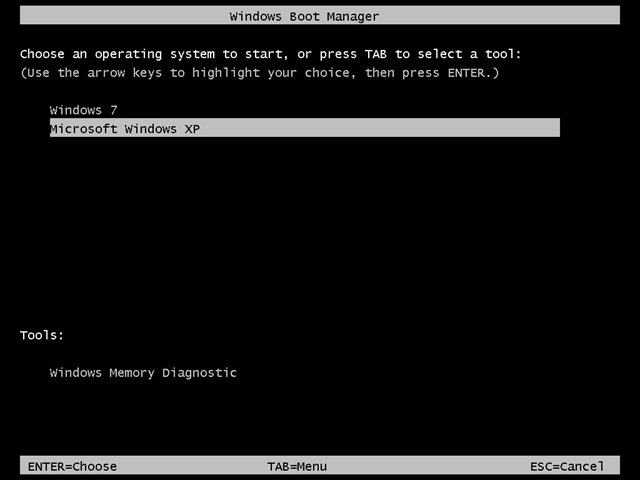
When you restart or start your computer, you will now see a boot entry for Windows XP, use the navigation arrows on your keyboard to select it and press Enter on your keyboard. You can now boot into Windows XP or Windows 7 anytime you want.
Back in business.
Related Posts
-

Microsoft’s Windows operating systems let users do a lot of things. Every day, machines loaded…
-

Even though Windows 10 has made upgrading Windows easier than ever, sometimes you still need…
-

On August 2, 2016 the Windows 10 Anniversary Update came out with some cool new features…