System Restore is one of the life savers built into Windows 7, and it’s often the first solution users turn to when their PC is not functioning properly.
First introduced in Windows ME, the technology has advanced over the years. In Windows 7, Microsoft has made some welcome improvements. One of the best improvements is, its more accessible. For instance, In Windows 7 if you are unable to boot to the Windows Desktop, you can still access and use System Restore, a task not possible in older versions of Windows.
Lets take a look at how to use System Restore.
Windows 7 includes a new System Recovery environment installed as part of the operating system. To access it, boot your computer, press F8 just before the computer loads Windows 7.
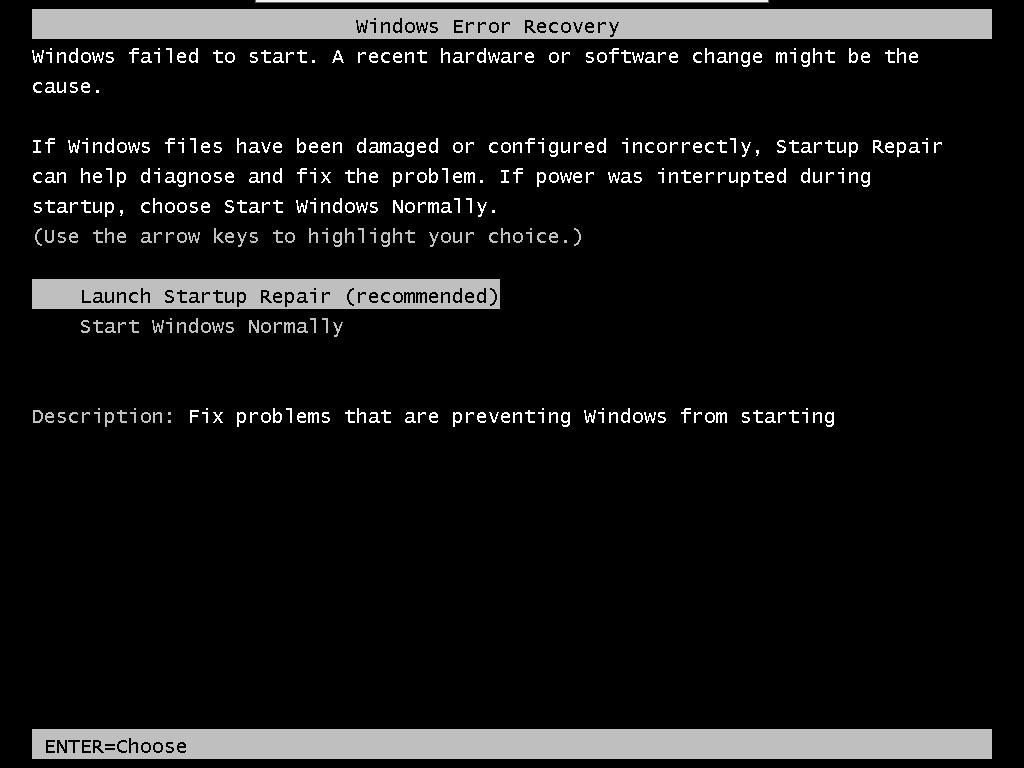
This will display the Advance Boot Options menu, here you will see a list of common options if you have accessed it before. With Windows 7, there is a new option called Repair your computer. Use the up and down navigation arrows to navigate to it if its not already selected.


Once selected, press enter. This will load the System Recovery environment, in Windows Vista, this could only be done from the DVD.
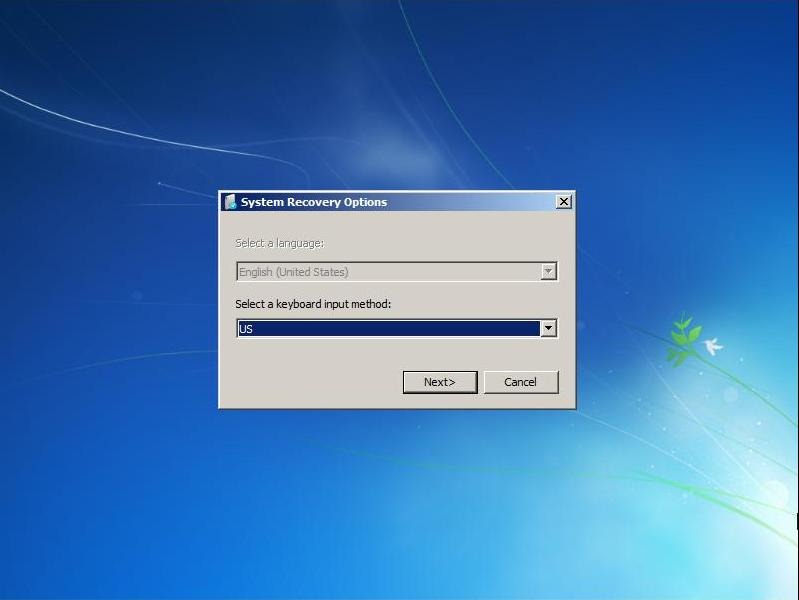
Once it has finished loading, you will have to select your keyboard language and the account you would like to log into.
If prompted to log in, select your user account enter the password for the account, this will start the recovery environment. On the System Recovery Options menu, select the option ‘Use recovery tools that can help fix problems starting Windows. Select an operating system to repair’.
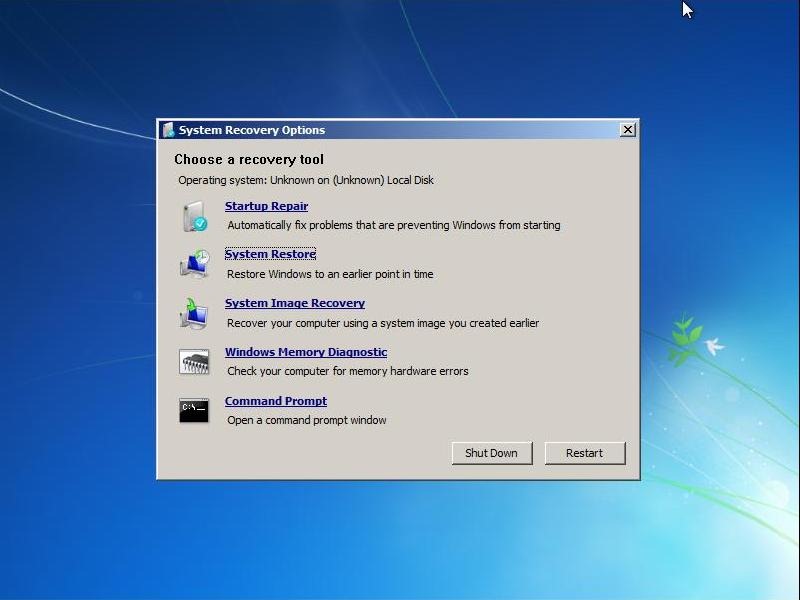
On the system recovery window, click the System Restore link.
This will start the familiar System Restore Wizard. Here is a tip to remember, if you regularly do backups to an external hard disks, the Backup and Restore Center also backs up your System Restore Points. So you should connect your external hard disks so you can choose restore points as far back as possible.
Regularly Create Manual System Restore Points
Although Windows will often times create System Restore Points automatically, such as installing a Windows Update or program, it is recommended you manually create your own from time to time. Here is how you do it:

Click Start, type: create restore

Hit Enter on your keyboard

Click Create under System Protection, give the restore point a name, the click create

Wait while the restore point is created
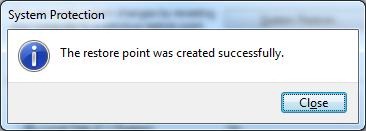
If all goes well you’ll see a “System restore point created successfully.” message.
Related Posts
-

Microsoft’s Windows operating systems let users do a lot of things. Every day, machines loaded…
-

Even though Windows 10 has made upgrading Windows easier than ever, sometimes you still need…
-

On August 2, 2016 the Windows 10 Anniversary Update came out with some cool new features…