One of the most significant upgrades to the iPhone 4 that came from iOS 4.1 is the HDR photo capability of the camera. Sadly the feature is not available on the 3GS. It would be nice if Apple made it available even though the older model’s camera isn’t as good as the iPhone 4’s. But there is an app for that.
HDR stands for ‘High Dynamic Range’ and it describes a process of taking two or more photos of varying exposure settings and combining them to make the picture look closer to what the human eye can see. For example, with my iPhone 4 I took the following pictures. Notice the sky is blown out and almost entirely white in the left hand photo. But the lake and shore is exposed better.
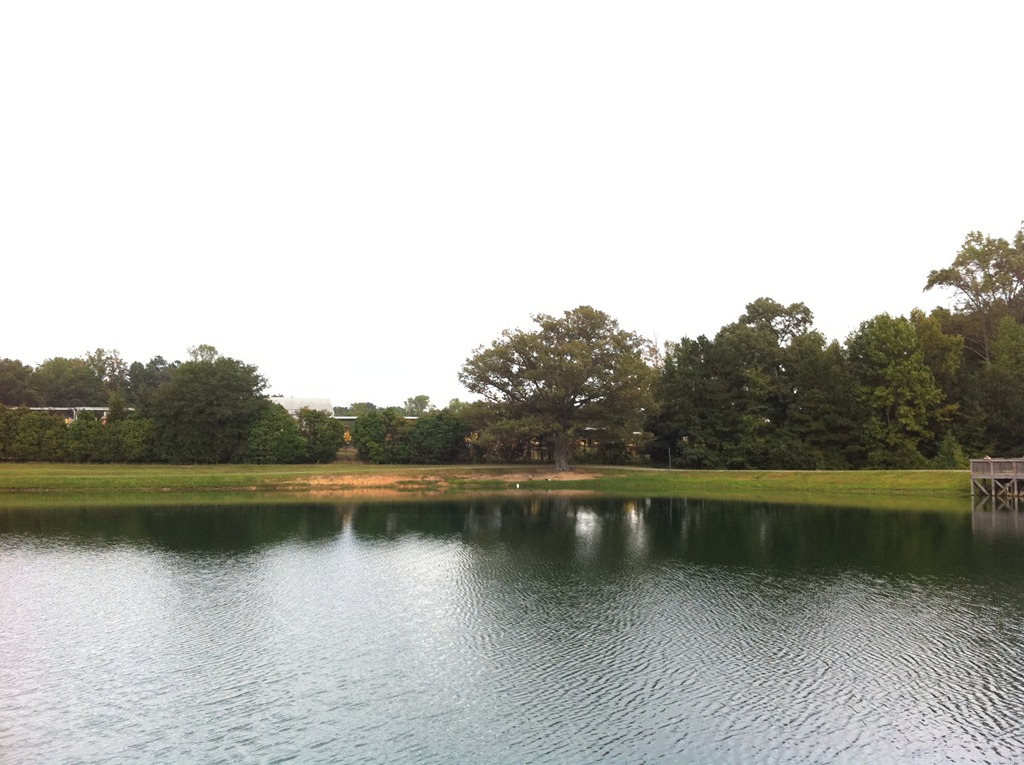
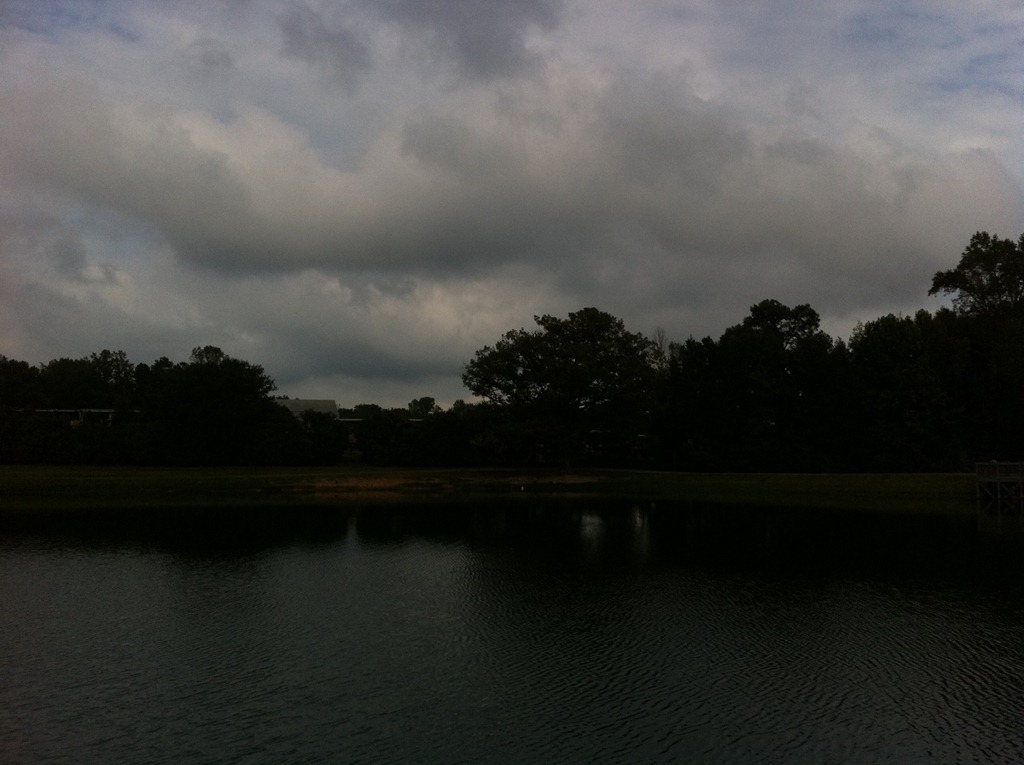
On the right, the sky and clouds look richer, but the lake and shore are too dark. When the iPhone 4 combines these two photos you get the following:
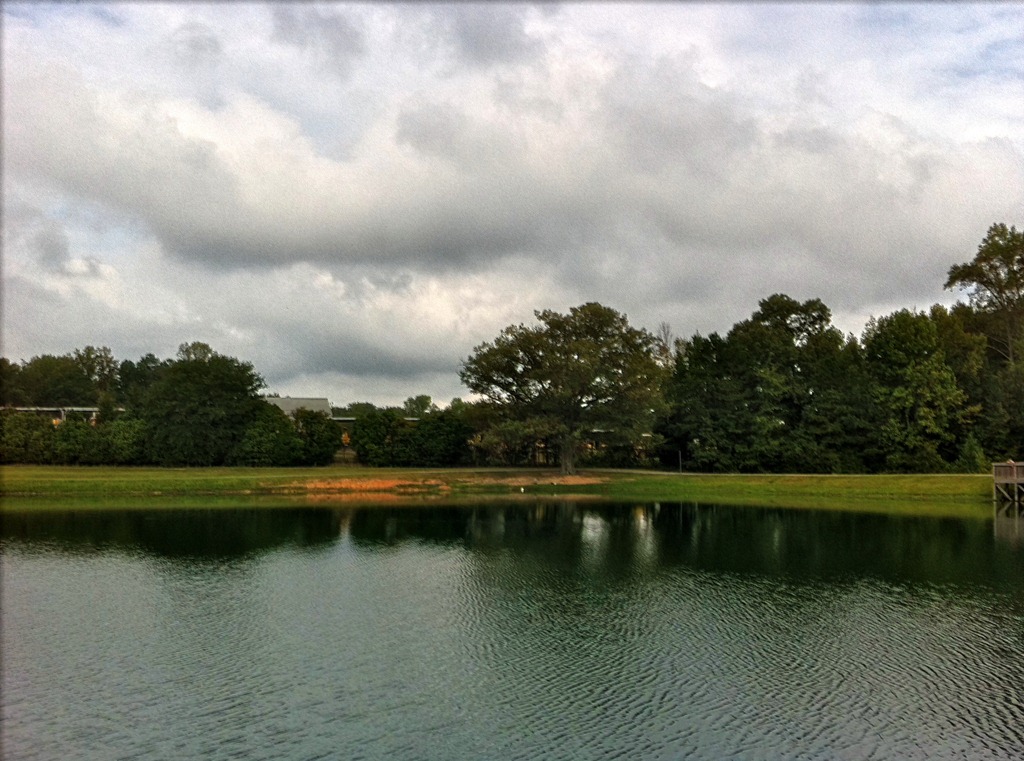
The sky comes from the right photo and the lake and shore comes from the left.
Sadly, this will not work on the iPhone 3GS unless you get the app TrueHDR. It is a camera app for $1.99 and it works on the 3GS. It creates nice images and it does a better job than the built-in HDR tool in iOS 4.1. Compare the above picture shot with the built-in iPhone 4 HDR camera app and the one below shot with TruHDR. While the above gives a more interesting sky, the one below is actually closer to what the sky looked like the day the pictures were taken. So TrueHDR is more accurate.

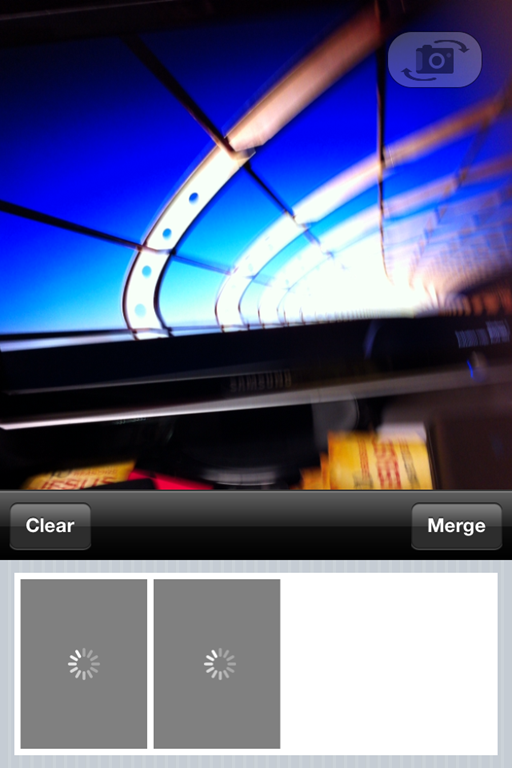
The app is simple to use. In automatic mode, which is new in the app’s recent update, point the camera at your subject and tap the screen where you want the camera to focus. Tap the camera butter to engage the shutter release. It takes its first image, then a second image, and finally a third. It then shows you the brightest and the darkest image and asks if you want to combine them or clear them. Once they are combined you hit Save and it is exported to your photo library.

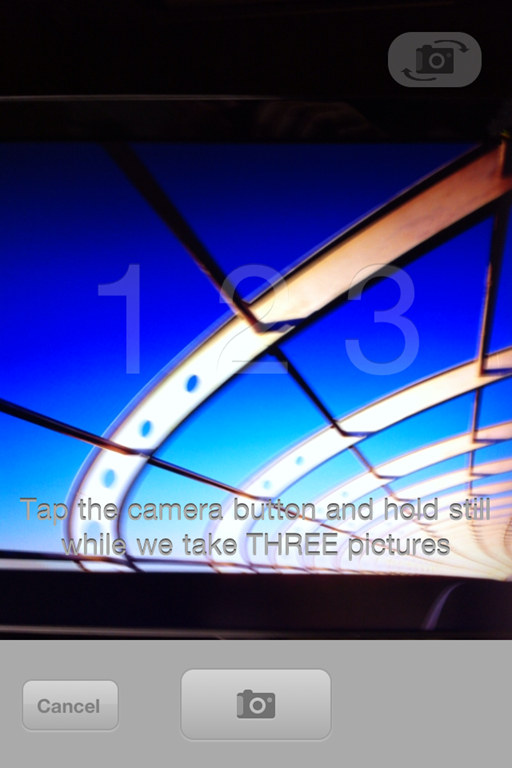
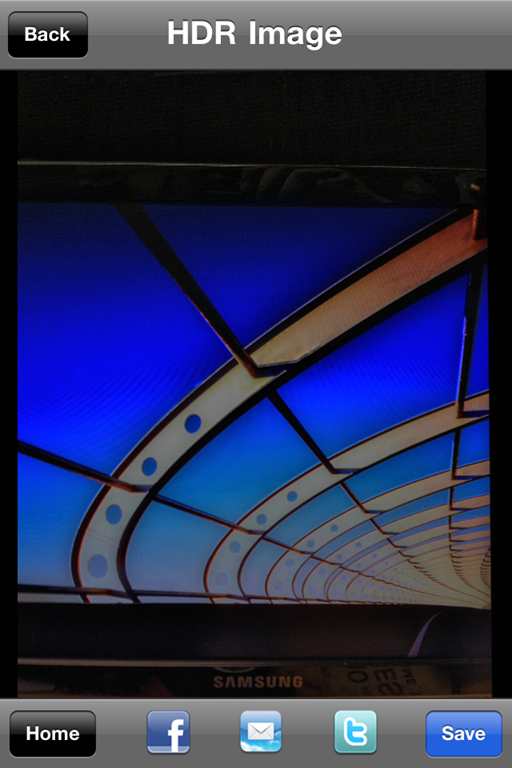
The above is actually aimed at a computer monitor. The first image is what the app looks like when it is first opened. Tap the camera button and the numbers show up. Once the first image is taken the 1†turns white. Then the 2†and 3†after the second and third images are taken. Below on the left is the image thinking†as it tries to display the brightest and darkest image. On the right is the image interface while it is merging the three photos.
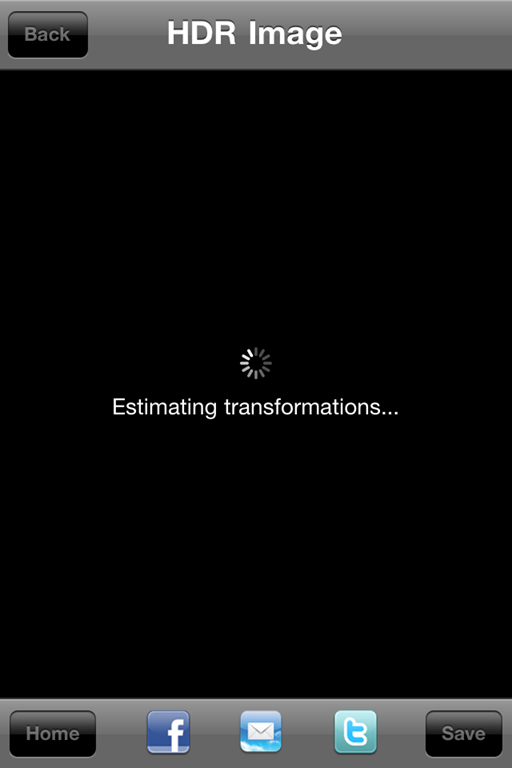
Notice that once it is finished merging them, it displays the results. There are options to go back and try again, share it on Facebook, Twitter, via email, or you can save it to the photo library. The Home button takes you to the application’s home screen where you can start the process all over again. The picture below is not a good gauge as to the quality, since it’s just pointed it at a computer monitor. The above photos of the lake better represent what it can do.
TrueHDR is easy to use. It takes longer than the HDR tool built into the iPhone 4 with version 4.1 of the iOS. But it results in richer images and works on the previous generation iPhone. One warning – hold your hands still while taking the three photos or the results will be blurry.
TrueHDR is worth the $2 for even iPhone 4 users.
Auto, Semi-auto and Manual Capture Modes
Auto Capture is only available in the latest version of TrueHDR which was just released to compete with the new iOS 4.1 HDR tool. In SemiAuto mode it asks you to tap one exposure point and then another. It will then merge the photos. It works best in this mode if you tap a dark and then light area or vice cersa. The Manual mode is similar except that it tells you to tap the light area first and then the dark area. Finally, if you already have two images in the photo library you can select Choose Pictures and it takes the images from the library and tries to combine them.
Below is a video demonstrating TrueHDR in the manual mode. It is actually a demo of the previous version of the app. The video also demos another HDR app called ProHDR which is also just $1.99 and the reviewer likes better. I prefer TrueHDR.
Pros:
- Rich images when compared to iOS 4.1 built in HDR tool
- Easy to use
- Export to social networking sites and email
Cons:
- Slow
- Takes more steps the iOS 4.1 built in HDR tool
- If the user doesn’t hold the phone very steady it results in blurred images
Related Posts
-
Here is a guide on how to edit photos fast on a Mac using the…
-

Today, Apple updated its most portable MacBook ever with a spec bump and a press…
-
The process of erasing a computer and reinstalling the operating system and software can take…