For years — decades depending on who you ask — Microsoft handled upgrades in a pretty unfriendly way. Originally, upgrading your operating system was a one-way affair. Users would install a new version of Windows and that version would immediately take over the files and place previously occupied by the last version of Windows. It was on users themselves to back up their files in case something went wrong. It was on users to keep a copy of their operating system that they could reinstall again.
Things changed when Microsoft introduced the Windows.Old file. A lot of people see the file stored on their system and immediately try to delete it thinking its something that Windows should have removed as they updated. After all, Windows.Old files can take up huge chunks of available storage, all with users not noticing. Microsoft uses the Windows.Old file as a life-saver, a way to give users a way out of even the roughest situations when it comes to upgrading.

You can delete Windows.Old from your device running Windows 10 pretty easily. Here’s how to and why you should hold off on deleting Windows.Old, if you’re not too sure that you like Windows 10 or any other new operating system upgrade you’ve just installed.
Read: Windows 10 Review – A Love Affair
What Windows.Old Is?
Windows.Old is unassuming. It’s almost as if Microsoft purposely doesn’t draw attention to the file because of how important it is.
The file itself sits nestled within the default storage drive of your device. The folder is created automatically when ever someone upgrades their PC to a new version of Windows. For example, upgrading to Windows 10 creates a Windows.Old file. Inside is everything that users need to get their old operating system working again. For example, if your PC previously ran Microsoft’s Windows XP operating system, every file and folder from that installation is setting in Windows.Old, ready to be reanimated with the right tools.
Microsoft doesn’t necessarily create Windows.Old files because it wants user to go back to their operating system. The company’s motivation seems more focused on the files within that old version of Windows. Many users upgrade their PCs every year and forget to perform proper back-ups. Deciding that this was a usability issue it could no longer afford, Microsoft now creates Windows.Old files without asking users.
Had a file on your PC before upgrading to Windows 10 that you need back? Chances are that it’s within the Windows.Old file. Old files for programs and more are stored within the file.
Why You Should Consider Keeping Windows.Old Around
Of course, providing that convenience comes with a compromise. Because Windows.Old files are creating by the upgrade process itself, many don’t know that they’re there at all. They’re terrific if there’s an emergency, but they can take up a large amount of space if your PC had tons of tiles within that installation already. Worse, many devices are switching to solid state drives that don’t offer a lot in terms of storage in the first place.
People delete Windows.Old files because they just see it as something take up unnecessary space. Windows 10 has an actual restore button that gives users the opportunity to use that Windows.Old file and go back to their old operating system. Because Windows 10 is a pretty radical departure from past versions of Windows, it could be a better idea for device owners to hang on to the file.
How to Delete Windows.Old Forever
Of course, if you’re low on space and like Windows 10, you’ll want the Windows.Old file gone from your device. That’s understandable; storage space is a very precious commodity. Here’s how to delete Windows.Old and get the storage space its using up back.
Before we begin. Please resist temptation to right-click on the folder and attempt to delete it. There are better, safer ways to get rid of it.
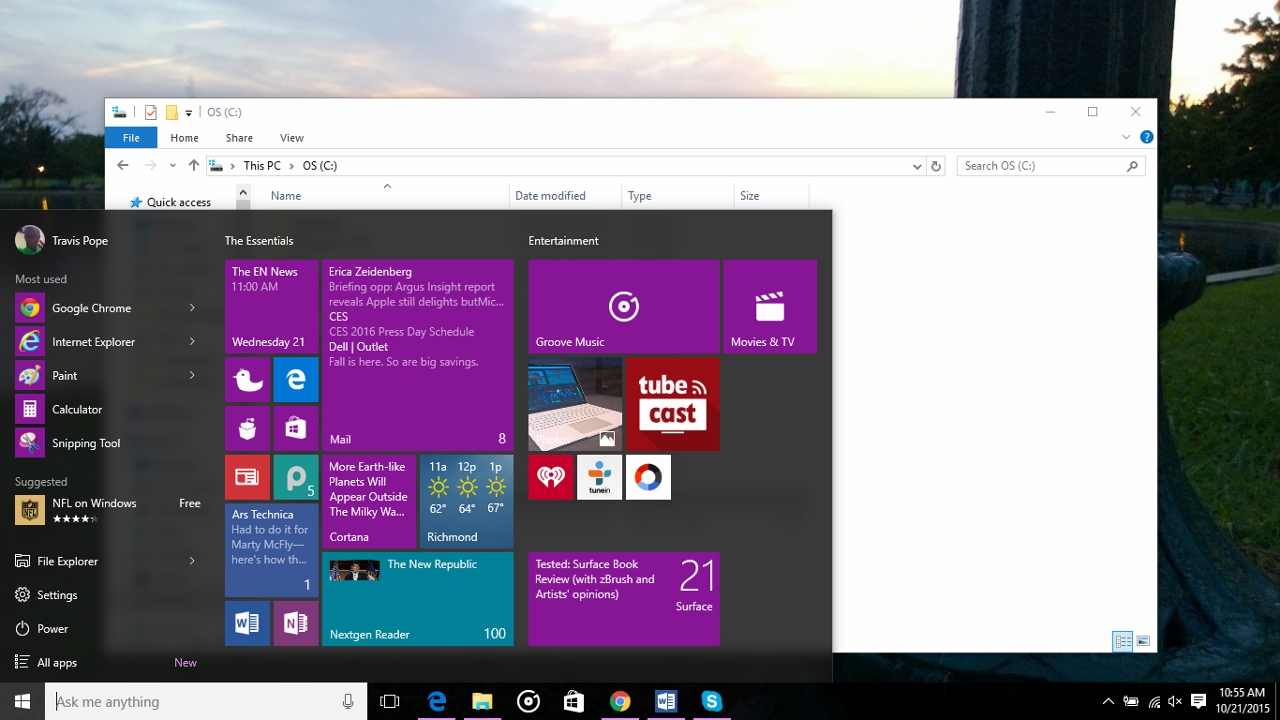
Tap or click on the Windows button in the bottom-right corner of your screen in Windows 10. If you have a device with a keyboard you can also tap the Windows key.
In the Start Menu tap or click on Settings. Note that if you’re Windows 10 device is in Tablet Mode this will look slightly different. You’ll need to tap the menu button in the top-left corner of your screen then tap the shortcut for the Settings app.
Tap or click on System.
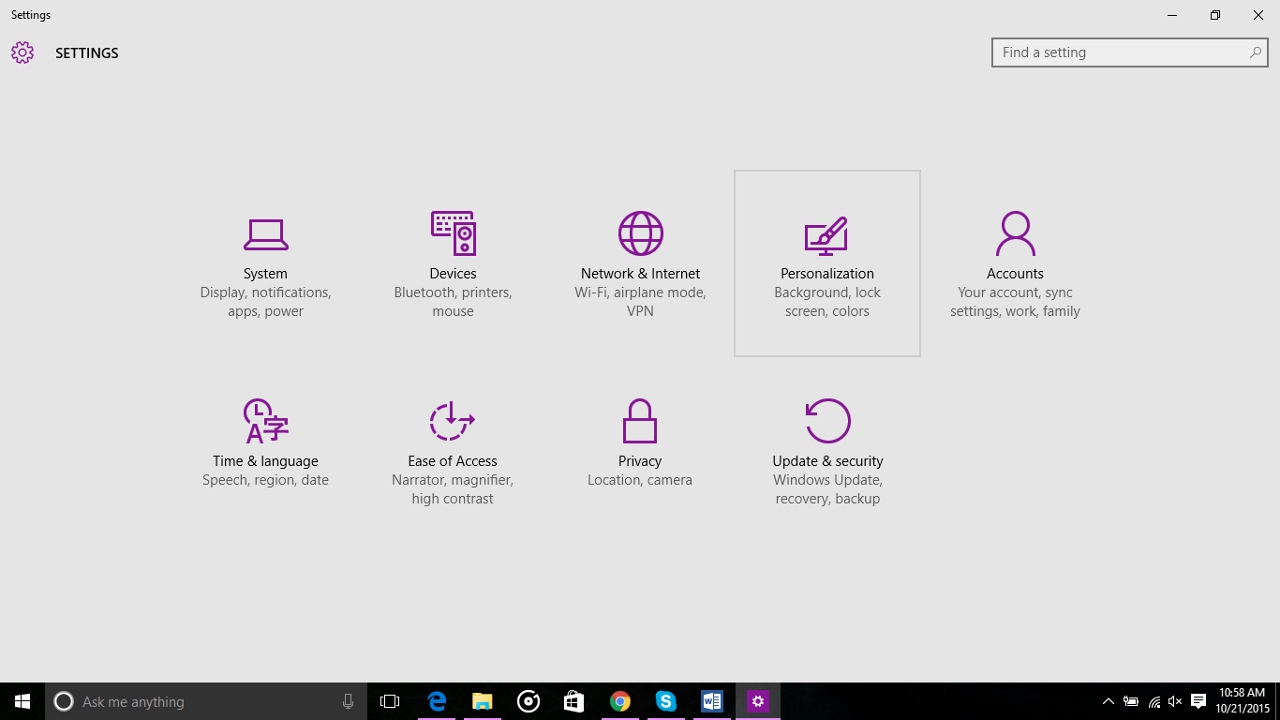
Tap or click on Storage.
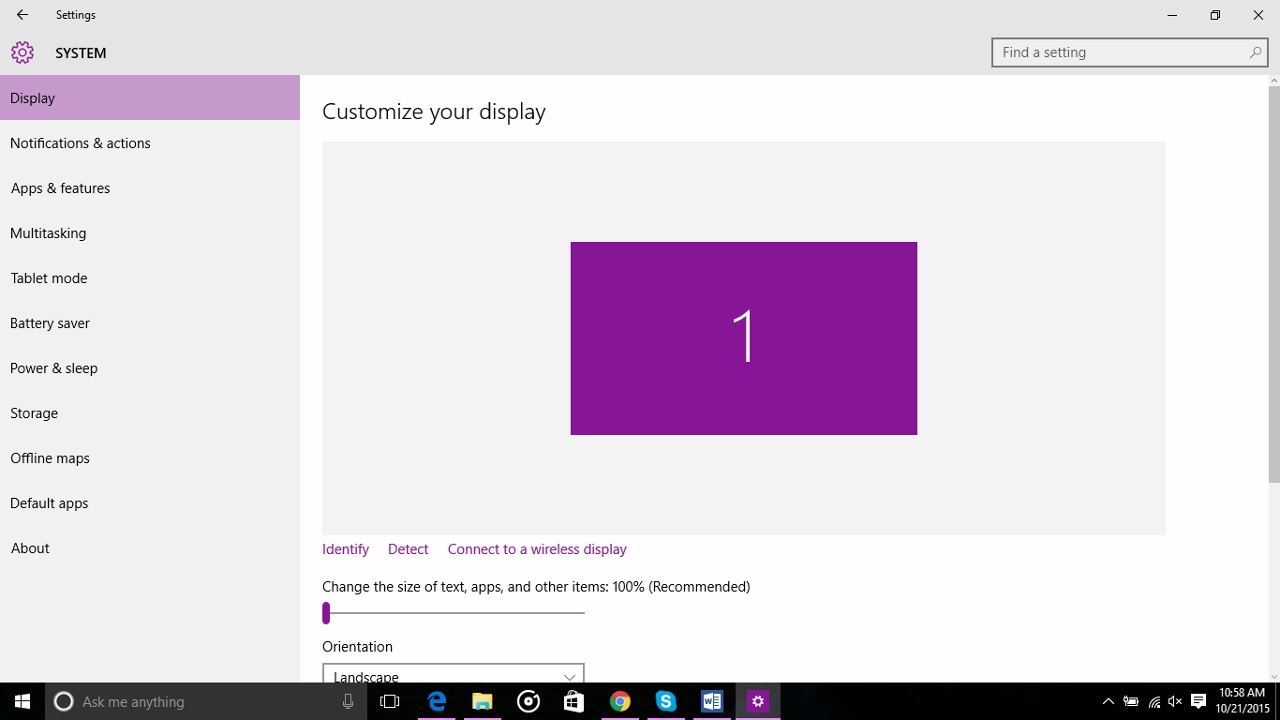
The Storage Settings area in Windows 10 shows you every hard drive connected to your machine. In every case you’ll want to tap or click on the C Drive since that’s where Windows lives.

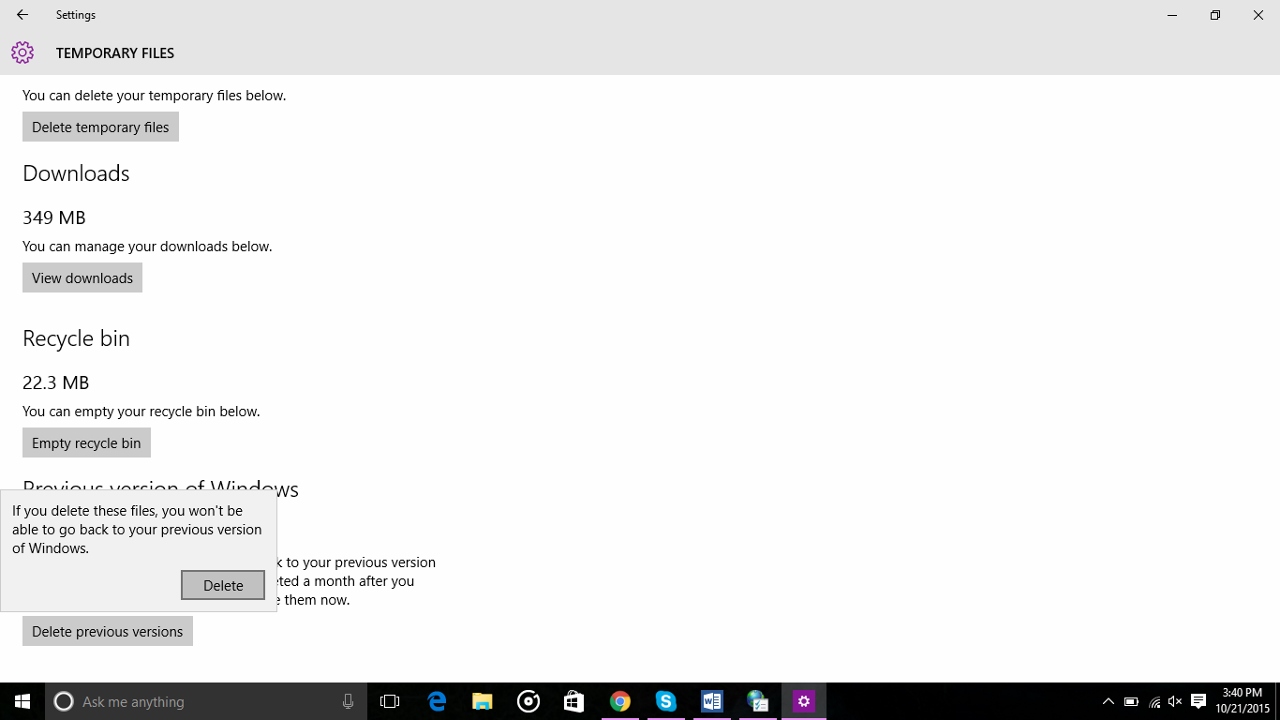
This is the breakdown of how much storage on your Windows 10 PC is going to specific tasks and files. Don’t click or tap on anything. Instead, scroll down to the bottom of the list and tap or click on Temporary Files.
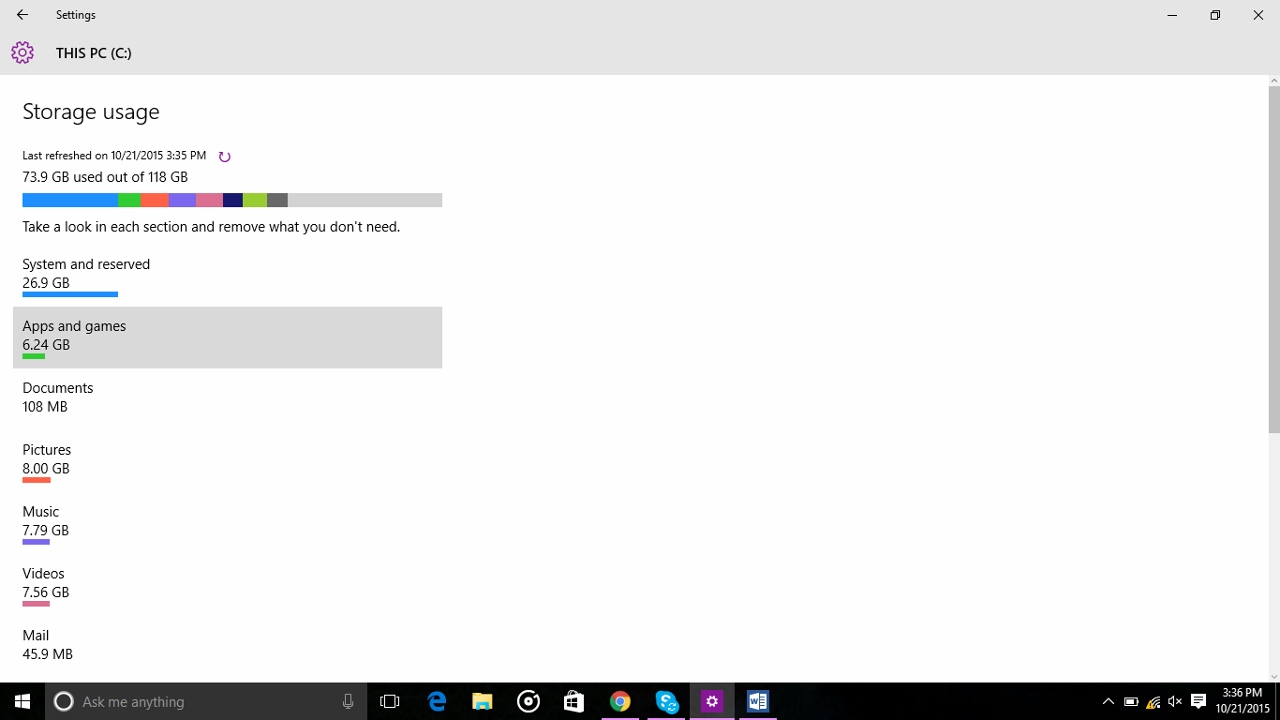
Look for the button labeled Delete Previous Versions of Windows.

Hit Delete again and you’re finished. Windows 10 will take a bit, but it’ll begin to immediately delete that old installation of Windows.
On some Windows 10 PCs, the actual Windows.Old folder itself will remain visible, but the contents are gone.
Related Posts
-

Microsoft’s Windows operating systems let users do a lot of things. Every day, machines loaded…
-

Even though Windows 10 has made upgrading Windows easier than ever, sometimes you still need…
-

On August 2, 2016 the Windows 10 Anniversary Update came out with some cool new features…