As Chromebooks become more popular people see them in classrooms, boardrooms and other places where users will want to do presentations on a Chromebook. It’s now easy thanks to some awesome online presentation tools available for use on a Chromebook.
Read on for the best services to use for creating presentations on a Chromebook, some useful tips for great presentations and the accessories needed to present your hard work using a Chromebook.
Creating Presentations on a Chromebook
Google Slides, part of Google Docs
Google’s presentation tool, Google Slides, offers the best simple option for Chromebook users heavily invested in the Google Docs service. It’s part of Google Docs and the user doesn’t need to sign up for a new account to use Google Slides. Google Slides offers a simple user-interface and shows PowerPoint files imported into Slides. To install the web app version, head over to the Chrome Web Store.
Prezi is a popular tool especially among educators.
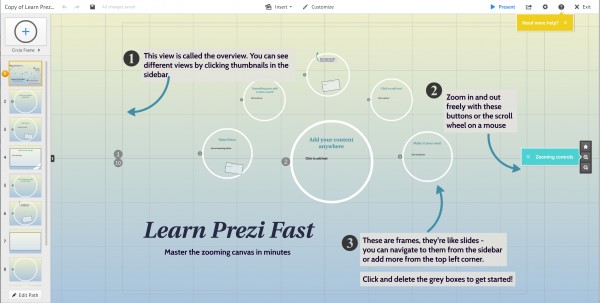
Prezi offers a slightly different approach to presentations, but still has a nice online tool used to make and share presentations. Instead of a linear series of slides, Prezi organizes their presentation tool on a large overview screen with smaller elements. The tool fluidly moves from one part of the overview screen to another to show the smaller parts. The user organizes the “slides” on the larger screen and then puts links them in the order the person wants to show them. Look at the image above and notice the circles. The represent parts of the presentation.
It takes getting used to how Prezi works, especially for a person used to the traditional presentation styles of PowerPoint, Google Slides, or Keynote. The service will hold your hand to help you learn to use it. It benefits presenters because their presentations won’t look like all the other PowerPoint or Keynote presentations we’ve seen. They’ll stand out.
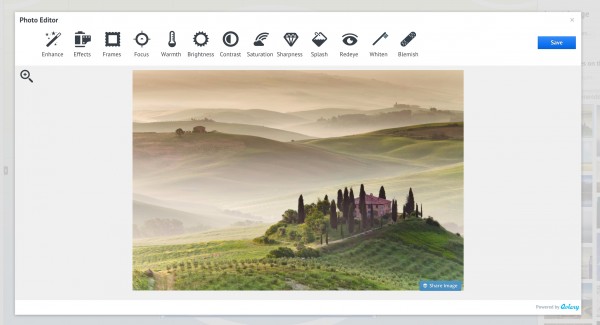
The image insertion tool searches the Internet for copyright-free images that users can include for free in their presentations. It also offers an awesome image editing feature powered by Aviary. Insert the image, click on the toolbar button that pops up just above the image to edit it or add effects. Only Pro and Team users can edit images. See more on those price plans below.
The biggest drawback of Prezi is the cost. Prezi offers four price points – Free, Enjoy, Pro, Teams.
- Enjoy – $10/month or $59/year with online editing and presenting and 4GB of storage. Best for light users.
- Pro – $20/month or $159/year with online editing, offline editing on Windows and Mac and unlimited storage.
- Team – contact them for a price quote based on your enterprise needs.
The free version’s not a good option since everyone can see your presentations unlike Google Apps and Microsoft’s PowerPoint Online which offer free versions and don’t expose them to the world.
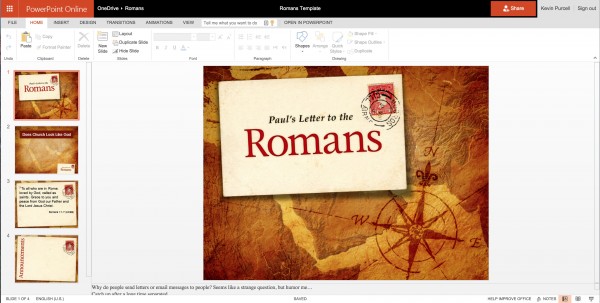
PowerPoint online running on a Chromebook
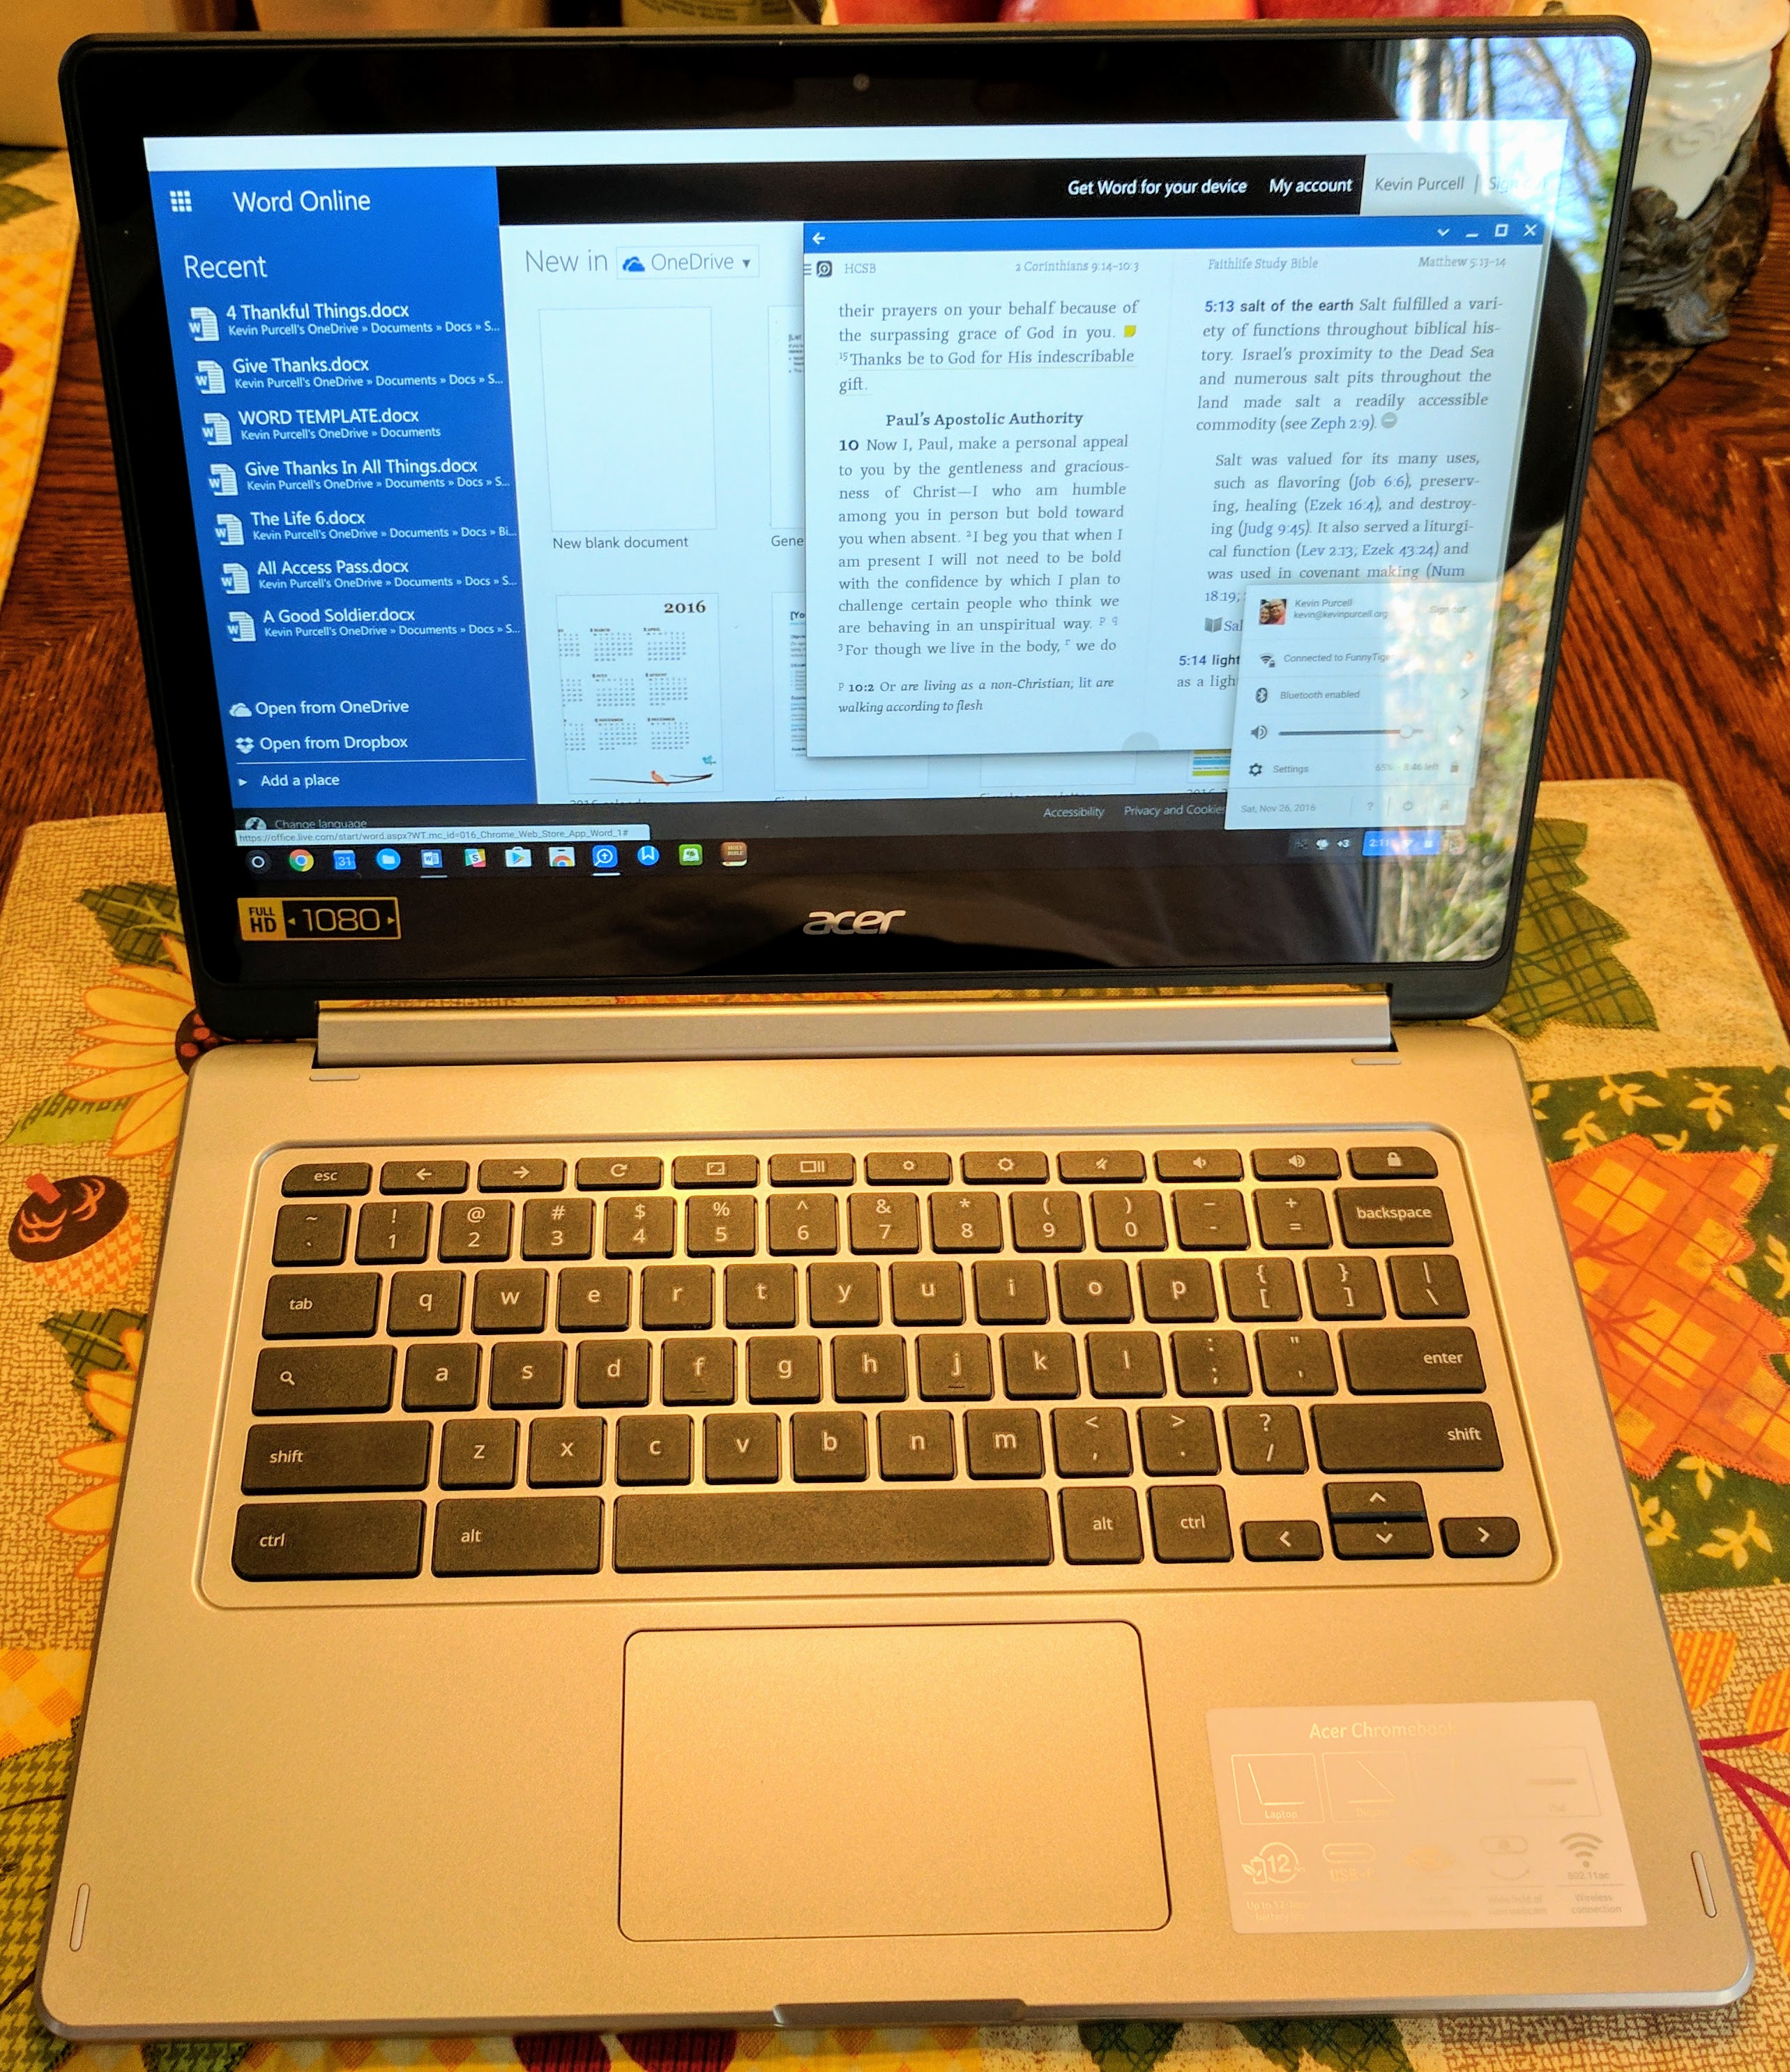
People with a lot of PowerPoint presentations may prefer to use the web version of PowerPoint. It seems like Microsoft gives users a bunch of ways to get to their web apps. Just install the web app from the Chrome Web Store or log in via Live.com. Chromebook users can use Office Online free, but they won’t get advanced features. Most people will do fine with a free account.

iCloud includes Keynote editing and presentation inside the Chrome browser.
Owners of Apple products get free access to iCloud, Apple’s version of online office and personal information management tools. Head over to iCloud.com, log in and select Keynote to create and edit presentations online. It works fine on a Chromebook. You can also install the launcher icon for iCloud available in the Chrome Web Store, but it’s not needed.
iCloud comes free to anyone with an Apple account, but users get more storage if they pay extra for an iCloud storage account that starts at just $2/month.
Tips for Great Presentations on a Chromebook
After years of doing weekly presentations and researching the topic for my graduate studies, the following tips gleaned from research and experience will help you present more effectively to the audience.
Start with a main idea. Presentations that scatter a bunch of unrelated ideas will bore audiences, confuse them and go unremembered. Find one big idea that summarizes the point in a single sentence. Then build on it from that point.
One of the best outlines for organizing presentations comes from Alan H. Munroe and his Motivated Sequence outline. He said to begin by grabbing attention, unearth some need that your message meets in the introduction. Then share the solution in the body of the message followed by a conclusion that gives a summary of the big idea presented in the form of a visualization of the idea in an illustrative story. Finally, call the hearers to action in some concrete way.
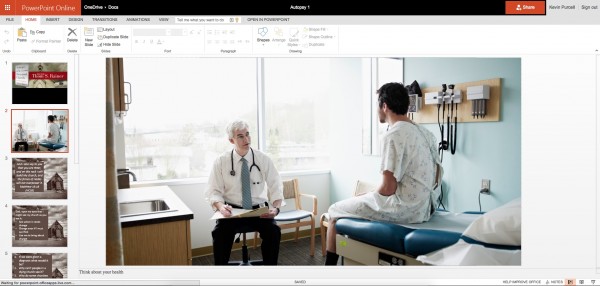
In this PowerPoint Online presentation, I put an image of a doctor’s office on this slide instead of putting words about a person’s health.
When creating slides, use lots of images in very few words. If a slide has more than a dozen words, then people won’t read it. Exceptions include quotations, but even then it’s often better to only show a key phrase in the quotation.
Instead of words, illustrate the ideas presented using images. Find images online from places like Flickr, Google Image search or use Prezi and their copyright-free image searching tool.
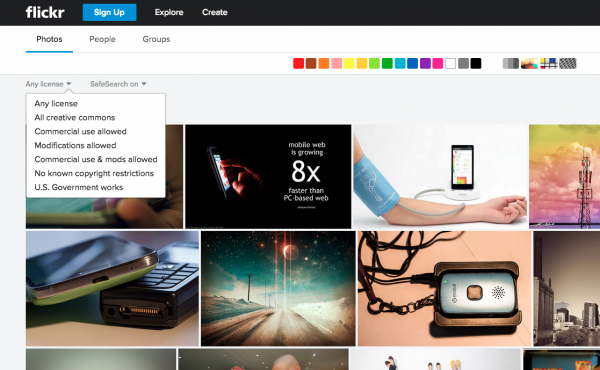
Change the image search in Flickr to find images legally usable in your presentations.
When searching Flickr, change the license filter. After a user performs a search using the main search box on the home page of Flickr, the service will show a bunch of photos in a grid format. Above the images on the left side of the screen there’s a drop down box labelled Any license. Click the arrow to show the list seen in the screen shot above. Choose one of the following depending on your needs:
- Any license for personal use if you don’t plan to show the presentation to others
- All creative commons to use images for nonprofit educational purposes but when you will show it to others
- Commercial use allowed if you plan to use it in business or for promotional purposes even if it’s for nonprofit
- Modifications allowed if you plan to edit the image before using it in the presentation
- Commercial use & mods allowed if you combine those two uses
- No known copyright restrictions if you want to use it for any reason and want no restrictions from the person who owns the image
- U.S. Government works if you work for the government
When creating presentations avoid complex animations and transition. This becomes distracting from the message. Also, use consistent fonts. Changing fonts often from slide to slide or worse on a single slide will look amateurish and distract from the message. Finally, consider the look of the slides. The colors should match and the layout should look clean and professional. Use themes, but be careful to avoid themes you’ve seen repeatedly from co-workers or other presentations at the business or organization where you plan to present.
Tools Needed for Presentations on a Chromebooks
To present you need a few things like a device that runs the presentation, a display of some kind to show the presentation and a way to connect the two. Optionally, add a remote to easily advance the slides in the presentation without standing or sitting right next to the device.
For the most reliable presentations opt for a wired connection between the Chromebook and the display. If that’s not possible due to the distance between the display and where the Chromebook needs to sit, use wireless. More on that below.
Wired Connections
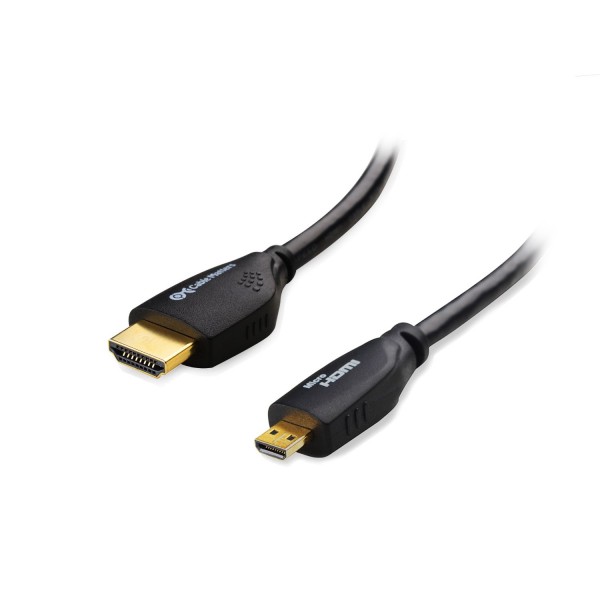
Any Chromebook does a great job presenting with the above services or web apps. Consider the video output available on the Chromebook. Most come with full-sized HDMI ports, but a few use mini-HDMI or micro-HDMI. In those cases look for a cheap adapter or cable with mini or micro HDMI on one side and regular HDMI on the other, like one found on Amazon for $8-$10.
Use the HDMI cable to plug it into a TV, monitor or projector. If your display doesn’t include HDMI, which many older projectors don’t, then you will need an adapter of some kind to plug into VGA, DVI or component (red, blue, green or RGB inputs).
Use an HDMI to DVI adapter if possible. The [amazon_link id=”B0035B4LJM” target=”_blank” ]Importer520 Gold Plated HDMI Female to DVI-D Male Video Adapter[/amazon_link] will connect for a few bucks.
Grab the [amazon_link id=”B00IVD019I” target=”_blank” ]Mnxo® HDMI Male to VGA Female Adapter Converter with Audio[/amazon_link] to plug a Chromebook into a display with only VGA. It’s $12, a great price for this kind of adapter since many cost $40-$100. The adapter splits the video and audio signal that HDMI output carries. Plug the HDMI connector into the Chromebook and then plug a VGA cable into the other end of the MNXO adapter. There’s a stereo 3.5mm port on the side of the adapter. Plug a stereo cable into the port and the speakers used to play audio, if needed.
Wireless Connections
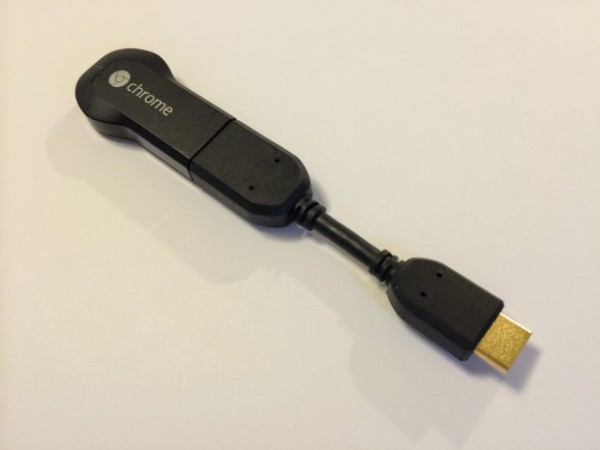
Google Chromecast with extension sets where the Chromecast won’t fit without it.
ChromeOS now supports casting the screen to a Chromecast or Android TV. Plug the Chromecast or Android TV into the projector via HDMI. Some of the above adapters will work with Chromecast, but not all do, so test your adapter out before the presentation. Set up the Chromecast on the local Wi-Fi network in the presentation room or connect directly. Use the setup tool from Google to make this work. Follow the instructions in the setup tool.
Alternatively, users can cast using an Android TV like the awesome new NVIDIA Shield. This device costs $200 but it makes for a great gaming device and includes Chromecast style mirroring.

Roku streaming stick has Chromecast functionality built-in.
If you own a Roku 3 or Roku Stick you might be able to get it to work as well. Use the Google Cast Chrome plug in that enables casting to Roku 3 and Roku Stick as well as Chromecast or Android TV.
To show a presentation, get a good projector with the right kinds of inputs or a large enough HDTV that everyone in the room can see without squinting. According to THX.com a good rule to follow says take the size of the screen and use it to find the distance from the screen that works best for the space. If participants will sit 6 feet from the screen, then git a 60-inch screen or a projector that shows a 60-inch image. Follow their guide to set up the room if you can change things.
Related Posts
-
The Acer Chromebook R13 brings Android to ChromeOS in an attractive convertible computer form factor.…
-

At CES 2017 Samsung unveiled their long-awaited Samsung Chromebook Plus and Samsung Chromebook Pro. Both…
-

The ASUS Chromebook Flip isn't a brand new machine, but with the recent addition of…