The OS X Migration Assistant can help you move data to a new hard drive in a fraction of the time it would take to do manually. When we replaced the hard drive in a MacBook Pro with a 128GB SSD the process took far less time that it would have otherwise. We decided to share what we learned in this process.
Wee prepared the SSD in the MacBook Pro with all of our data moved from the old hard drive and it only took a couple of hours. Without the OS X utility, this process takes a day to do manually.
Uses of Migration Assistant

Use Migration Assistant if you replace your hard drive, get a new computer, or want all of the files and programs used on one computer on another. You won’t want to sync between two computers repeatedly using Migration Assistant, but this is a good option to get the process started. After running the utility, use something like SugarSync for ongoing sync.
In our case we replaced a Seagate Momentus XT Hybrid hard drive with an OCZ Agility II 128GB SSD. We are testing an MCE Optibay 2.5″ notebook to SuperDrive adapter and this led us to the Migration Assistant.
Seasoned Mac users know that this tool migrates your data quickly and conveniently, but those who switched from the Microsoft Windows environment will find this tool easier to use than Windows Easy Transfer, the Windows equivalent.
Getting Ready to Migrate

In order to Migrate your data you will need one of the following:
- Firewire Cable to connect two Macs
- Ethernet or Wi-Fi connection to migrate over a network or between machines in an ad hoc connection
- An external or second hard drive with either a Time Machine backup or an installation of OS X
- A machine running OS X or an OS X installation disk
You cannot restore material from a newer version of OS X to an older installation of Mac OS X. We tried to use the old Seagate drive which had OS X Lion Beta on it as the source and the version of OS X Snow Leopard that came with the MacBook Pro we were using. We installed OS X on the empty SSD using the Apple provided installation DVD. This failed and we had to update to OS X Lion Beta to make it work.
Performing a Migration
Connect the source to the target. If you are using two computers, connect them via Firewire, over a network, or in an ad hoc networking setup. Migration Assistant must access the content on the source from the target. You can also start the migration from the source machine and push data to the target. Either way, the two machines must be able to communicate.
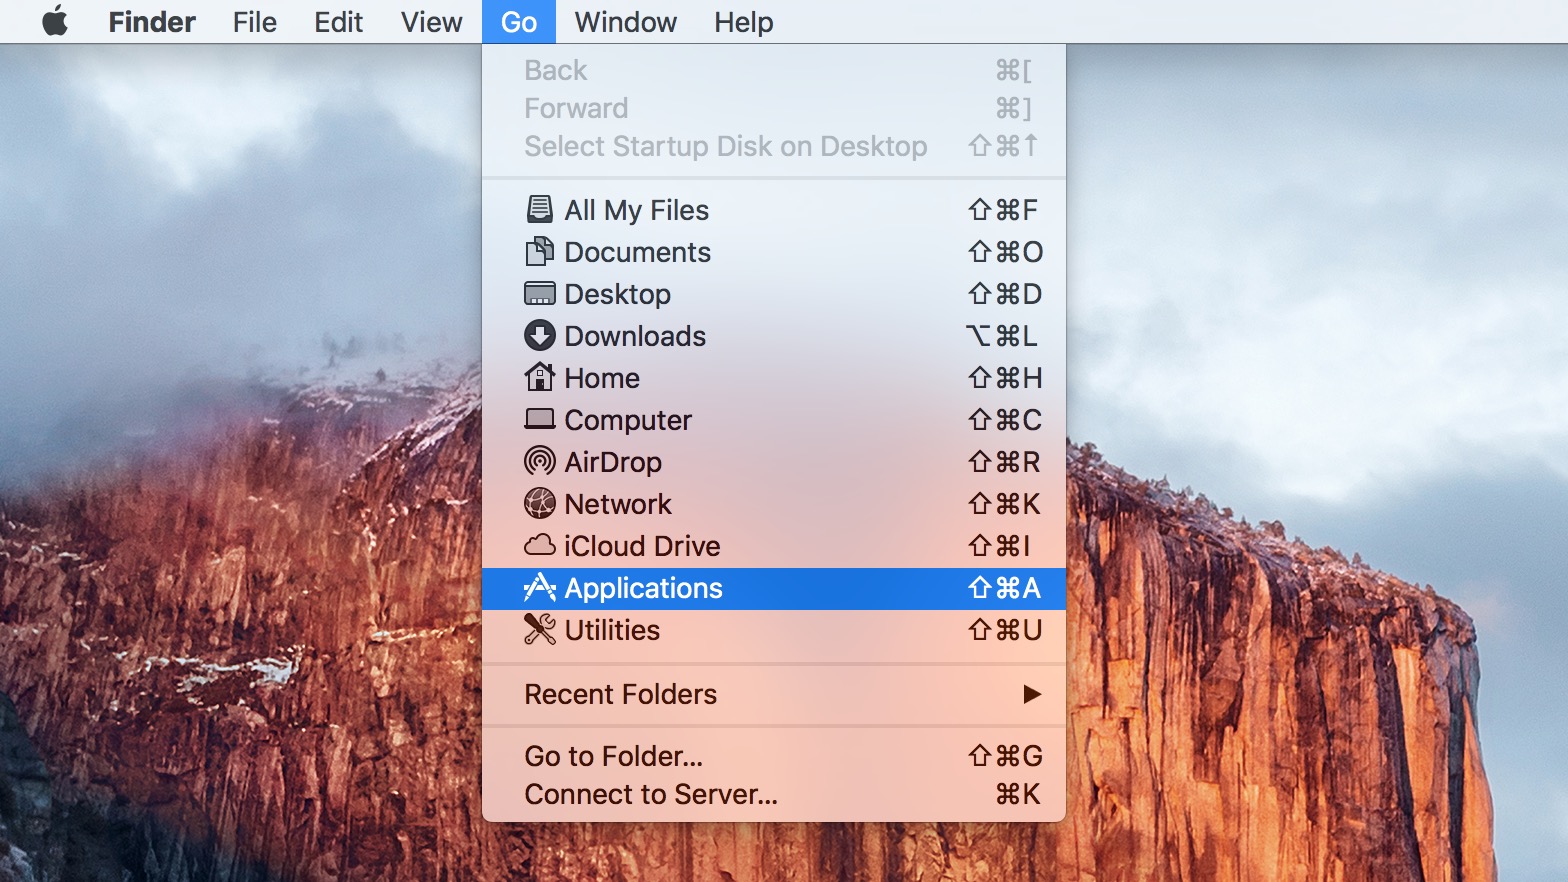
Migration Assistant is in the Utilities folder of your Applications folder. Launch it and do the following:
- Choose which direction you will go (from a source to the computer your are on or from the computer you are on to another Mac, we will use the first option)

- Click Continue and enter the admin password for the machine and then click OK
- Choose between using another Mac or PC versus using a Time Machine backup or another disk; in our example we used another disk so we selected the second option
- Migration Assistant will search for the source
- Once Migration Assistant finds the source, select Continue
- From the list of data found on the source, choose that which you want migrated (see image below)
- Users = the User folders and is expandable so that you only have to select the User accounts you want migrated
- Applications = all the apps on the source
- Settings = the settings from the various user accounts on the source
- Other files and folders = things found in other folders
- Click Continue once you have selected the data you want migrated

Migration Assistant will move the information into the right places on the target. It will place Users folders in the Users folder, etc. Depending on how much data you have to move this could take hours. We moved about 73GB of data and it took almost two hours because of a slow external USB connection. In the past the same restoration done manually takes many times that length.
Finishing Up
Once Migration Assistant finishes, it will notify you. Close it and check to see that your data is in the right place by exploring the various folders and opening programs that should be installed. We noticed that Migration Assistant failed to preserve the user settings of some programs while it did with others.
Reboot to clean things up and test the new installations. Start programs that you want to start automatically and make sure they are set to do so. For example, I have a utility called Cinch that expands a window to fill the screen when I drag the title bar to the top of the screen. Cinch’s settings were not migrated so I had to manually set it up again.
It is a good idea to keep the old source for as long as you can. In our case, it is a now a spare hard drive. We will leave it as is for a few weeks to be sure everything is properly moved over to our new SSD. We have the luxury of doing this so that we don’t lose anything. If that is not possible because you are giving away the old computer or selling it, then make a backup of the data before erasing it or getting rid of it.
Related Posts
-
Like on a PC, most of your Mac's software lives in the same place on…
-
While most people can access their email via the web these days, having a dedicated…
-
If you want to start making your own GIFs and join the ranks of other…