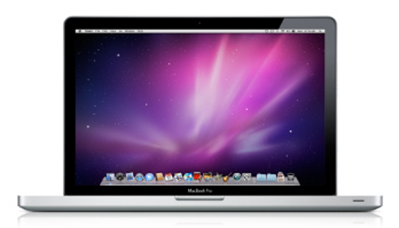
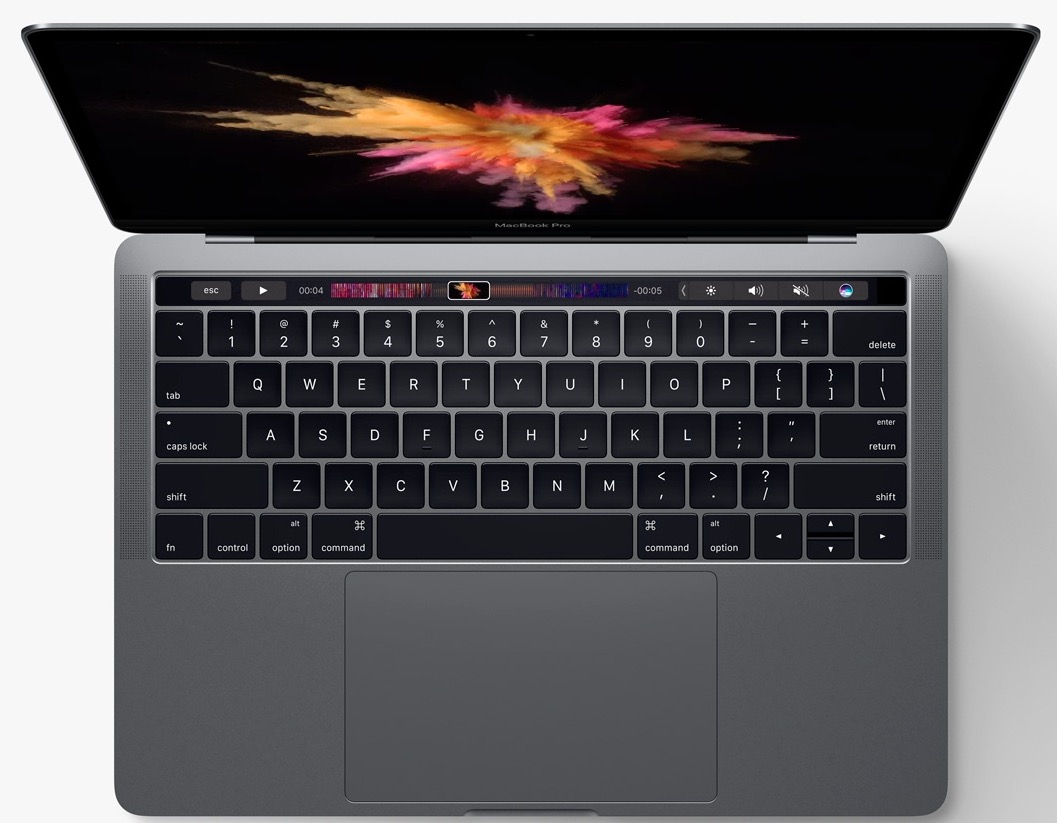
With the release of the new Apple MacBook Pro ,you may be hungry for shiny new computer. But ,you may also not have the cash and don’t want to fork over your credit card or go collect aluminum cans for the next six years. You could just forget it or maybe a new SSD and/or some more memory will make your current MacBook feel like it is brand new. Maybe not, but at least it will run faster.
Will Smith at Tested.com has a HowTo video for upgrading your hard drive. He also shows the location of the RAM so you can do that while you are under the hood†of your new computer.
The steps are fairly simple to follow.
First you will need a few things:
- Aside from a Philips head screwdriver, you will also need a Torx T6 head screwdriver. This is the type that looks like a star on the tip. Will also suggests a strip of masking tape with the sticky side turned up so that you can put your screws on it to keep them from sliding around or rolling onto the floor. Great tip!
- You need a hard drive as well. If you shop around, you can find the 128 GB drive for around $300. A 256 GB drive will be around twice that and for a 512 GB expect to spend more than $1,400.
- If you want to upgrade memory, you can get 8 GB (2×4 GB DDR3 notebook RAM) really good RAM for just a little more than $400, much less than if you had upgraded at the time of your purchase.
Now that you have the parts and supplies, first backup your system. A backup using Apple’s built in Time Machine should do the trick. However you do it though, save your files before your start. Then, shut down and turn the MacBook Pro over so you can remove the screws. There are three long screws along the hinge side of the computer and a bunch of short ones as well around the rest of the edges. After you unscrew them and put them on the tape, lift the case’s bottom off the computer.
The memory is as simple as popping out the old and popping in the new. It is keyed so you can’t put it in backwards. Remember to discharge any static electricity by wearing an antistatic wrist wrap or by touching a metal surface on the computer. Since the video doesn’t show the specific steps for upgrading RAM, you may want to go and read the instructions that are available on Apple’s web site.
The hard drive is a little more involved than most PCs. There is a bracket that holds it into place. You loosen those two screws and it releases the bracket but the screws don’t come off the bracket itself.
Once the screws are loose and the bracket is removed, lift the hard drive out carefully. There is a very thin ribbon that connects the drive to the motherboard. You don’t want to damage that or you have a much bigger do-it-yourself project than you planned for. Carefully release the connector putting equal pressure on both sides to slide it off.
Your next step is to remove the little nubs or posts that hold the drive in place inside the case. They are screwed into the sides of the drive. This is why you needed the Torx T6 head screwdriver. Remove them and you have the old drive fully extricated.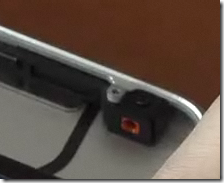
It is now time to prepare the new drive. You first must put the little nubs or posts on using the Torx head screws. Don’t tighten them too far. Carefully reattach the ribbon cable and then place the drive back into the computer. The posts will push into holes in the chassis to fit snuggly (see picture). Last, you need to reattach the bracket that holds the drive in place. It fits in between the chassis and the drive. Tighten the screws, but not too tight.
The last step is to put the bottom back on the MacBook Pro. Carefully reattach the back with the screws. Remember that the longer screws are on the side with the hinge (the back). Will recommends putting the corner screws in first and then the others. He also reminds us that the screws actually go in at a slight angle so don’t let that surprise you.
Once you completed the final step of the installation, it is time to restore your OS and software. If you imaged the drive then you can restore that way. In the video he said he used a Time Capsule from Time Machine and that makes it easy. You connect it and put the OS disc in to the drive and boot using the restore function.
As a result, the computer will boot much faster after everything is installed again.
Here is the video to see the steps for yourself:
